
Overview:
A leaky rear main seal can be problematic beyond simply losing oil. Replacing it can be a tedious exercise as the transmission must be removed, but the payoff is worth the work if you intend to keep your car driving and your driveway clean.
Difficulty: ***
Time: 1-2 hours not including removing the transmission and flywheel
Cost: ~$15 (genuine OEM part)
Tools:
- screwdriver, flathead- razor/scraper- ratchet and 10mm socket- rubber mallet
Materials:
- new rear seal- 2x4- liquid gasket
Procedure:
*note* This article assumes you have already removed your transmission and flywheel or pressure plate. for details on doing this, please refer to the clutch replacement articles.
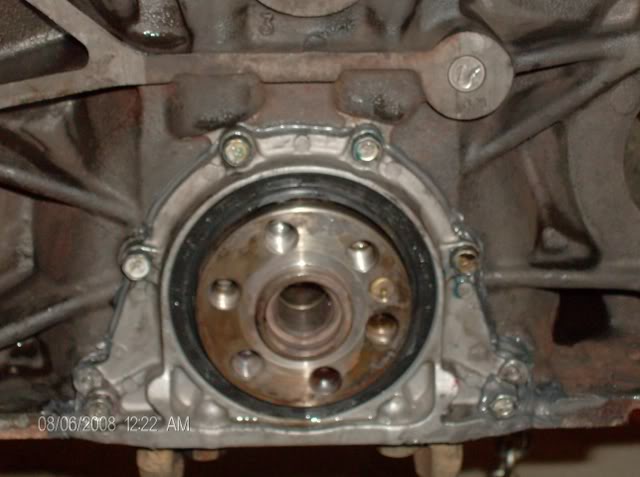
After having done that, your engine should look like this:
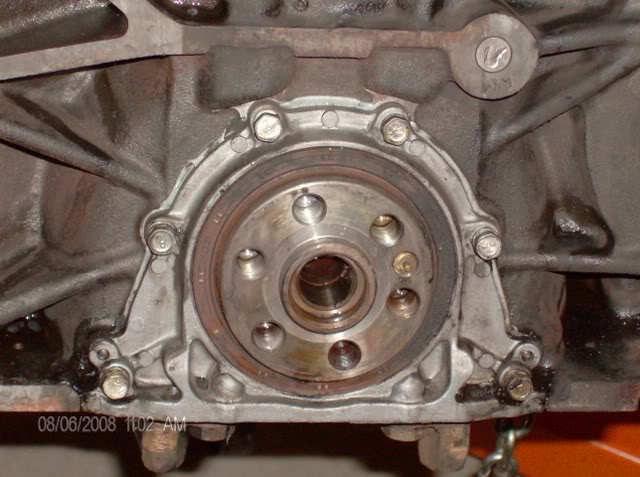
Remove the six 10mm bolts for the seal retainer. You will need a good solid putty knife to break the liquid gasket material seal from the block and retainer (don't use a screwdriver if at all possible so the mating surfaces aren't damaged).
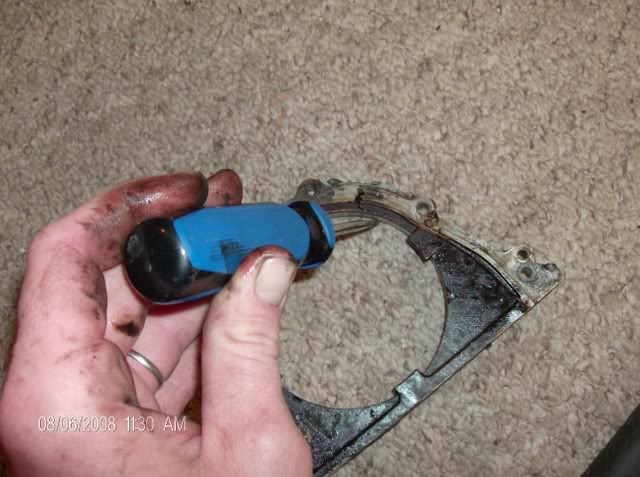
Once the seal is broke the retainer should pull right off. You will then see this:

I tried to use my seal pick set to remove the seal from the retainer and bent them all, so i had to drive the seal out of the retainer from the back side of it with a flathead screwdriver by sticking the head in the groove of the seal and striking the screwdriver with a hammer.
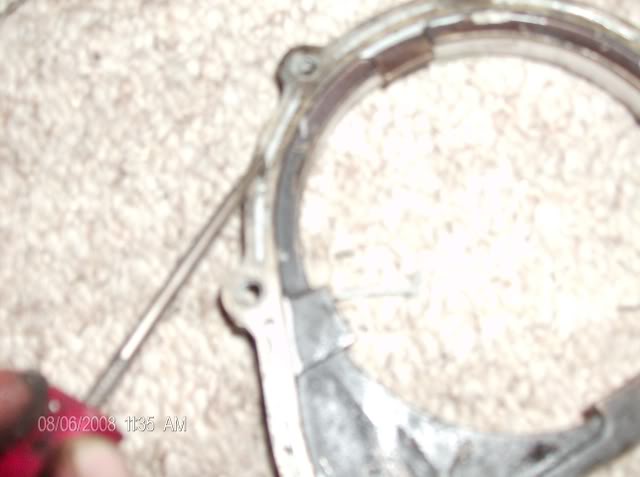
Next take the putty knife and scrape all the old gasket material from the block and seal retainer. The seal pick set worked real nice to get the gasket material out of the grooves on the retainer.
Once all surfaces are clean, rub motor oil on both the outer edge and inner part of the new seal.

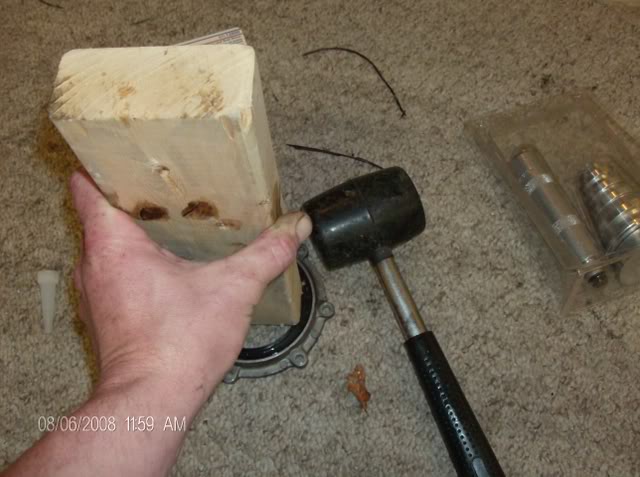
Next you will need to install the seal in the retainer. I bought a seal driver set and the driver heads were too small for the size of the seal, so a CLEAN cut 2x4 had to work.When installing the seal be sure to put the grooved side with the cord facing downward. get the seal pushed in by hand as far as you can before using the mallet and 2x4. Strike the seal until it seats in the retainer.
Once the seal is installed in the retainer, it is time to get the liquid gasket ready. I prefer to use ultra black rtv silicone gasket maker. Follow the grooves in the retainer with a bead about 3mm wide and go on the inside of all bolt holes. Should look like this (i have to use the same pic twice since i didn't take a god pic of the seal and retainer before i put gasket maker on it):
Once the gasket maker is applied it is now time to install the retainer back to the block. Take the retainer and put some oil on the inside lip again. Press the retainer over the crank being careful not to get the gasket maker on anything. Take your 10mm bolts and thread them in hand tight for the moment. Torque the bolts in a cross pattern. *NOTE* the FSM does not include the correct TQ specs for these bolts in the Oil Seal Replacement section.
Once installed, replace the flywheel/pressure plate and transmission and you should be leak-free.