Bought the car on a cold Fall evening on October 15, 2007 for $3750 off Craigslist. All it said on the CL ad was "Lots of new parts". Eh good enough for me.
Anyways, this is the only pic I have of the car when I bought it.
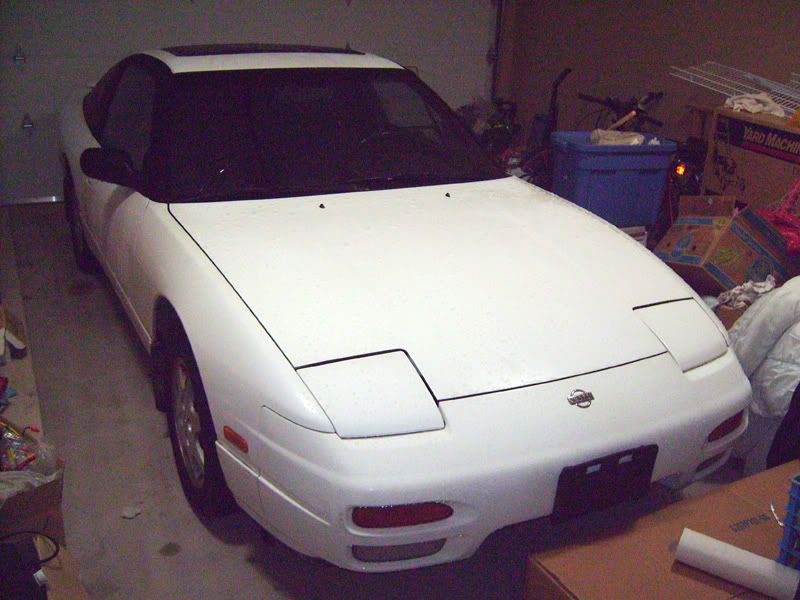
1992 240SX SE 5 speed with HICAS
Bone stock except for a drop in K&N filter, brown wire for the pop ups was cut, and later found out that the clutch damper had already been bypassed.
Drove it for a month but ran like s***, needed a new fuel pump and filter. Had it replaced by a shady shop (I didn't know how to work on cars at the time), so $500 dollars later for a new Carter fuel pump and fuel filter it ran fine. Then found it it had no thermostat in the winter and had it replaced but the shop didn't bleed the coolant properly and told me it was the CTS so I replaced that by myself and bled the coolant and all was fine. Didn't need the CTS actually, f*** shady shop, waste of $50.
Drove it for a year, and then after I graduated, I threw a 2.5" BRM exhaust in stainless with the 22" resonator and a DC Sports header and polished the crap out of car by hand. Waited a year for that header to show up as well.

Got this dent by hitting a dumpster doing 5kmh in the snow


Random mountain shot
Four years later that s*** Carter fuel pump died. Made a horrible sound while priming and kept on hesitating when I pressed more than 20% throttle. Checked the fuel pressure, 20 PSI. Toasted. 320xxx KMS on the clock.
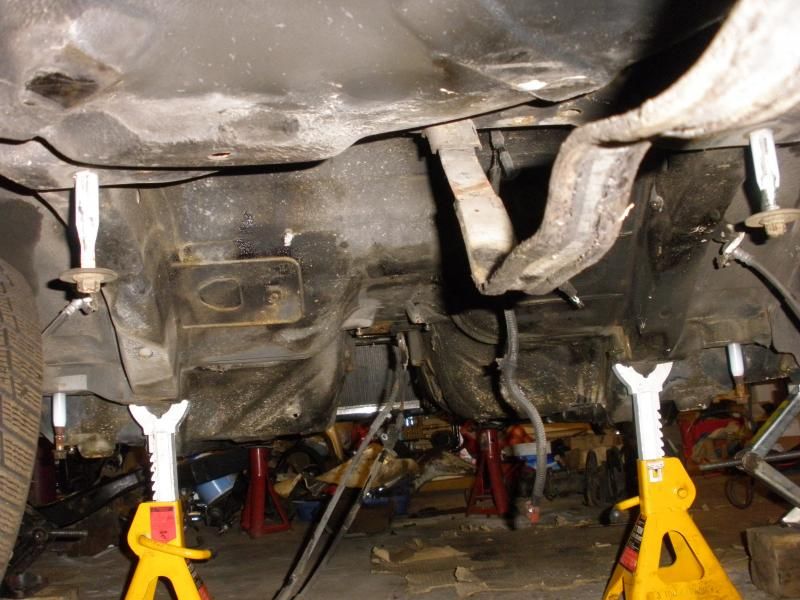
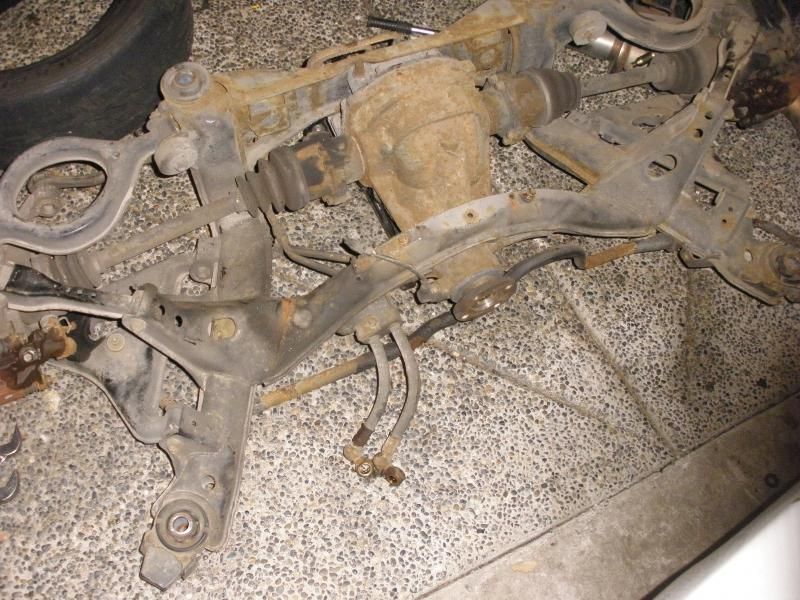
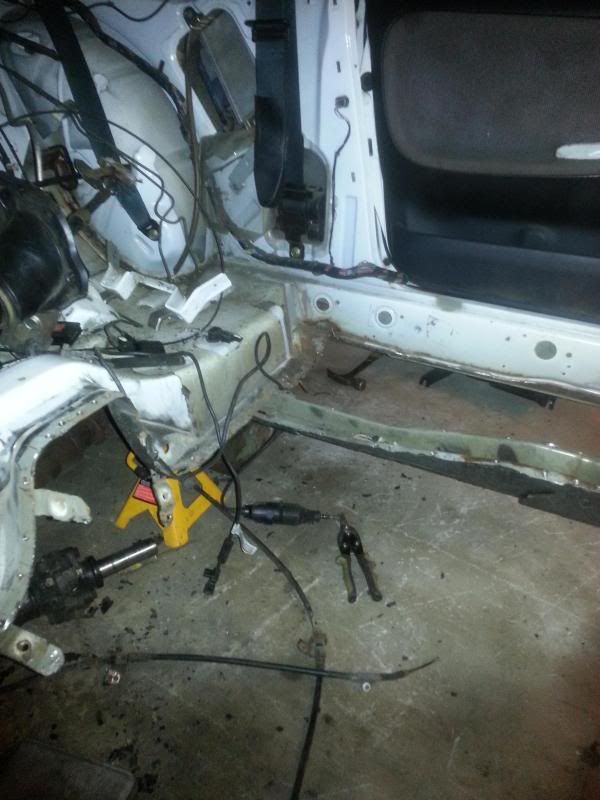
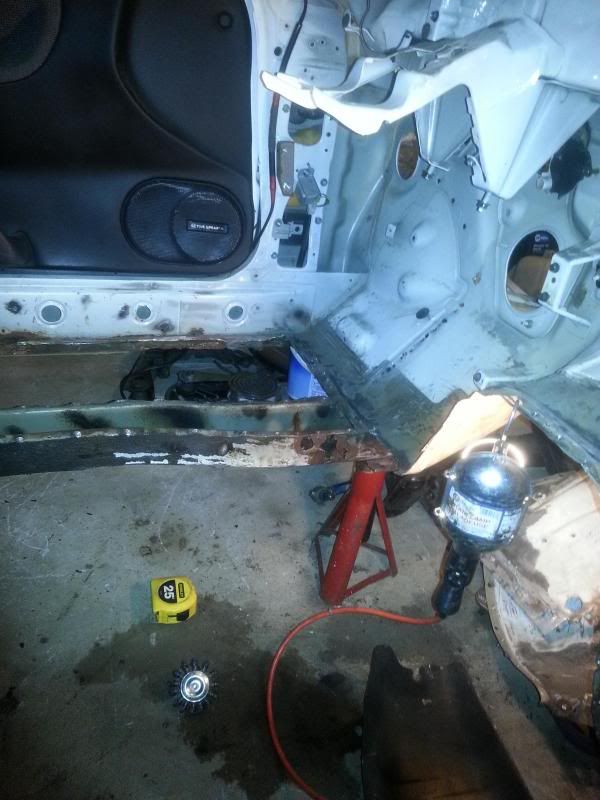
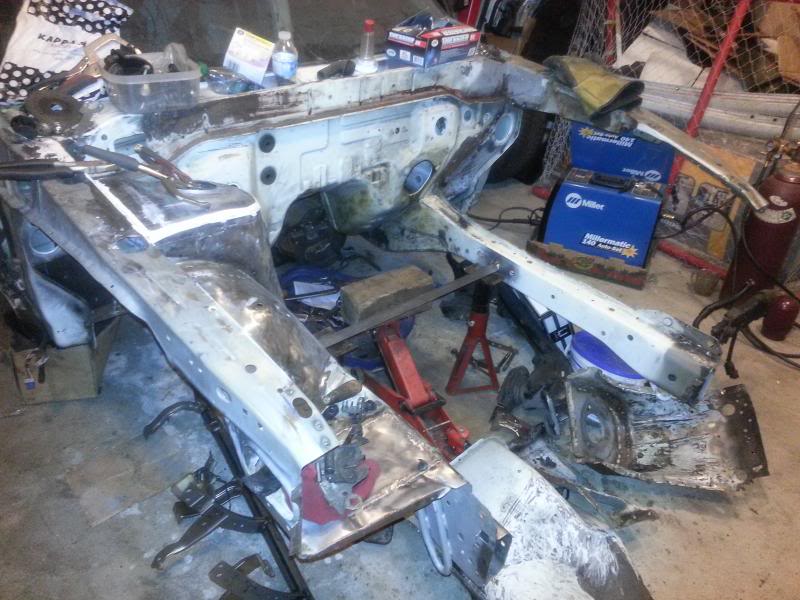
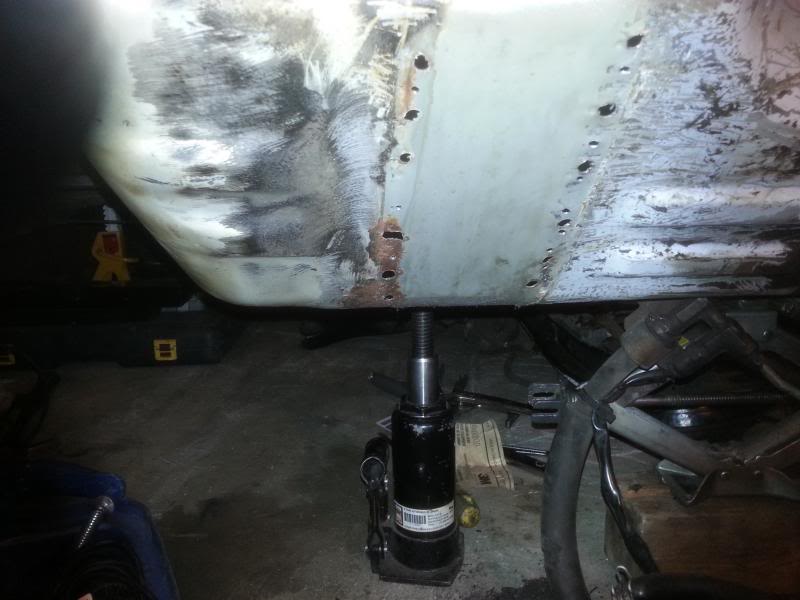
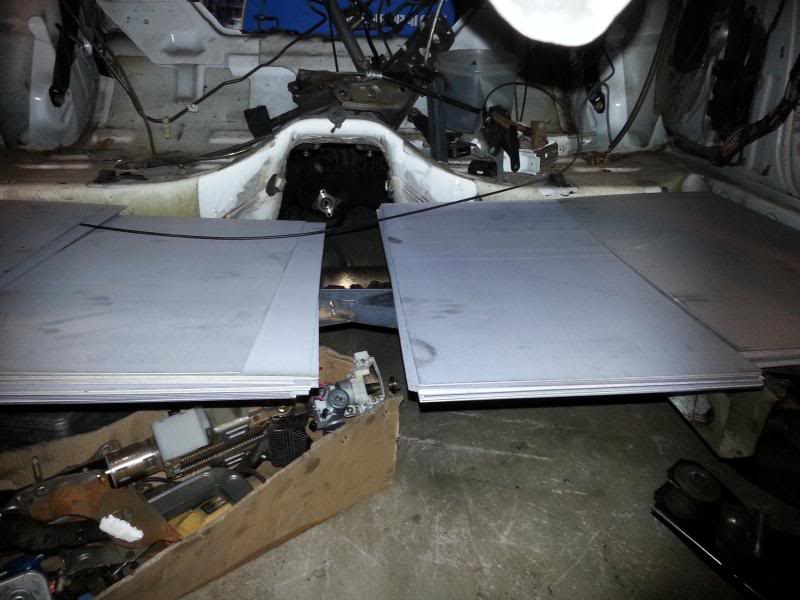
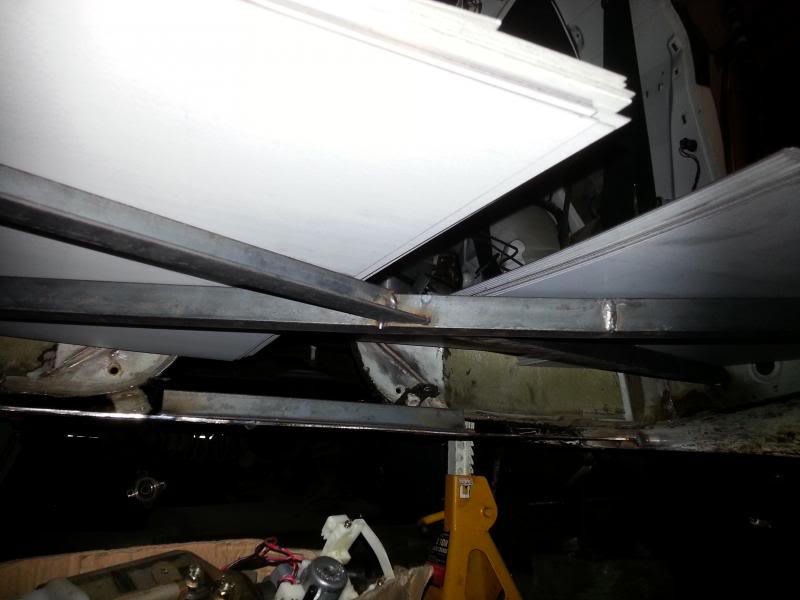
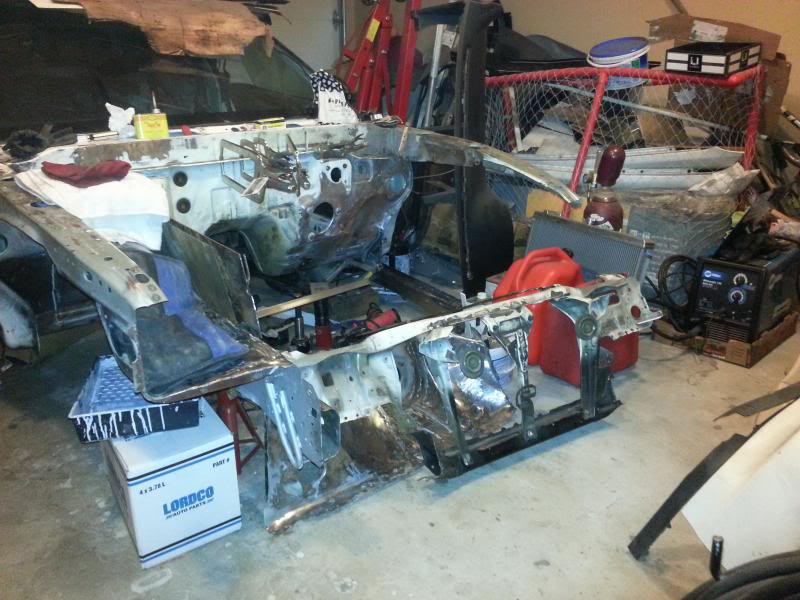
Then I decided to finally relocate my battery to the trunk since I was going to drop the tank and sand all the rust off and repaint it.
I took my front fenders off.
I shat a brick.

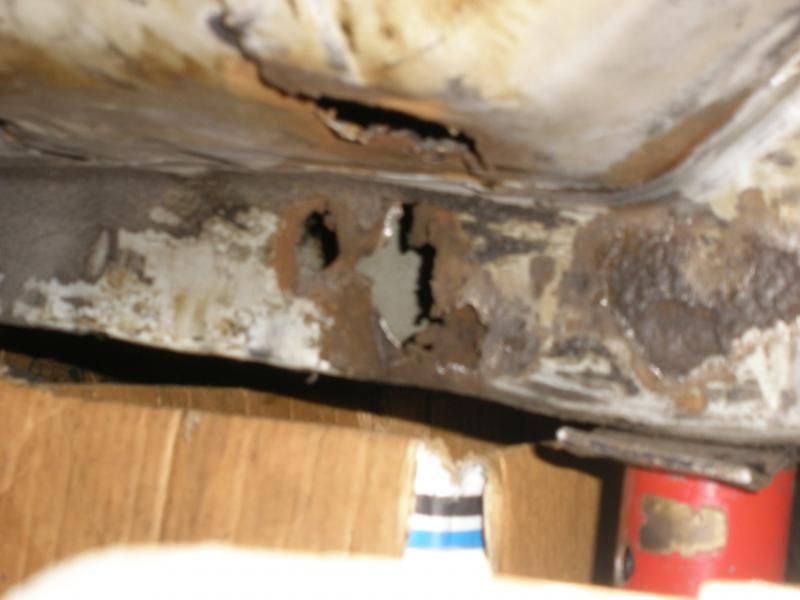
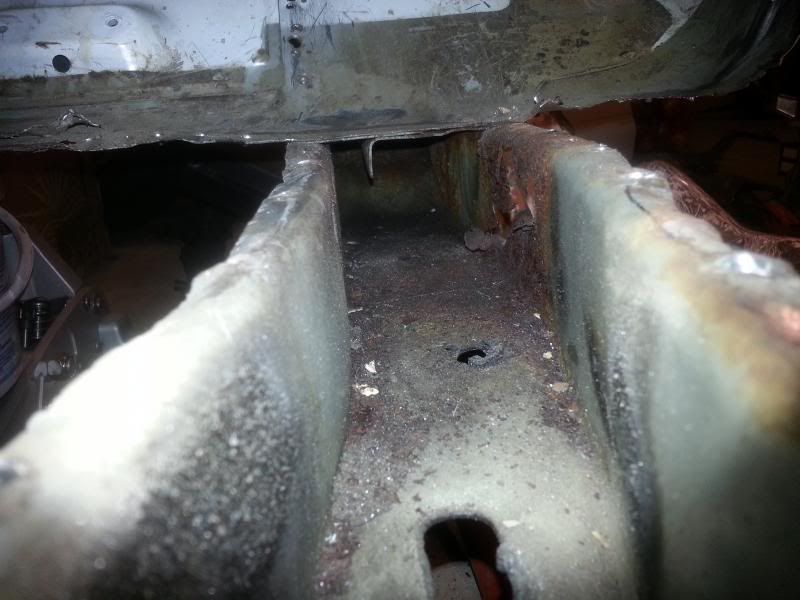
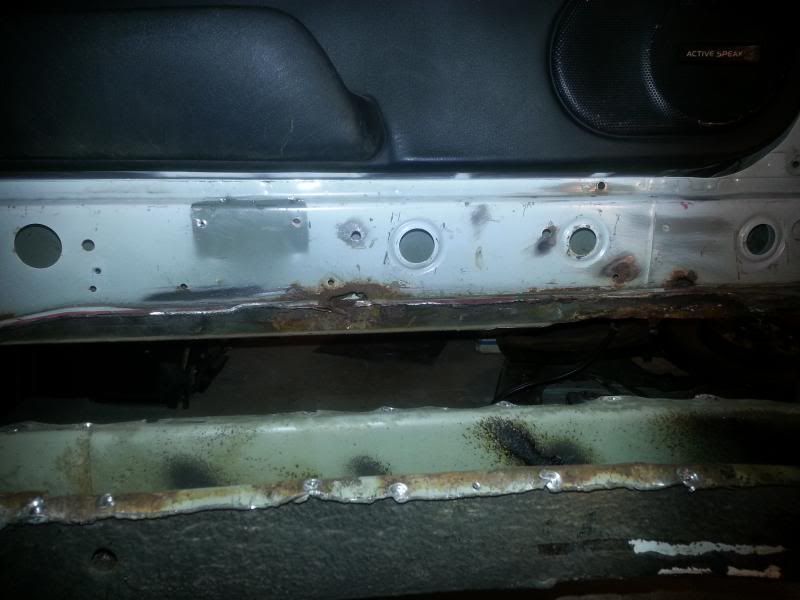
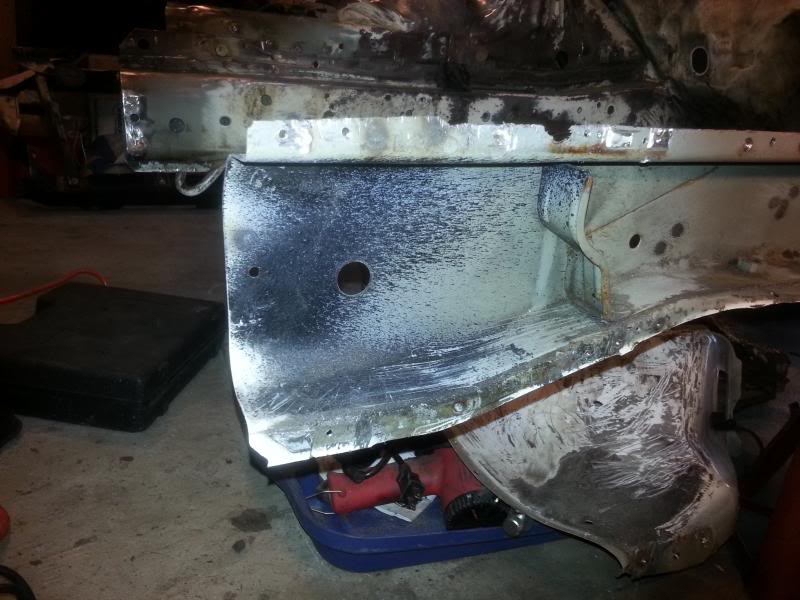
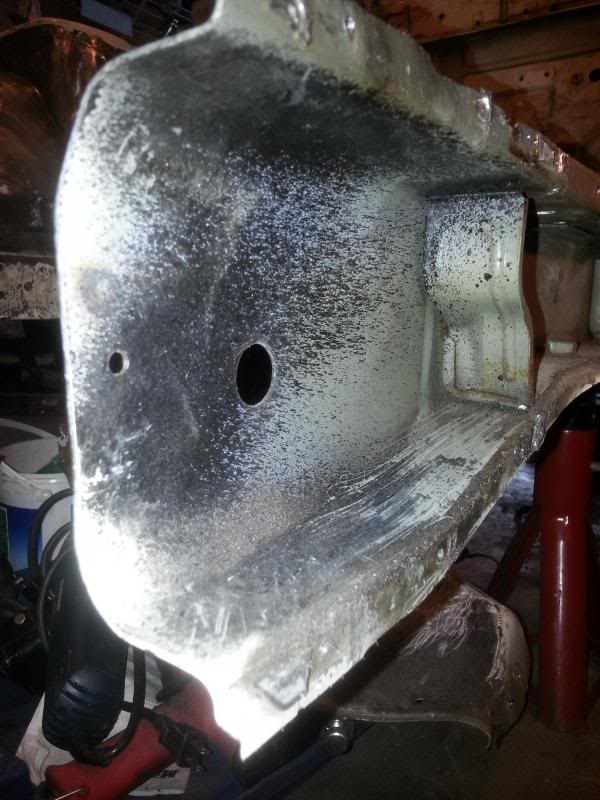
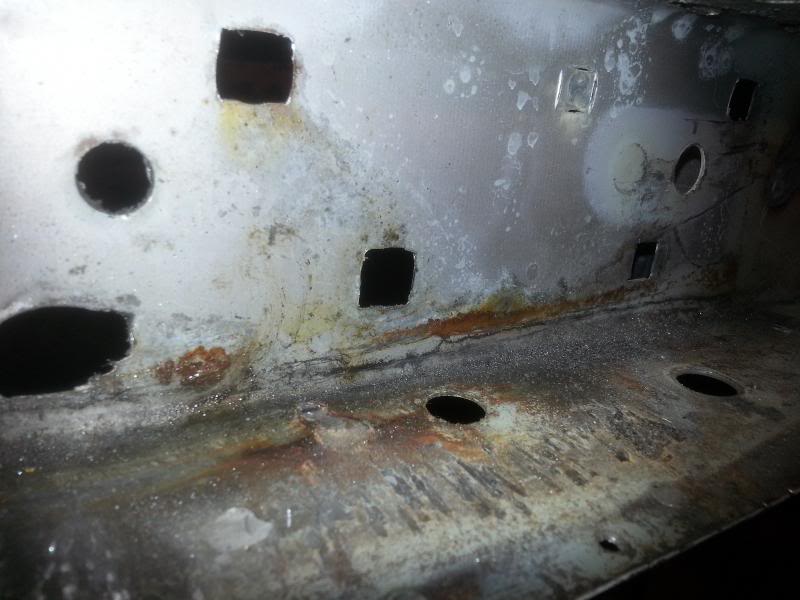
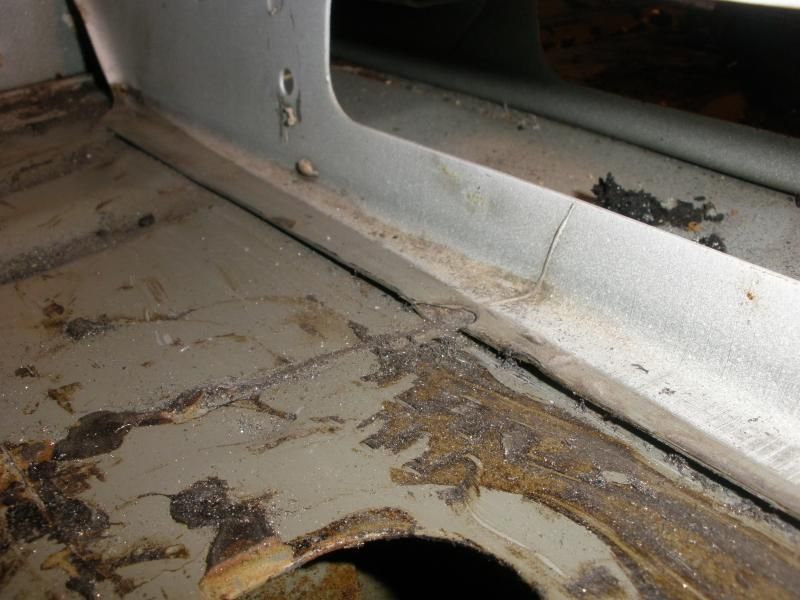
Lower driver side rocker area

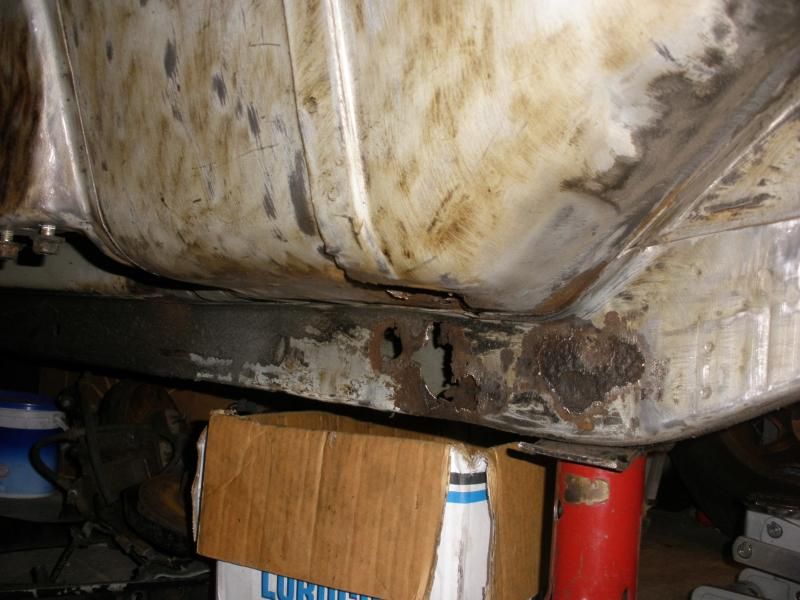
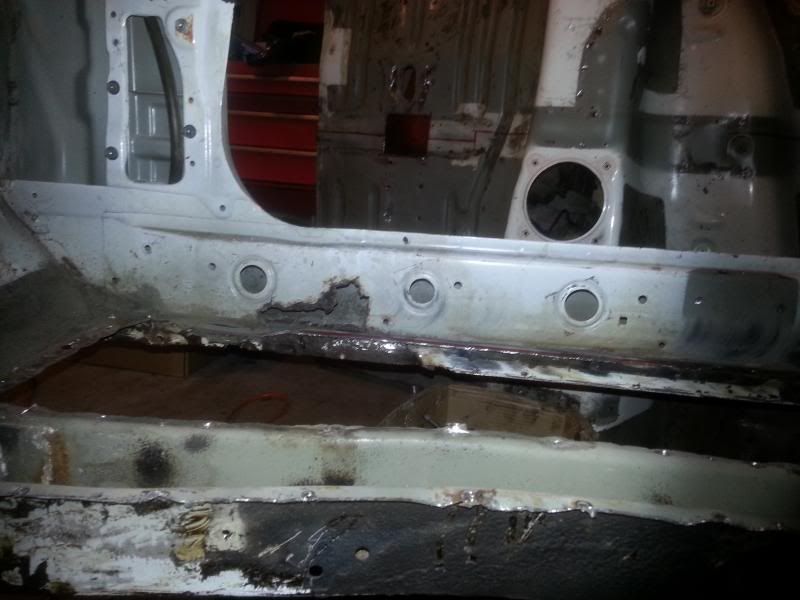
Lower passenger side rocker area
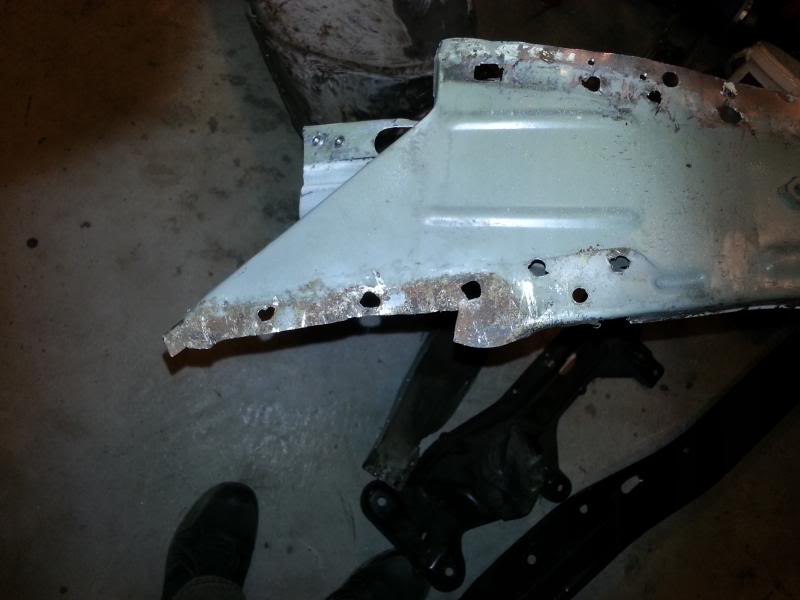
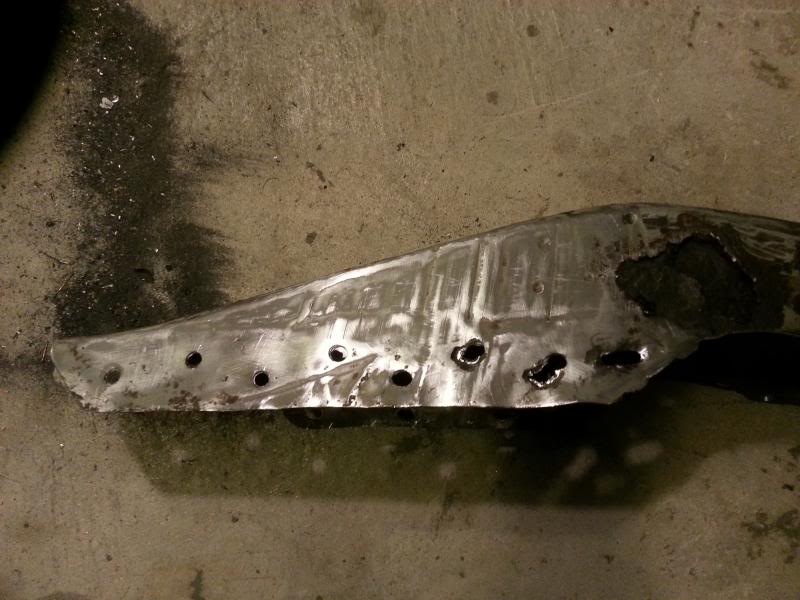
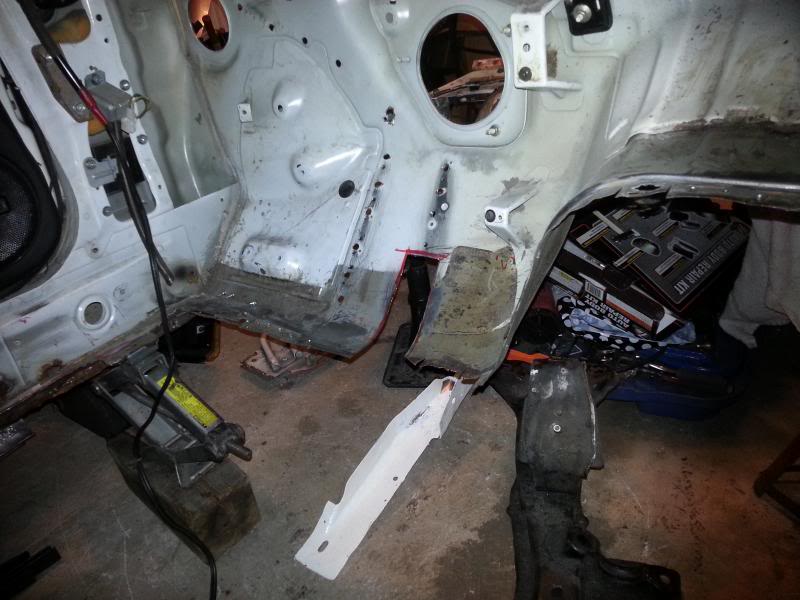
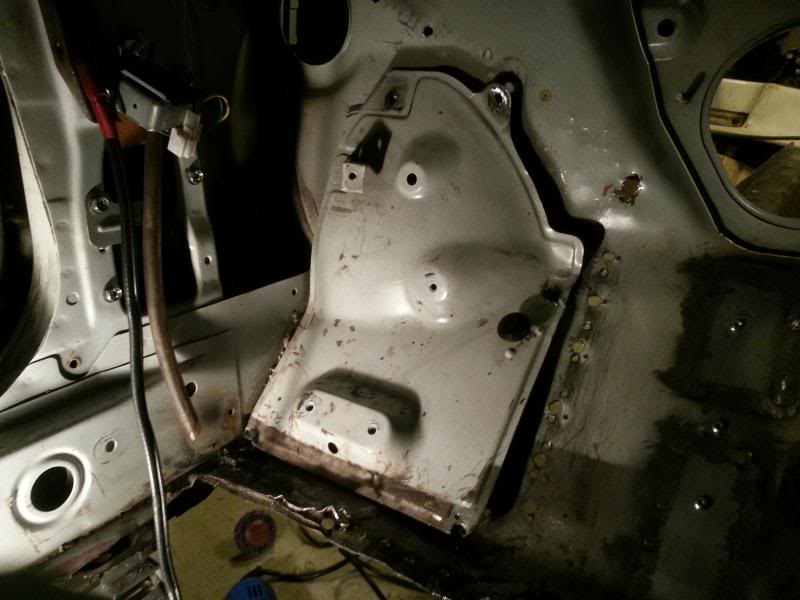
And then I removed all the bondo and fiberglass that was covering the upper strut mounting plate and tore what was left of the brace that ties the hood ledge to the strut tower plate.

Nasty


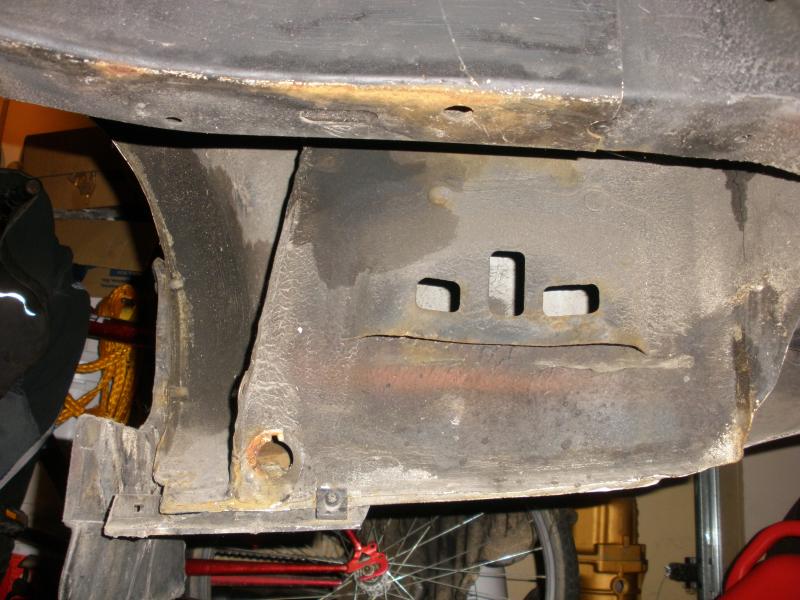
Prepping engine for removal


Engine and transmission removed


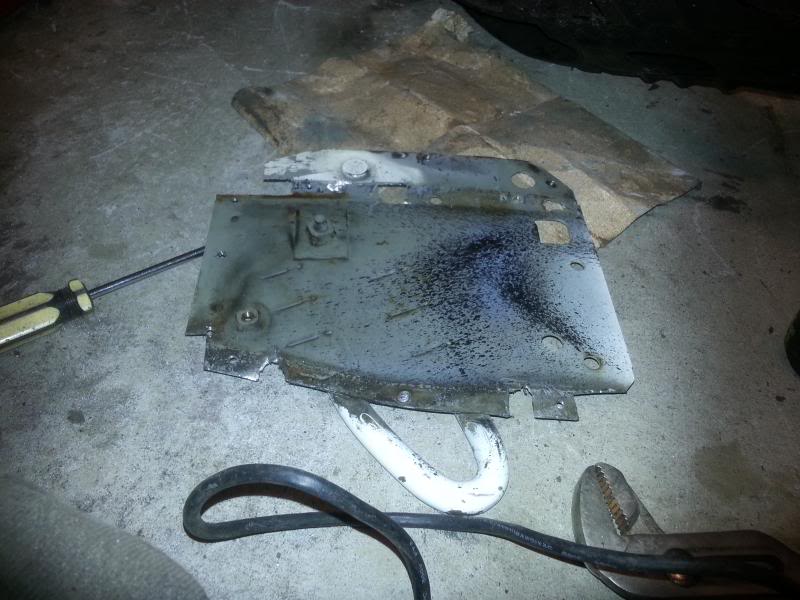
Drilled out the spot welds and removed the rusted battery tray

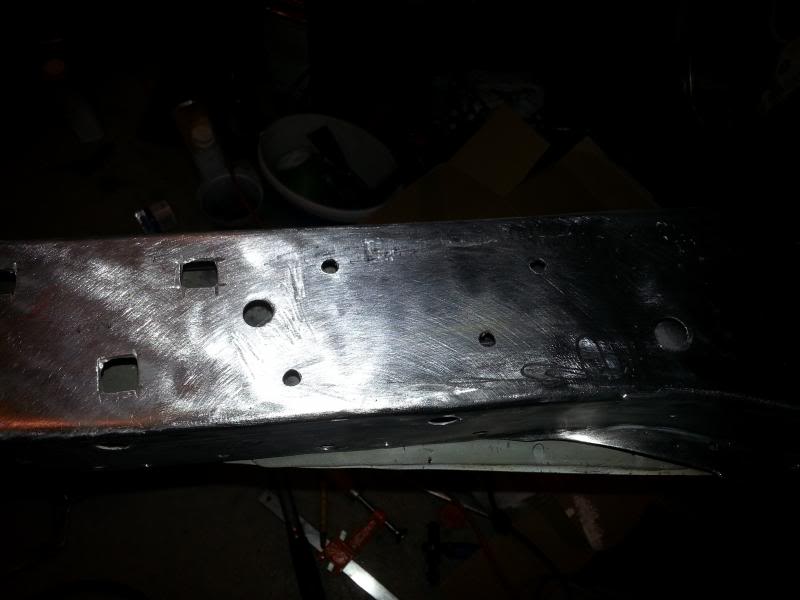
Drilled out more welds, strut mounting plate


OEM Nissan clutch...320xxxKMS, damn

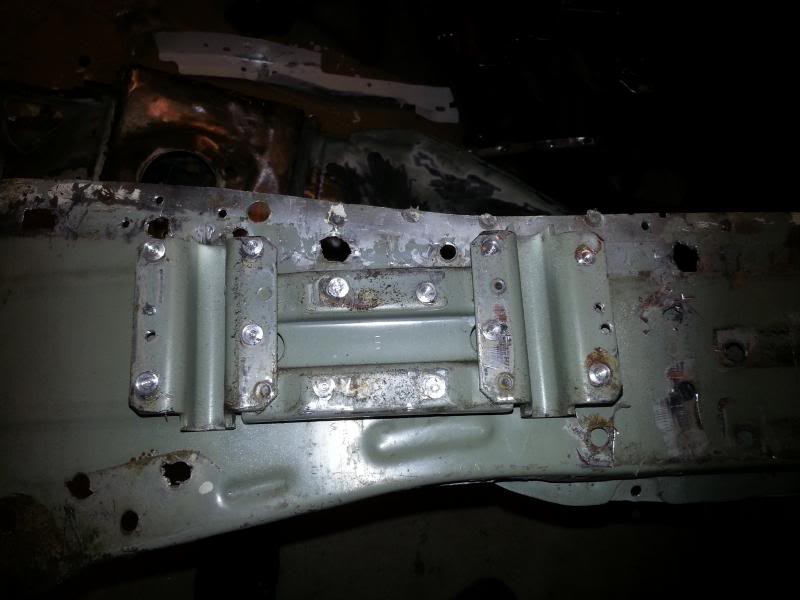
Sand blasted the transmission mount bracket

Degreased and cleaned it and two coats of VHT chassis epoxy

Also removed the transmission guts and sensors and had the case sandblasted and then a couple coats of VHT Gold
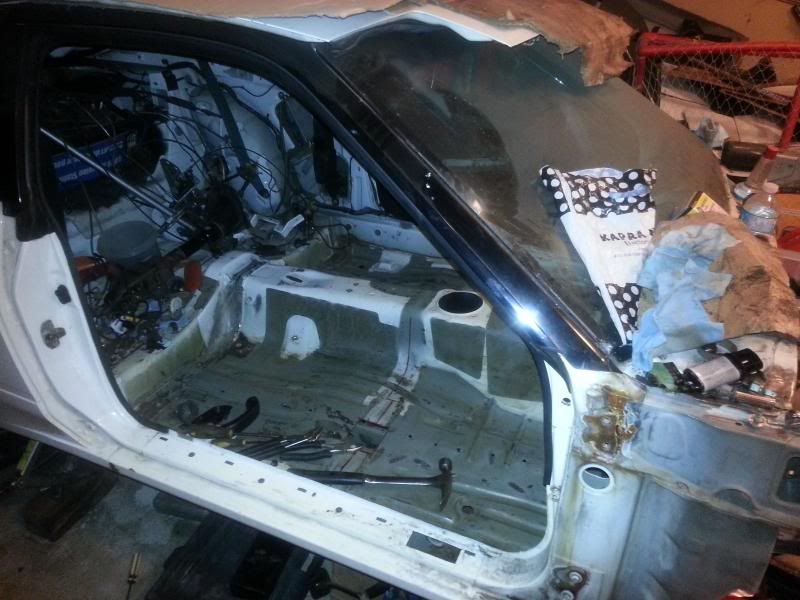
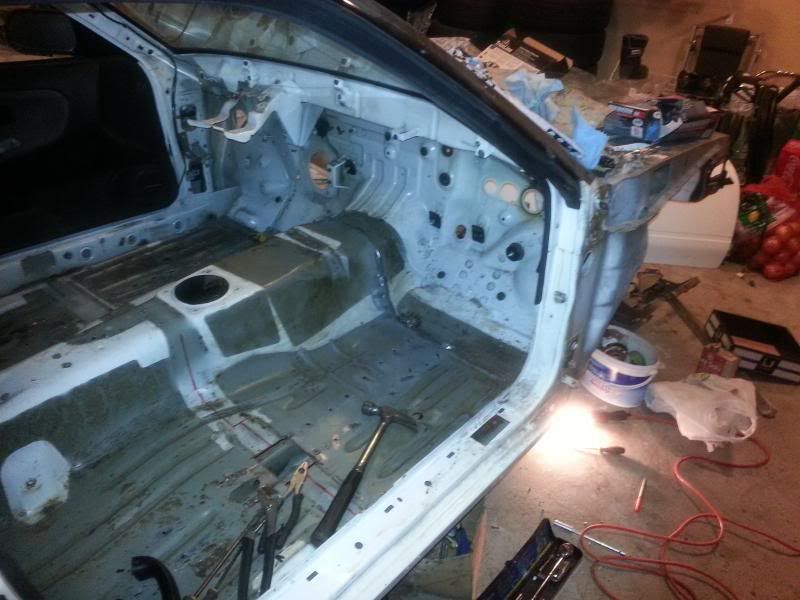
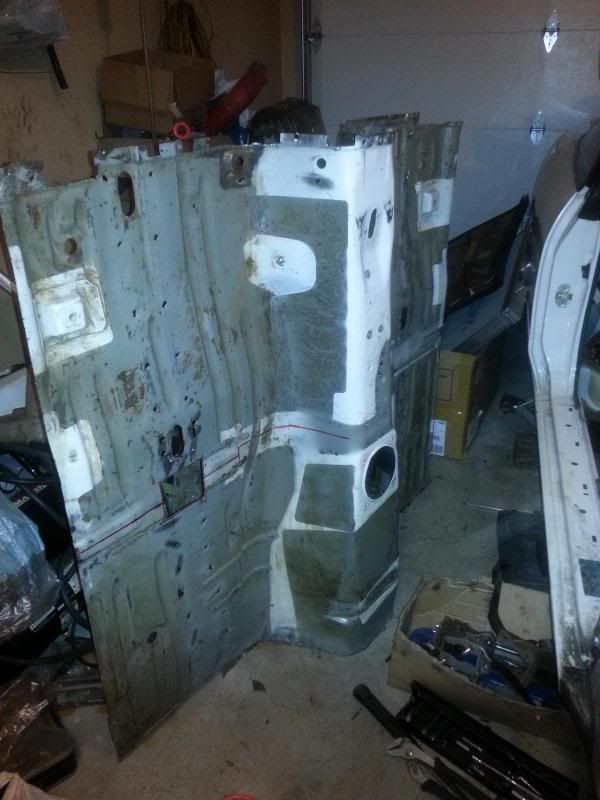
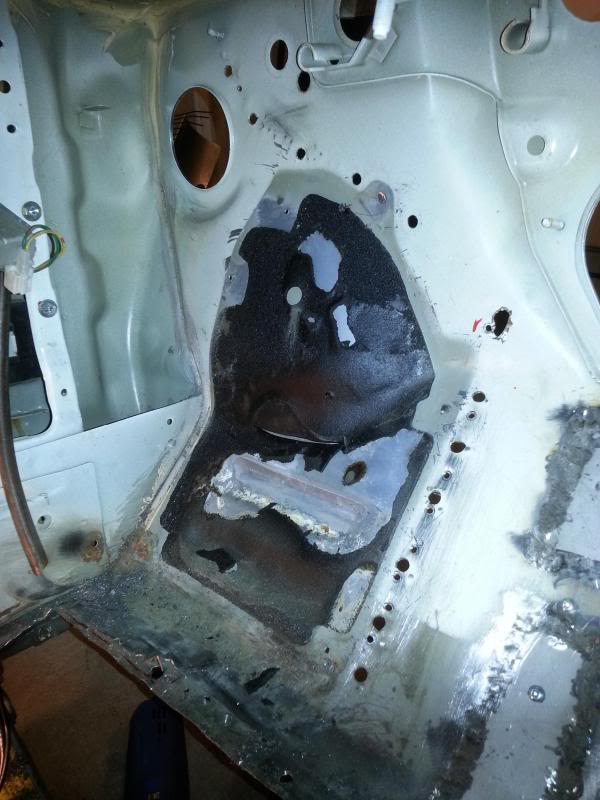
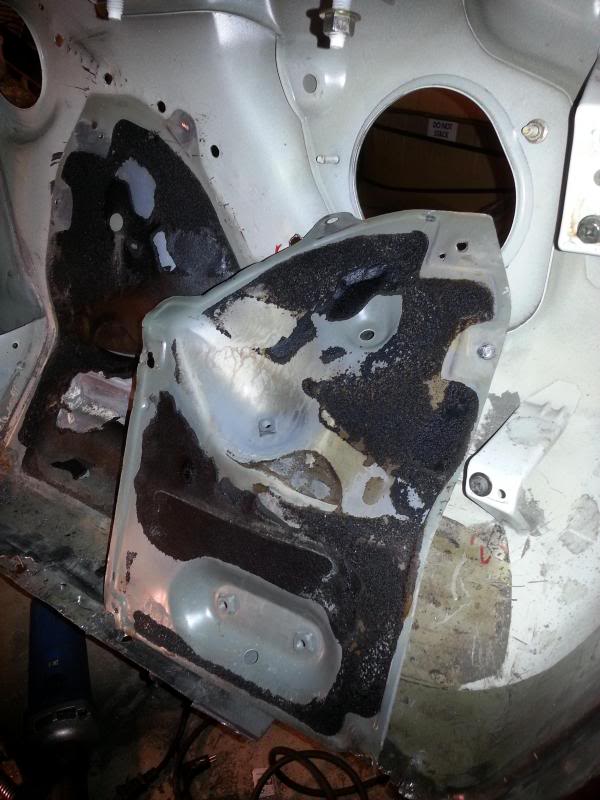
Interior shots


Rusted C pillar brace

'Mericuhn odometer

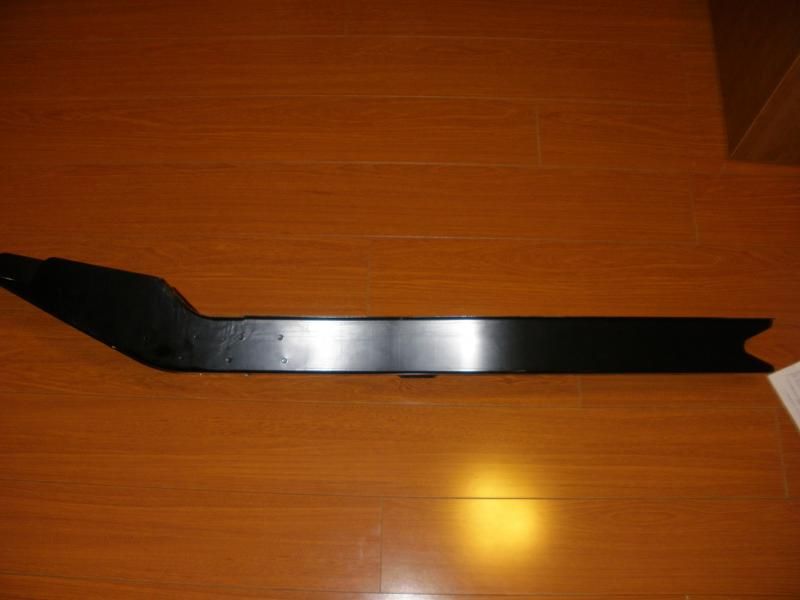
BRM Exhaust!

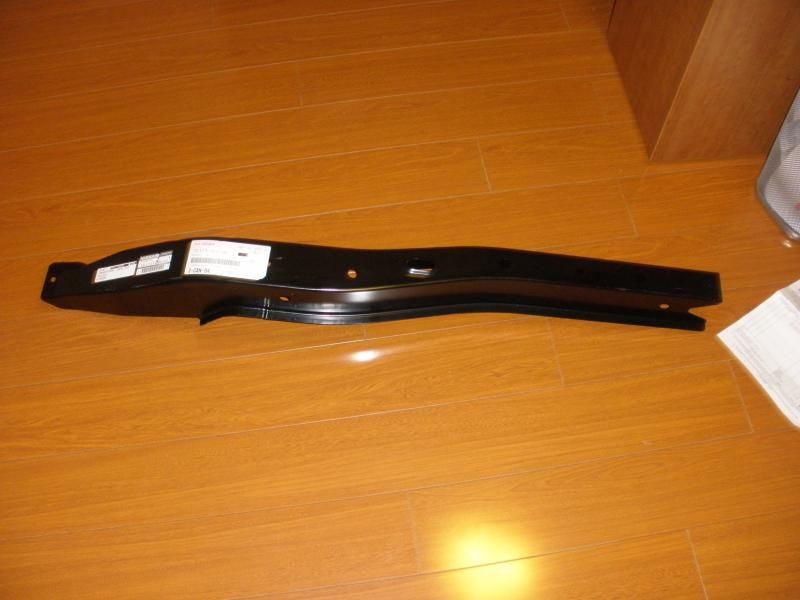
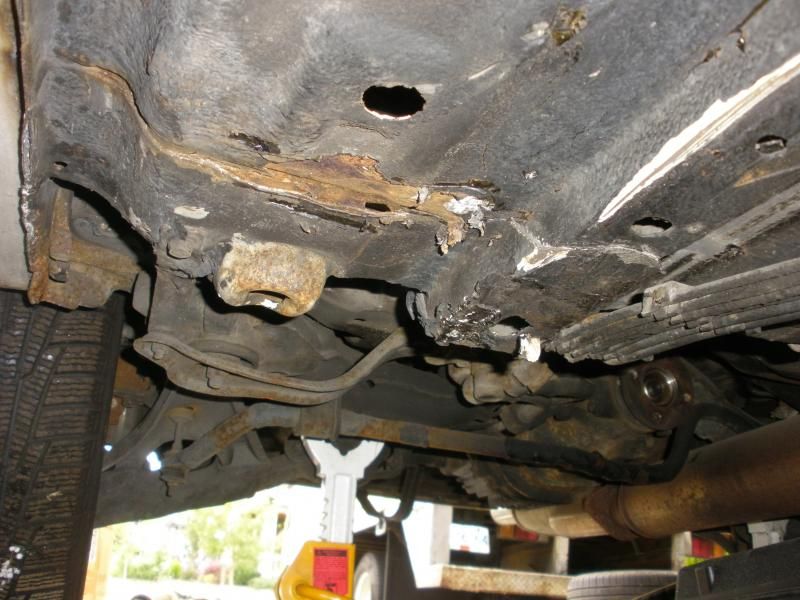
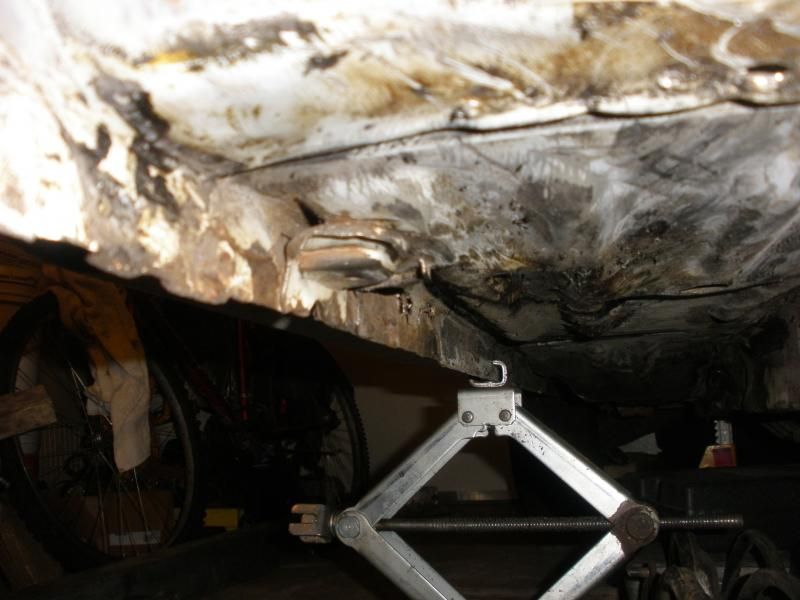
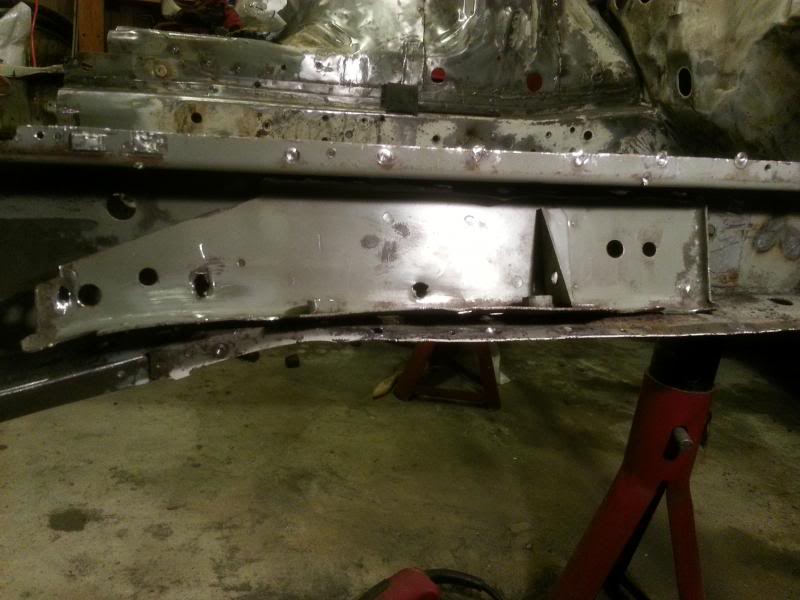
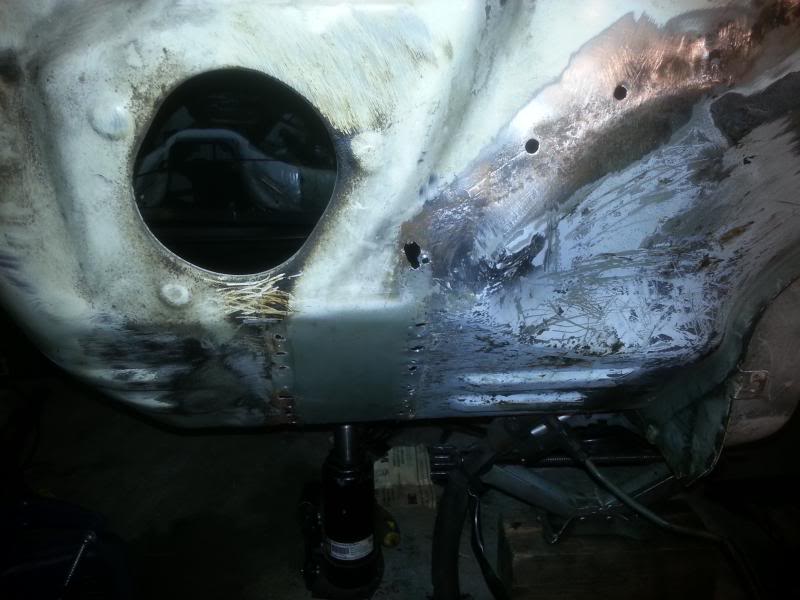
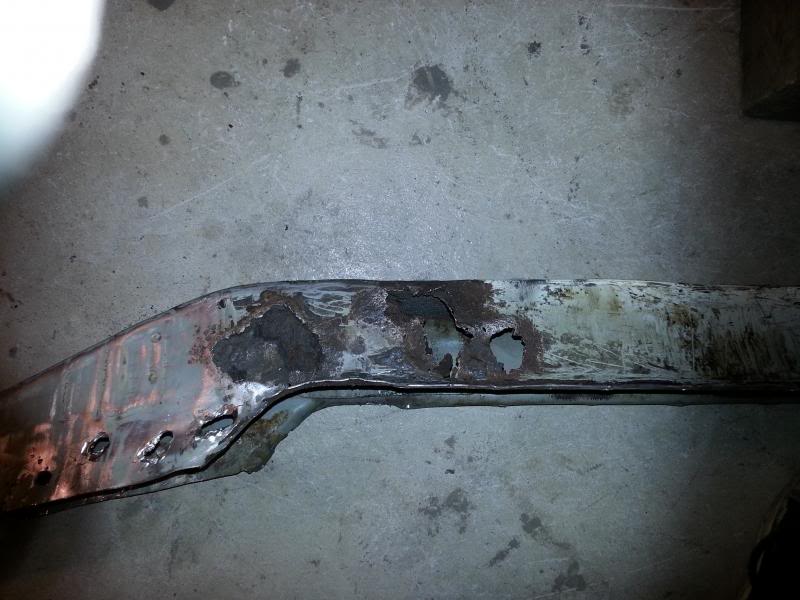
Had a new lower radiator support welded from another shady shop in Feb 2010, $800 and it's not even welded properly or sealed


The money shot

Yumm
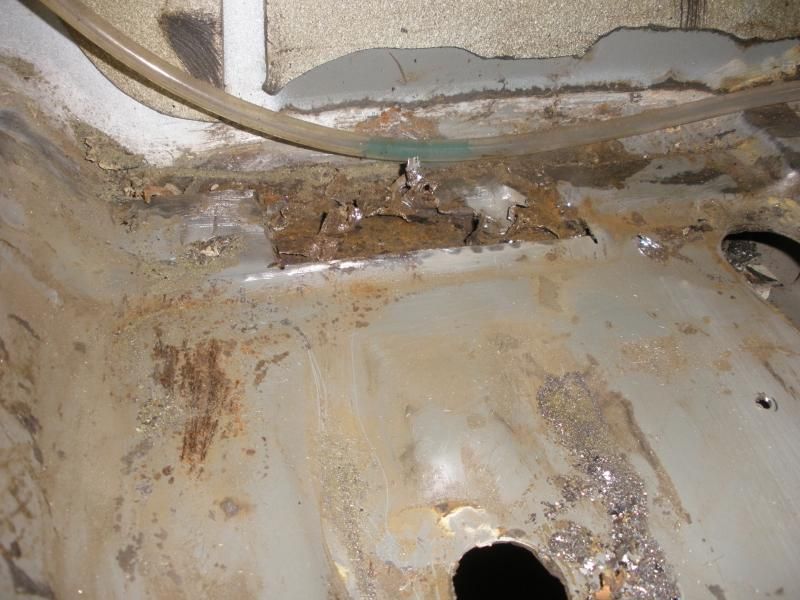
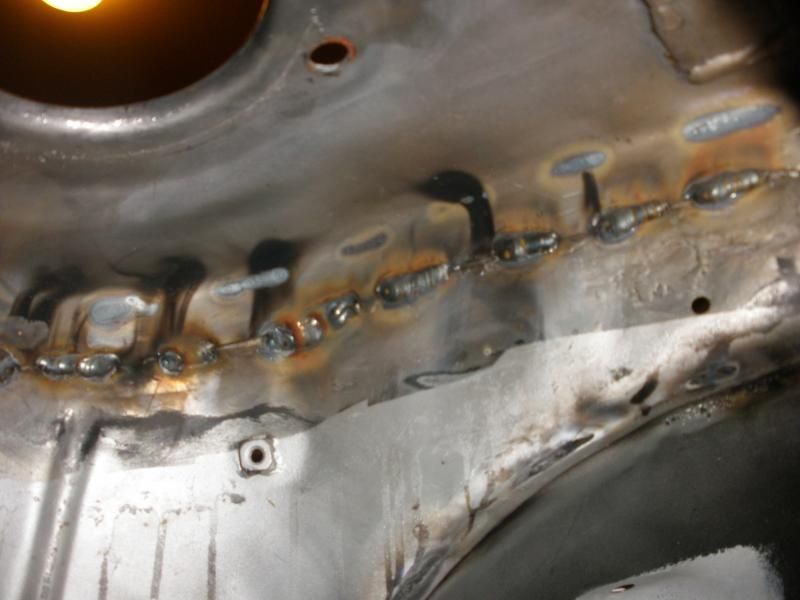
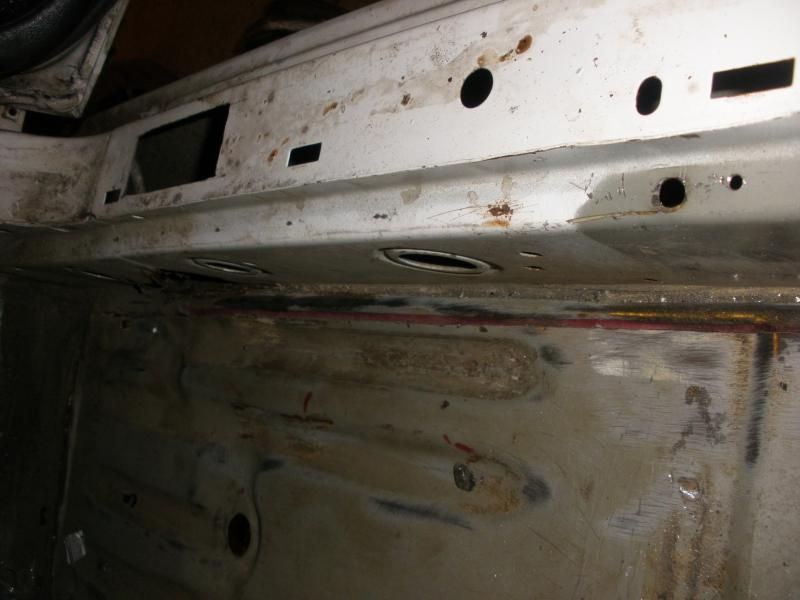
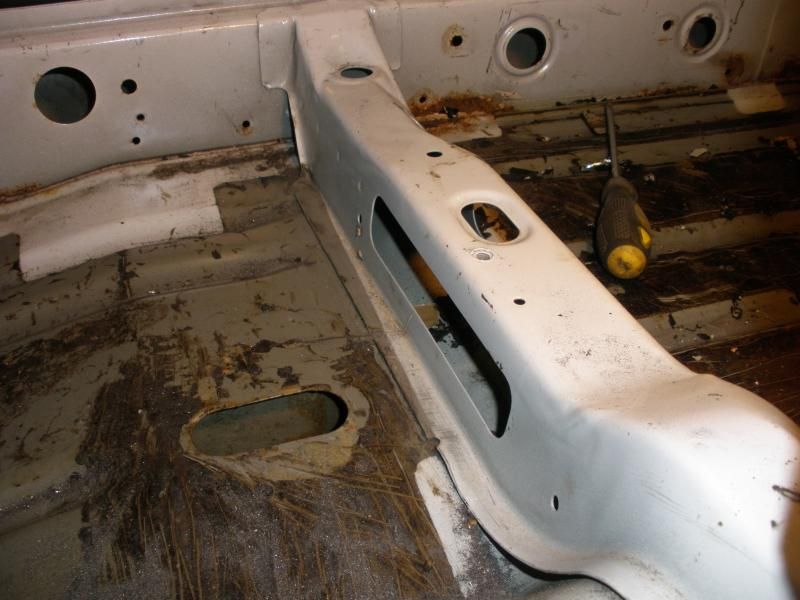
So check this out, HORRIBLE factory seam sealing. Fawkers

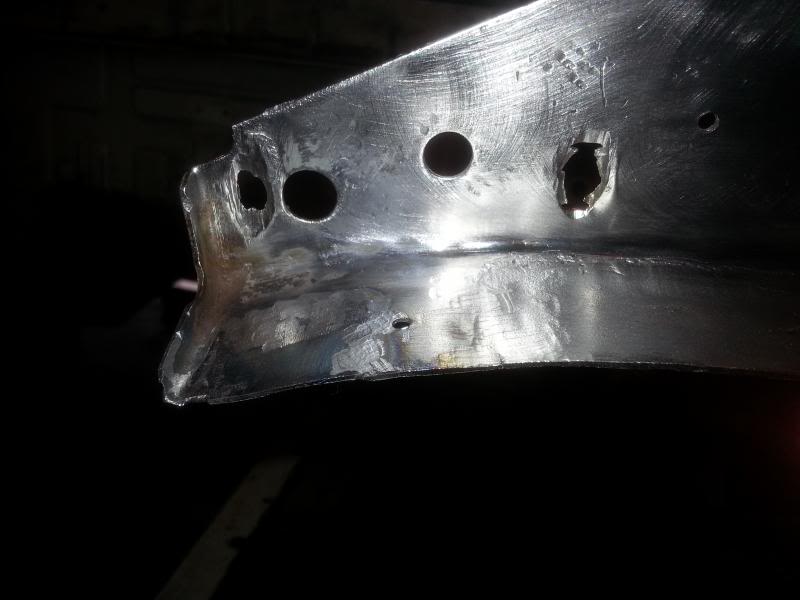
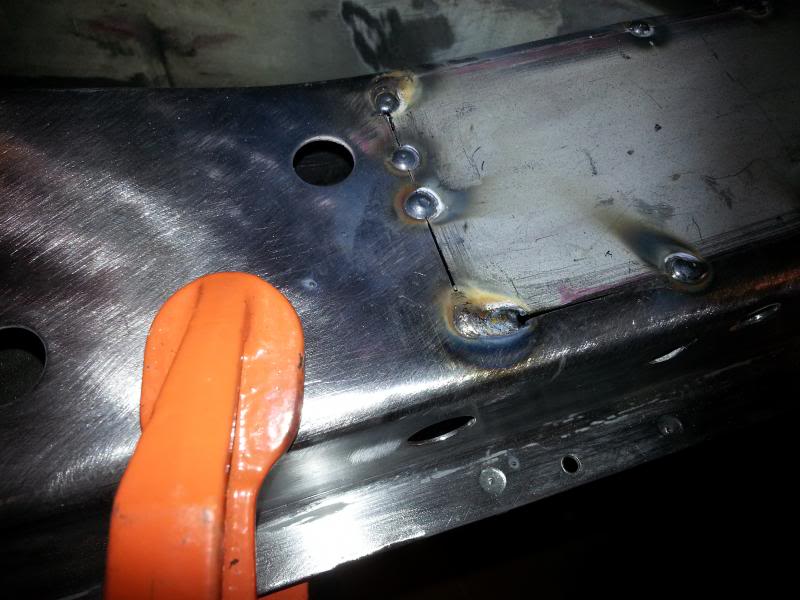
Starts from one end like this. This picture is of the strut mounting plate, in the wheel well area.

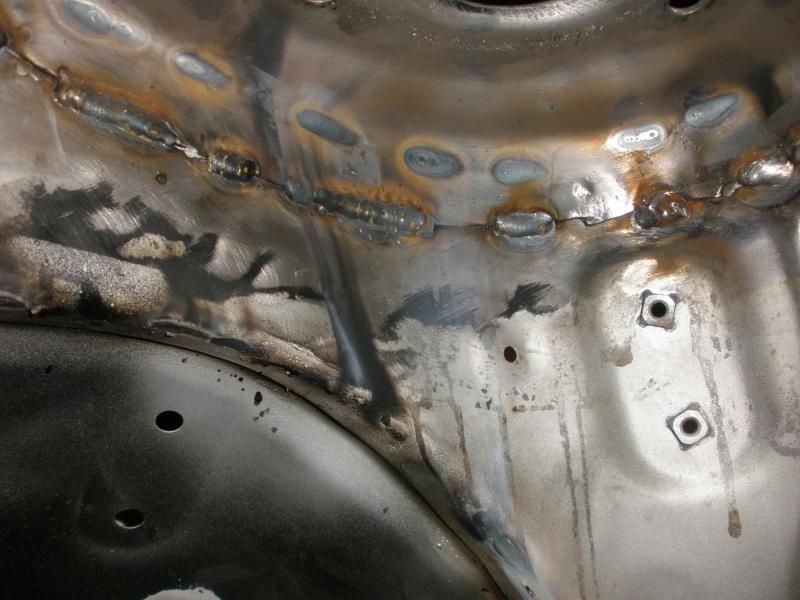
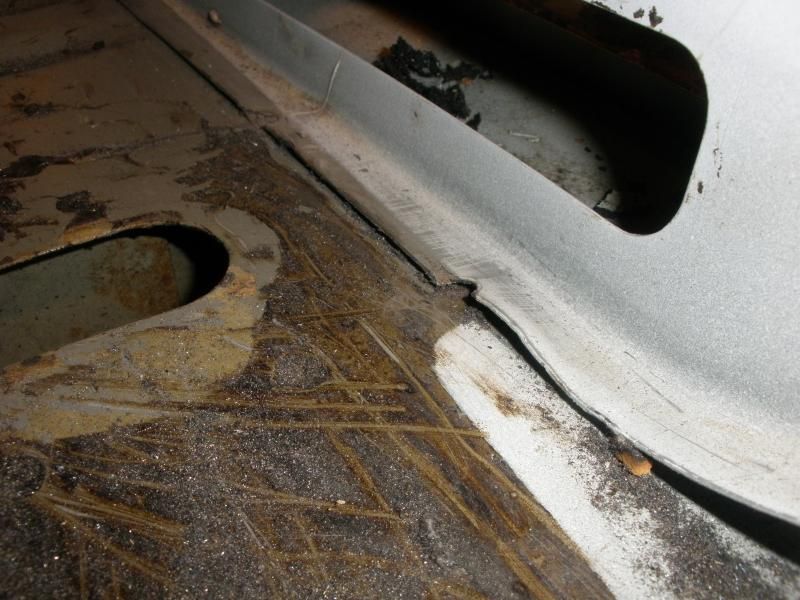
And ends like this...WHAT THE FAWK??? Oh and ignore the molten lump, that was me testing out the new welder I bought =)


Got rid of that.


Added some new metal and welded and flap wheeled it flush

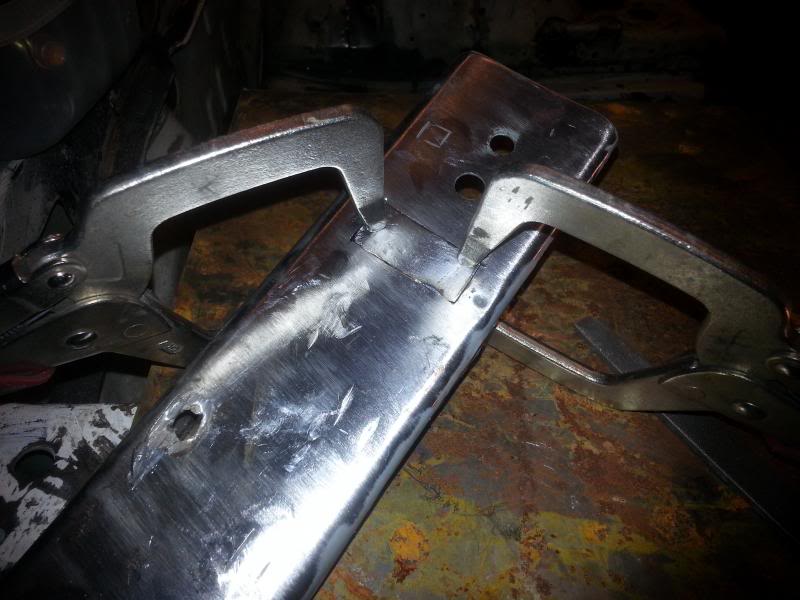
Cut out the hood ledge and welded some new steel on there as well

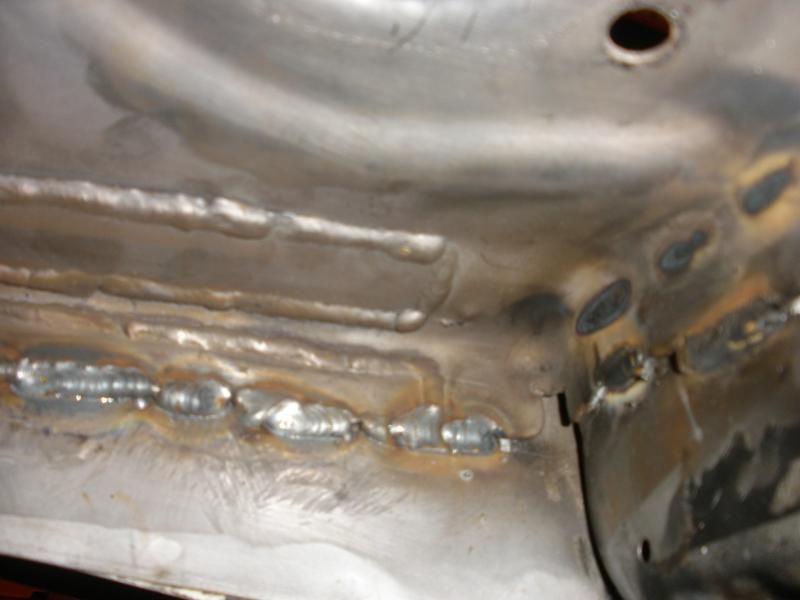
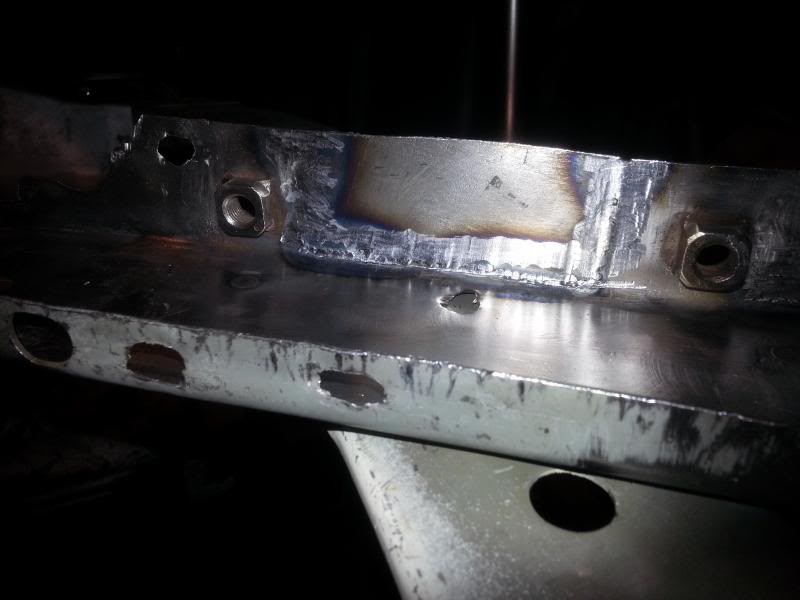
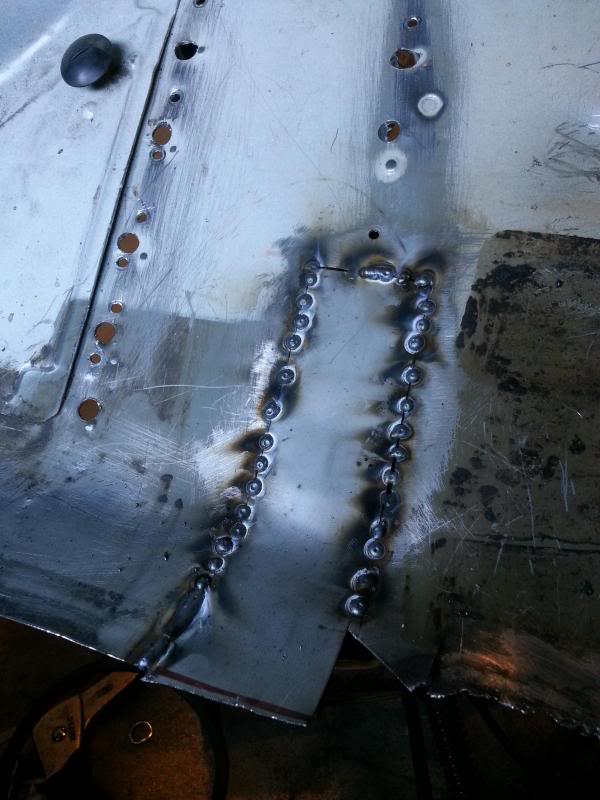
Shot some weld through primer and tacked it on. And yes I do realize how horrible the welds look, I am redoing them now =)

They actually held LOL

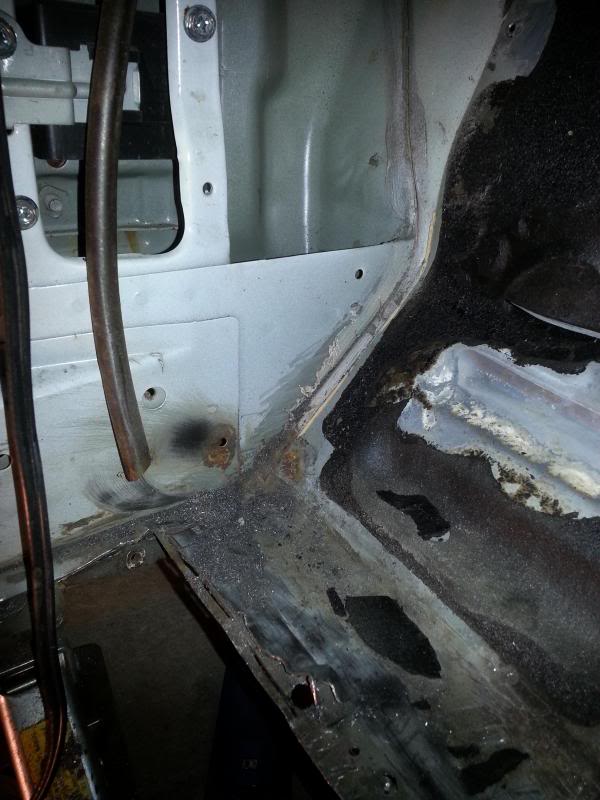
Anyways found some more between the cowl and the door hinge bracket area

Horrible factory welding

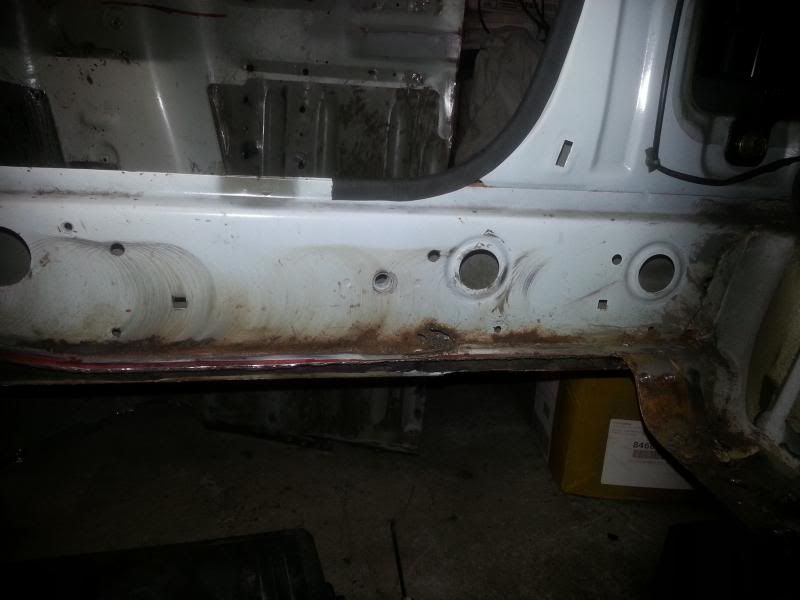
There wasn't much rust on the passenger side (or so I thought), so I just cut out the top of the strut mounting plate and welded in a new piece and hit it with self etch
I then proceeded to stitch weld some parts, thinking that there was no rust between the panels.


And then sanded all the panels in the passenger side wheel well and hit it with self etch


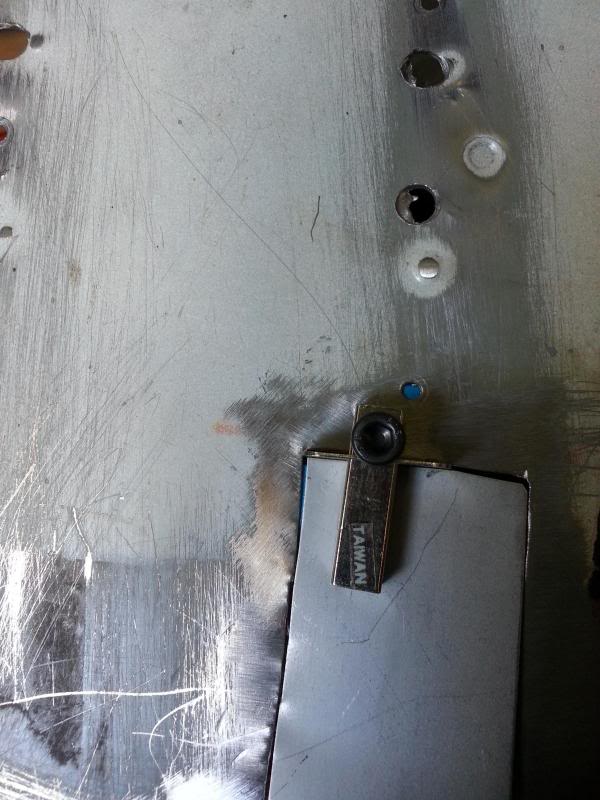
Dumbass alarm installer drilled a hole on a seam for the siren. Excellent place for corrosion.


Cut out a rusty part and patched and primered it.


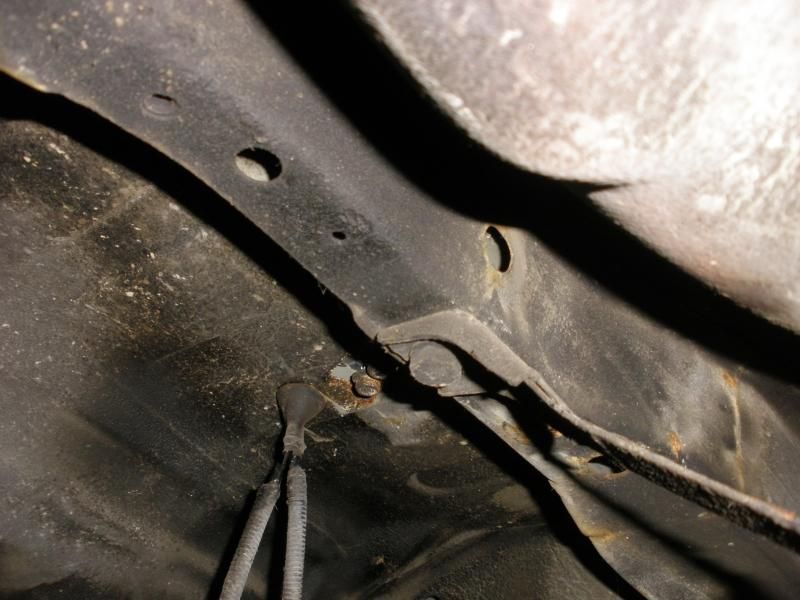
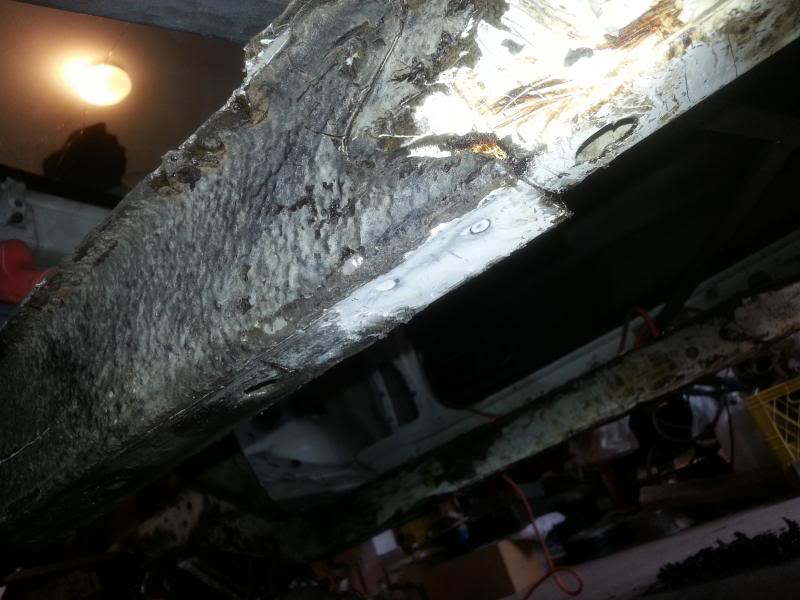
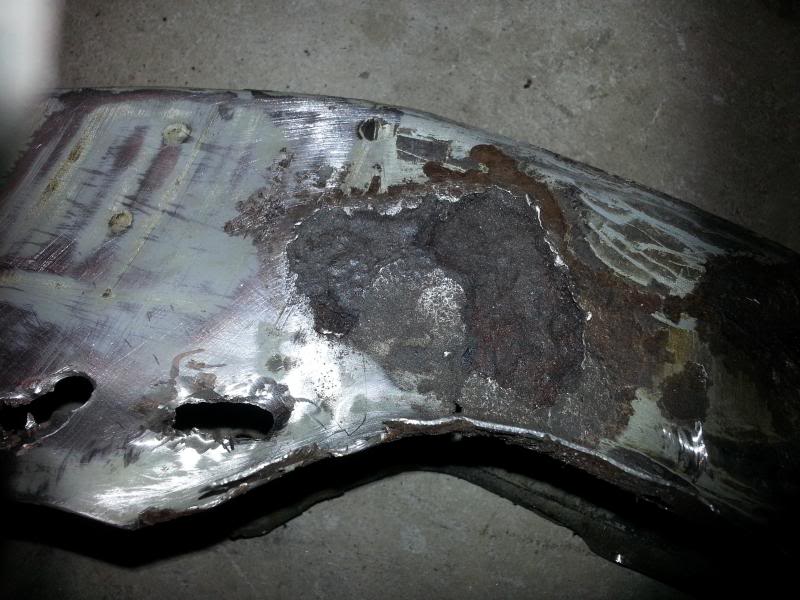
Found more rust, hiding beneath the rubberized undercoating.

And then I decided to remove the carpet and found this hole on the passenger side inner sill


Looks like a bad spot weld from the brace started it
Now back to the passenger wheel wheels, I decided to take a closer look at the welds and proceeded to open them up, kinda wish I didn't primer the whole thing now.


Wire wheeled one half of it.


Filled the holes with weld, grinded it flush, and etched it with phosphoric acid

Patched another section

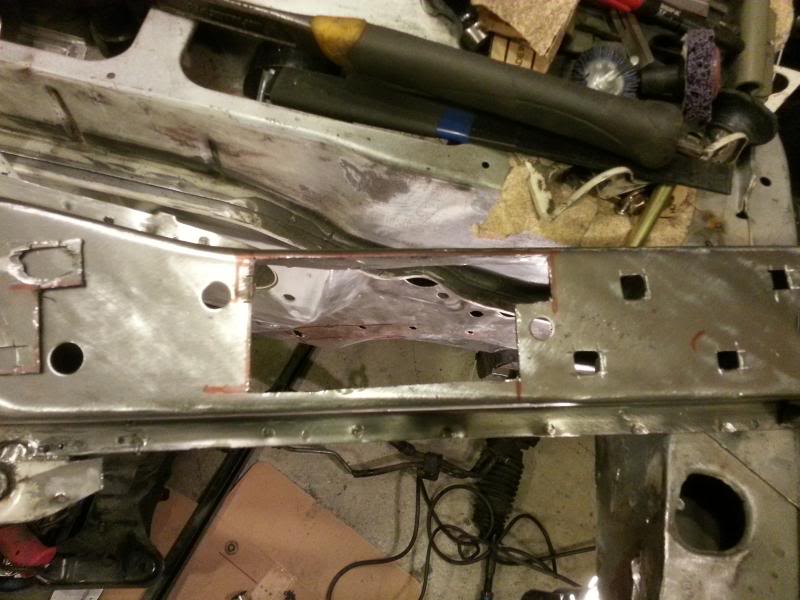
Cut out where the wheel well is welded to the frame member, found a nice surprise.


A little bit of rust inside, but nothing major.

Sanded it, vacuumed it with a rubber hose, washed it with phosphoric acid and neutralized it and coated the inside with Eastwood's Internal Frame Coating. It's very thin paint that seeps through the seams and coats it

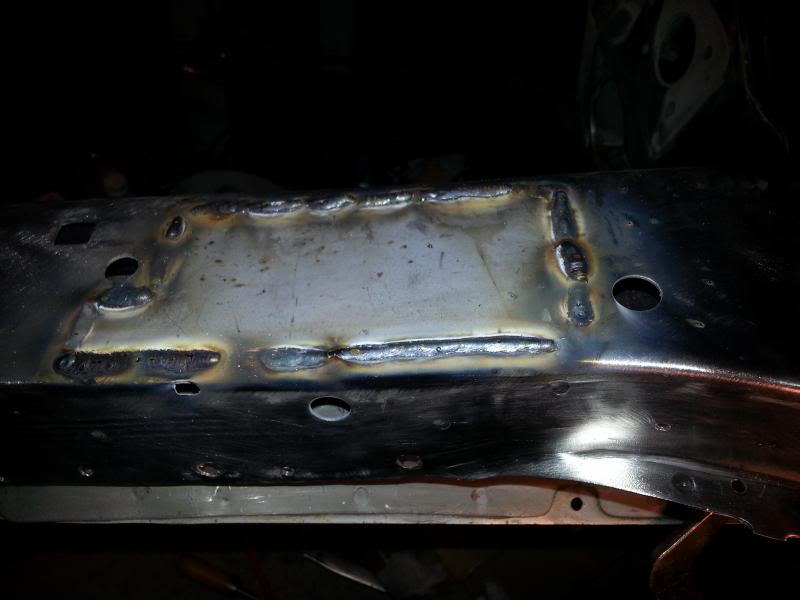
Welded a new piece back on, and shot it again with the internal frame coating

Weld through primer

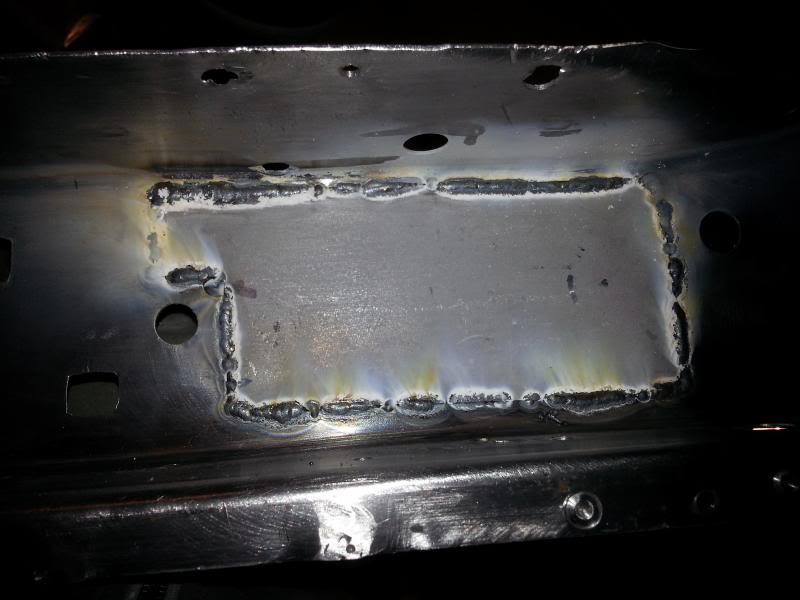
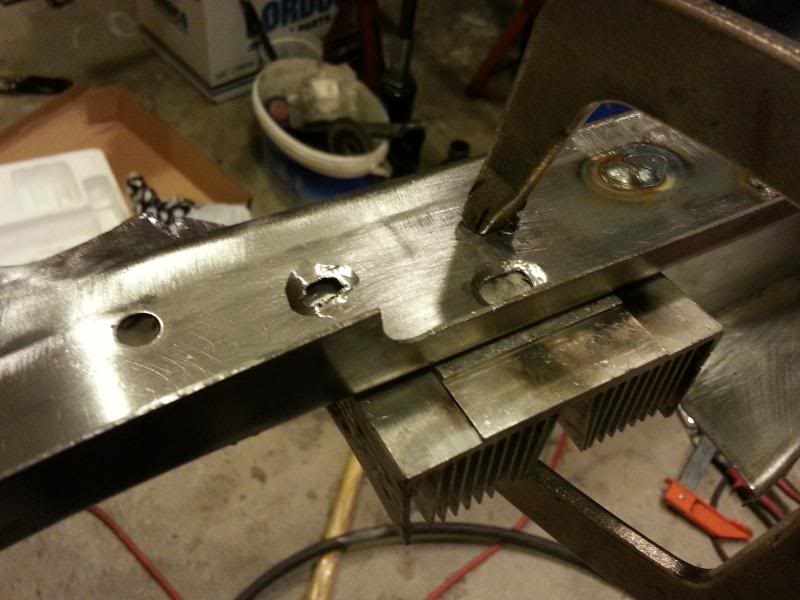
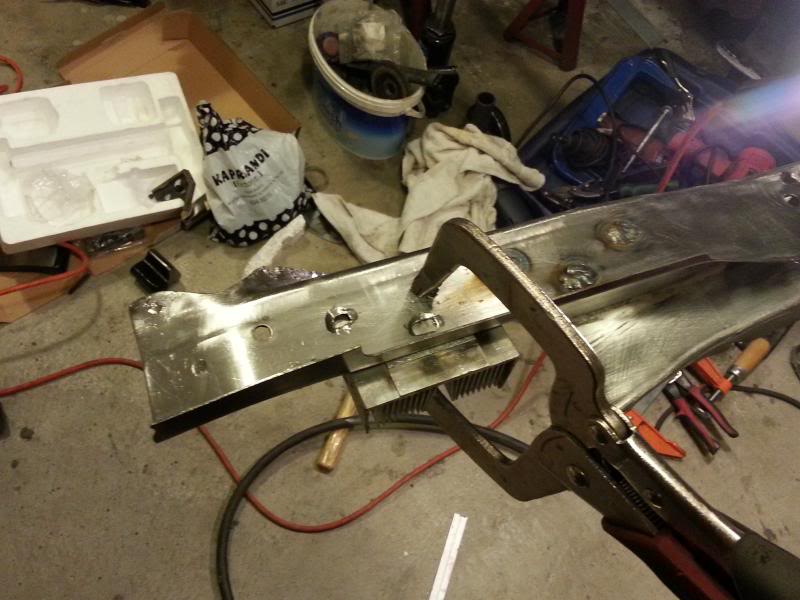
Lined it up and drilled holes for the plug welds.

Welded and flap wheeled

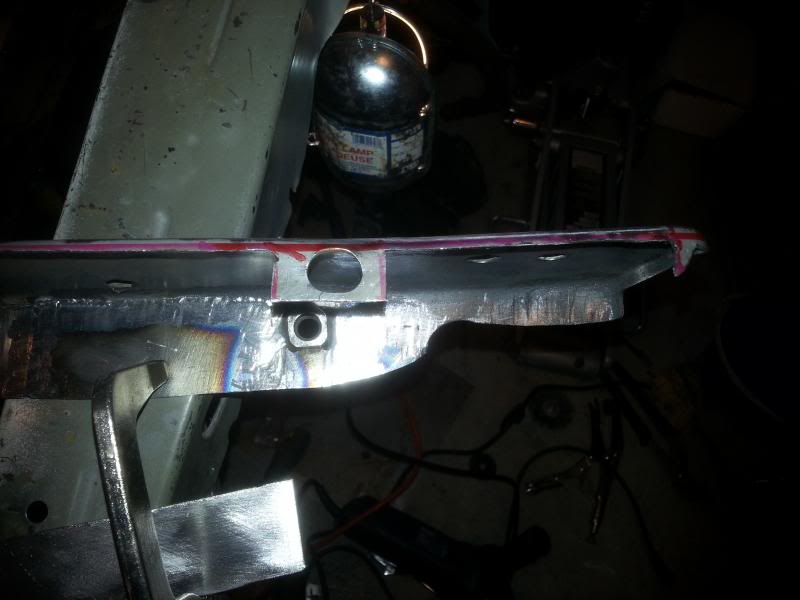
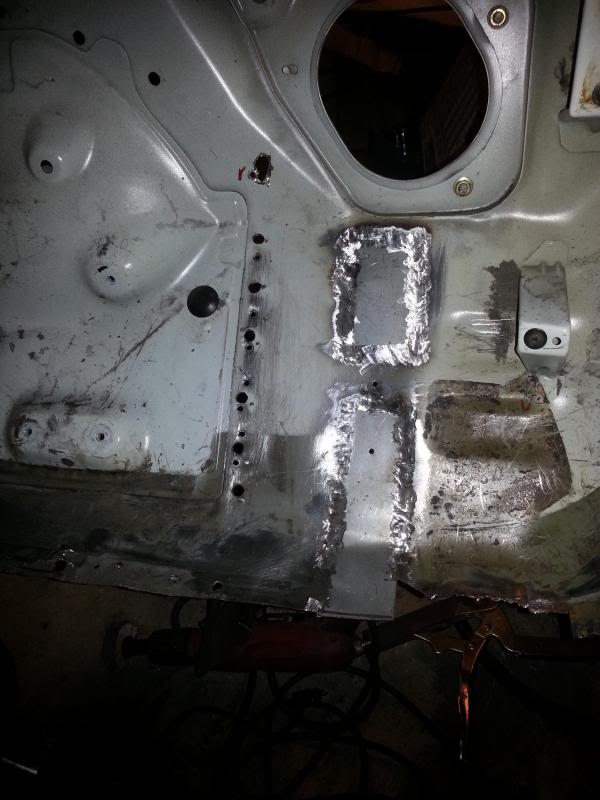
Closed it up, don't have any finished pics yet
Now back to the passenger side strut tower

Cut it out to find and kill hidden rust.


Welded it back up and coated it with Sherwin William's Macropoxy. It's a really tough epoxy primer, you can use it for boats in salt water as well
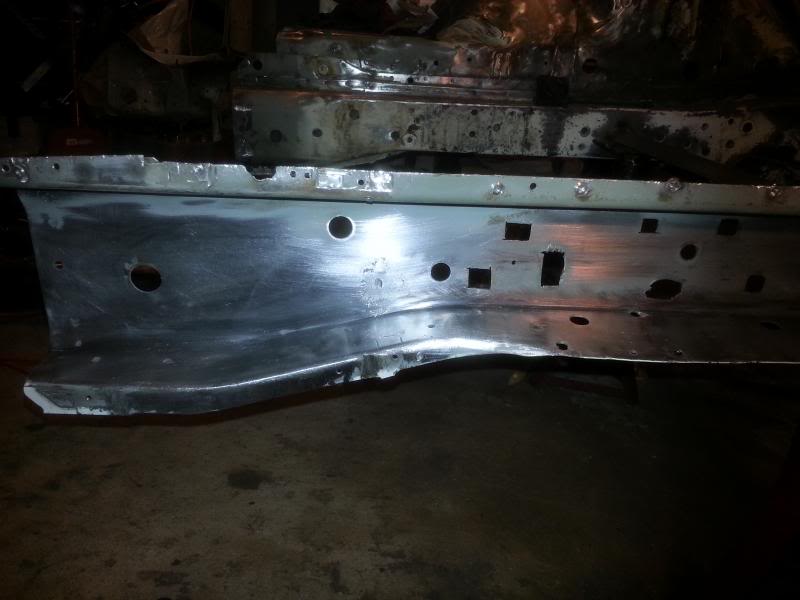
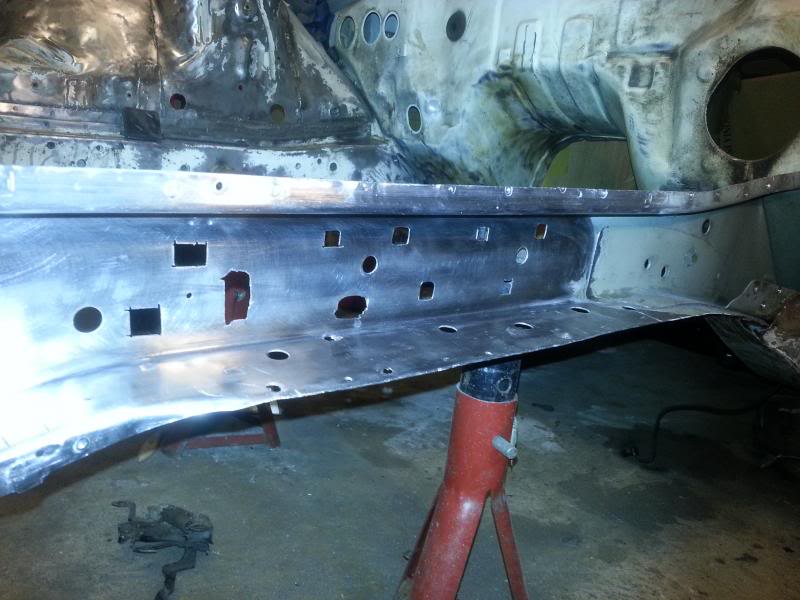
Andddd back to the driver side. Had to redo some stuff and found some more rust. Used a heat gun and a metal scraper to remove the undercoating. Found a lot of hidden rust.


Rusting at the welds

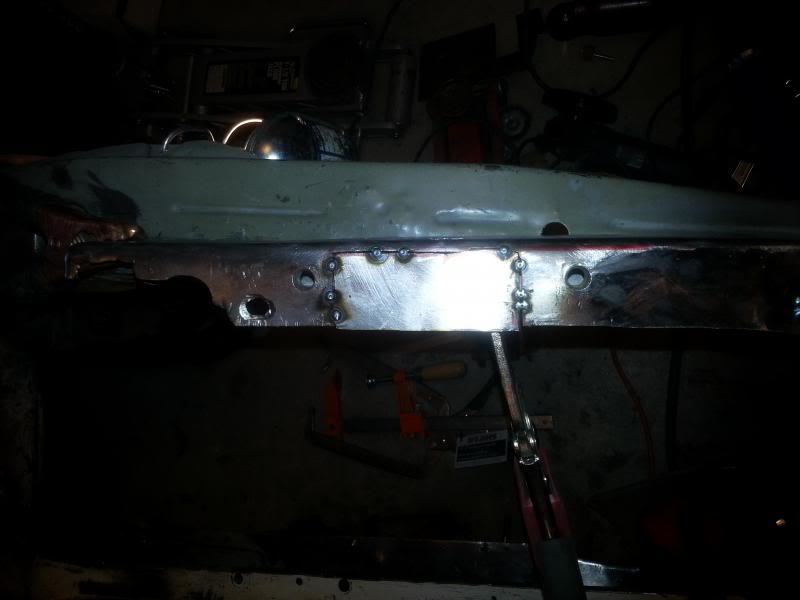
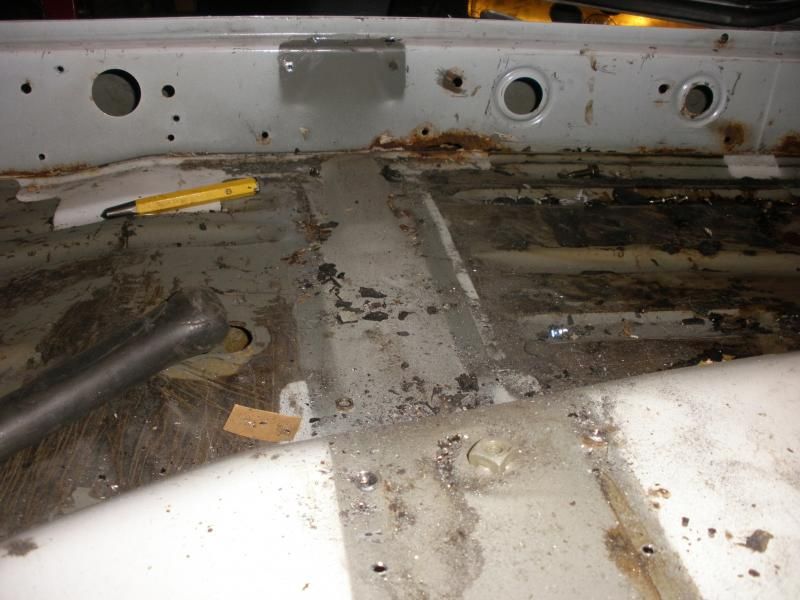
Firewall, floorpanel, is on the right of the picture

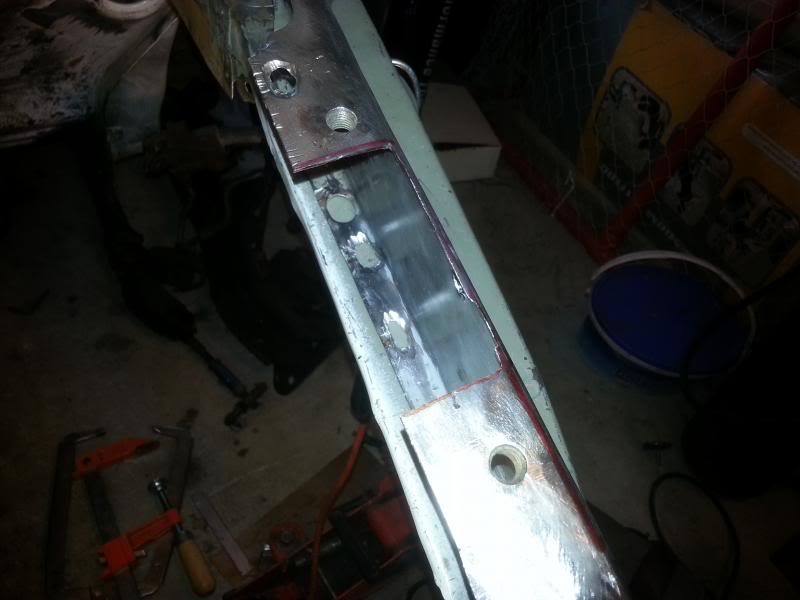
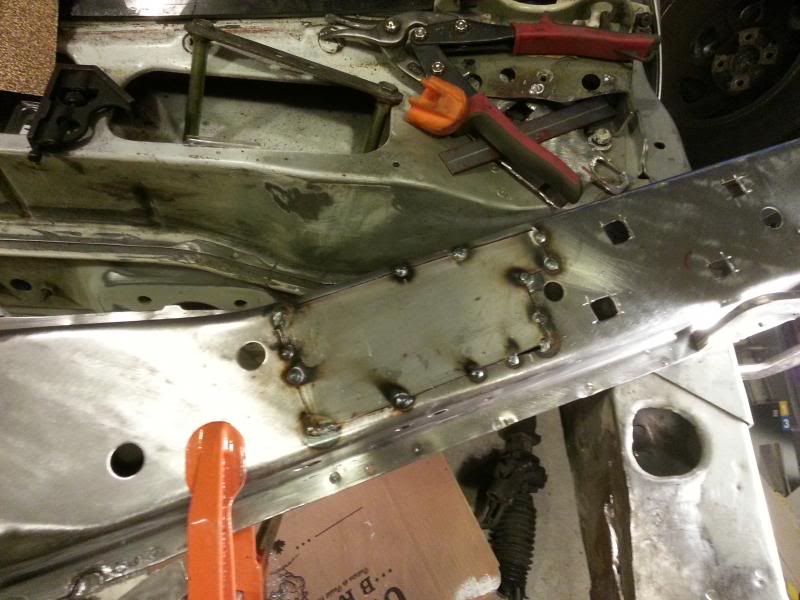
Drilled out the welds for the rad support and removed it, also cut the battery tray area


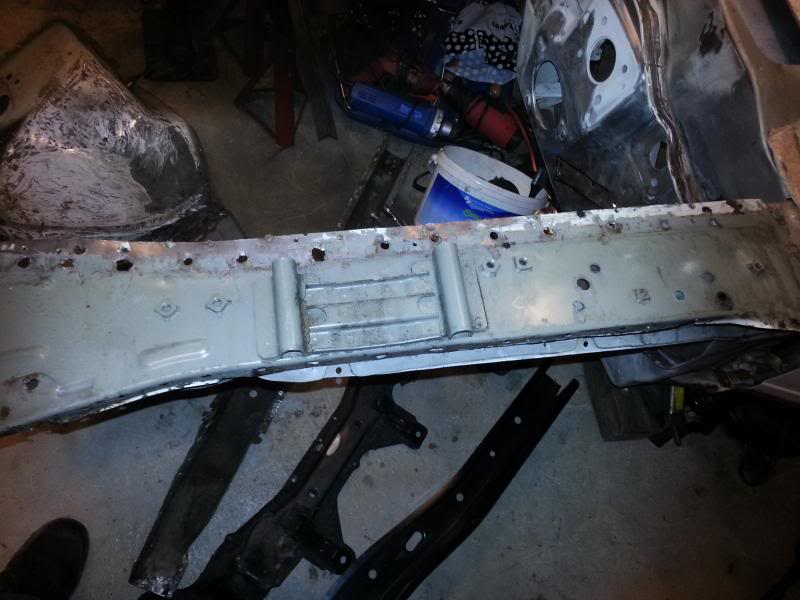
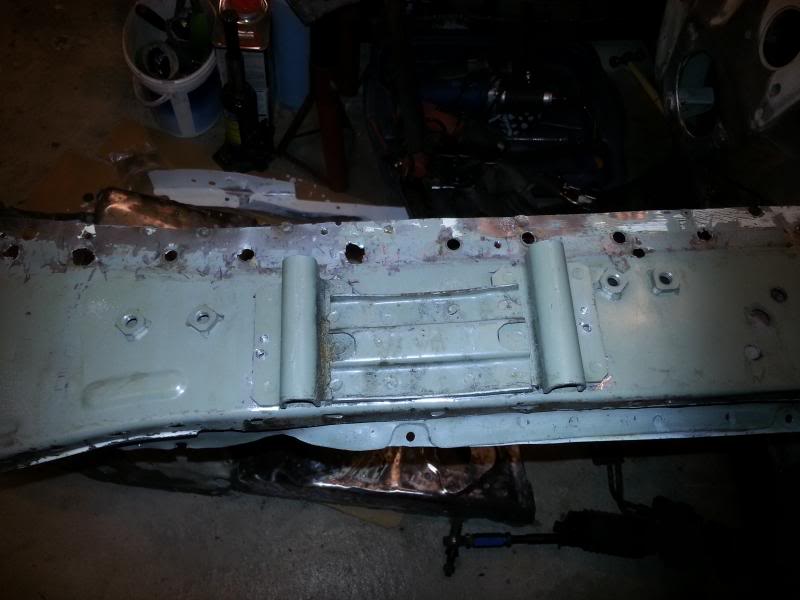
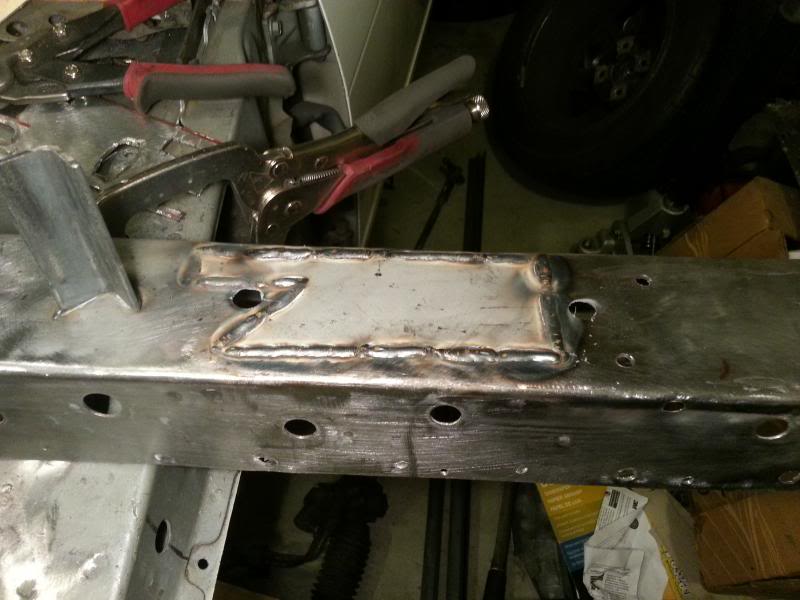
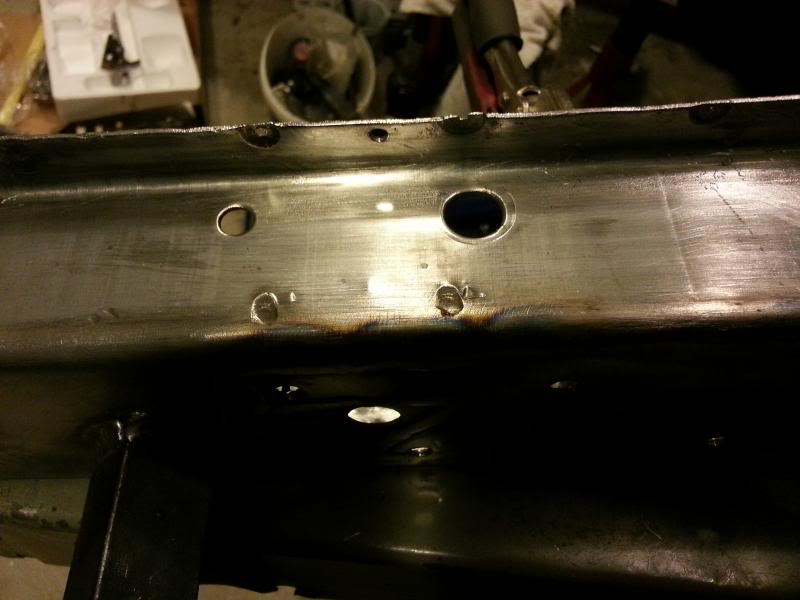
Cut and welded a new piece for the rad support to weld on to

Seriously, who the f*** did the seam sealer for S13's?

How did this even pass quality control?


This was probably caused by brake fluid.


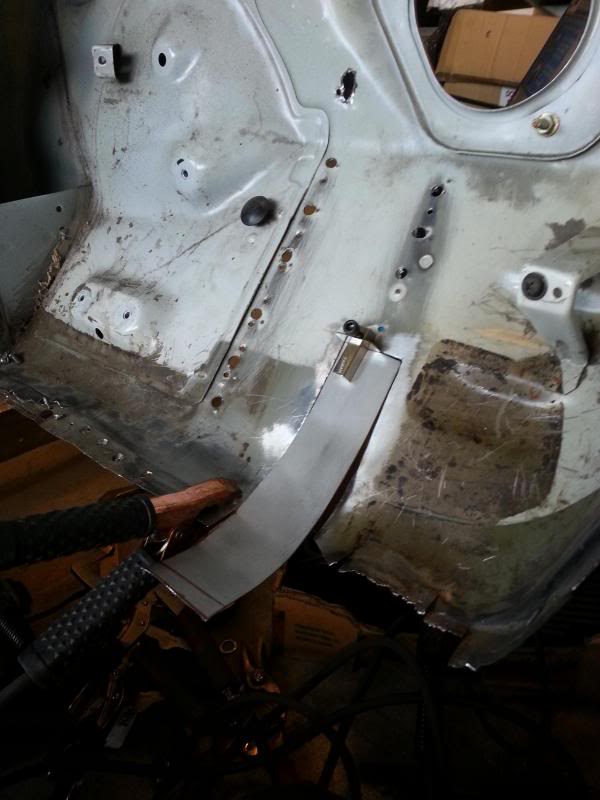
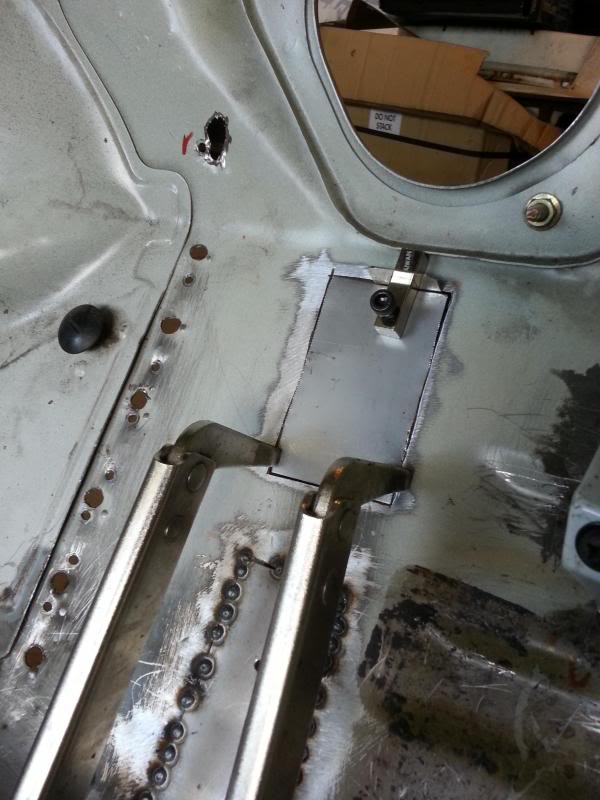
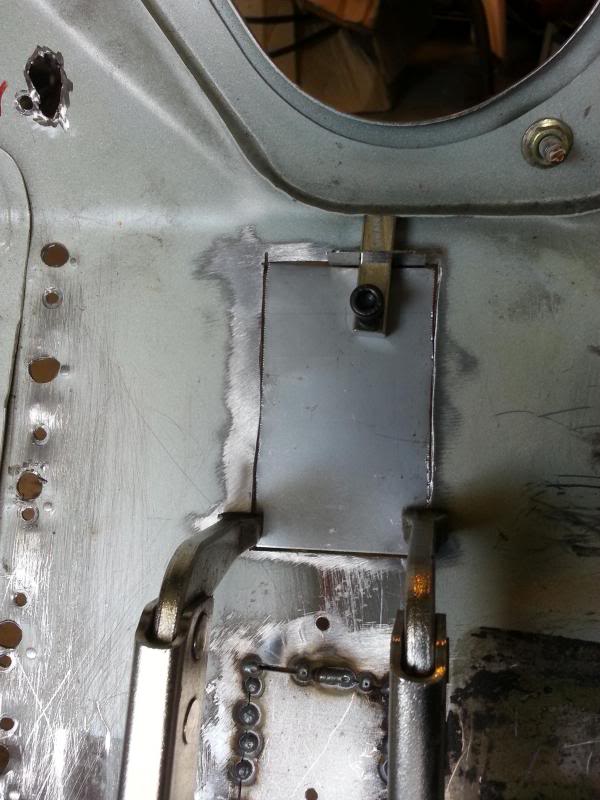
Had to remove the interior in order to weld it back on.

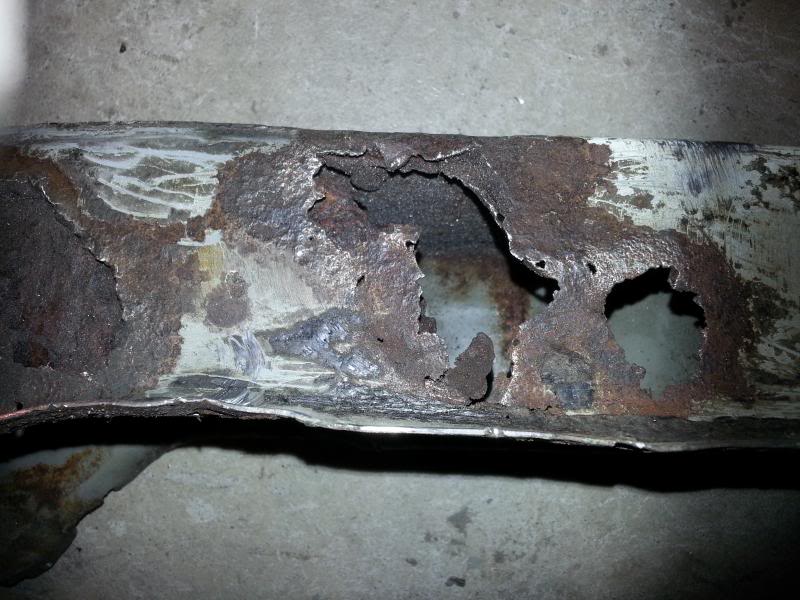
Anddddddddddddddddd more rust

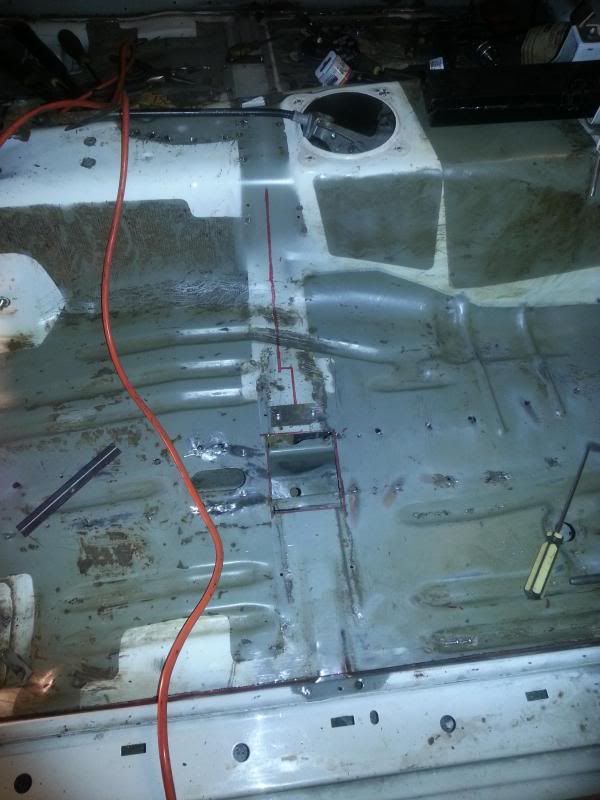
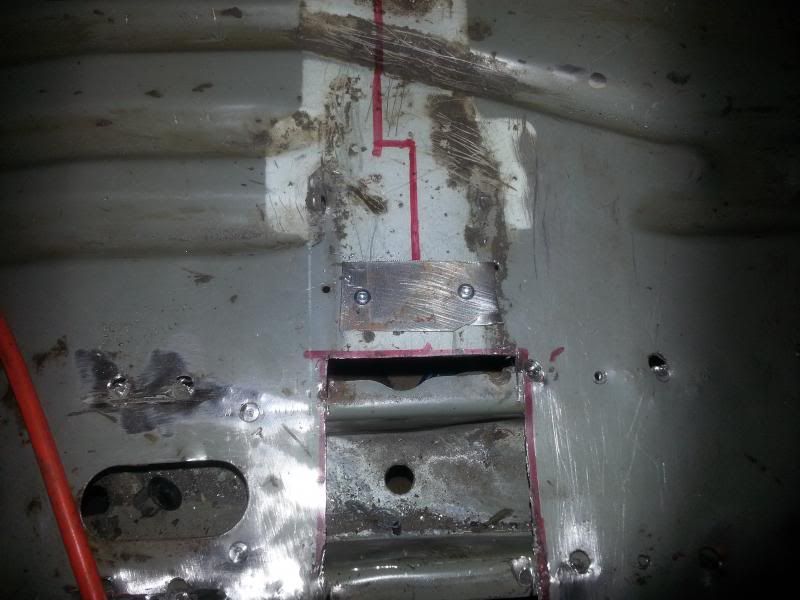
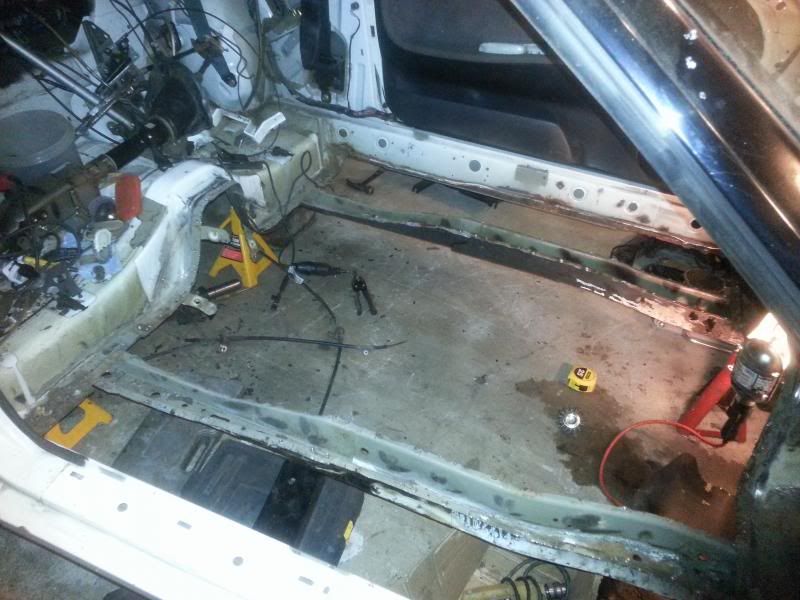
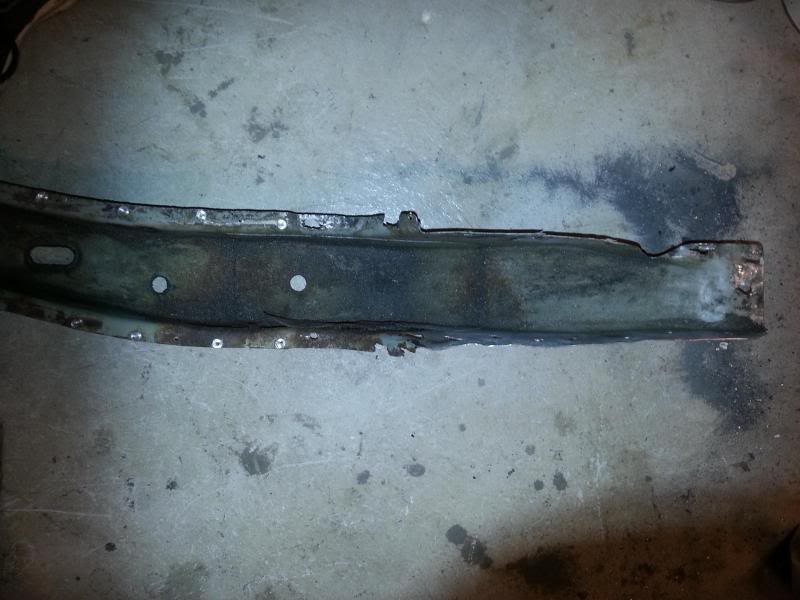
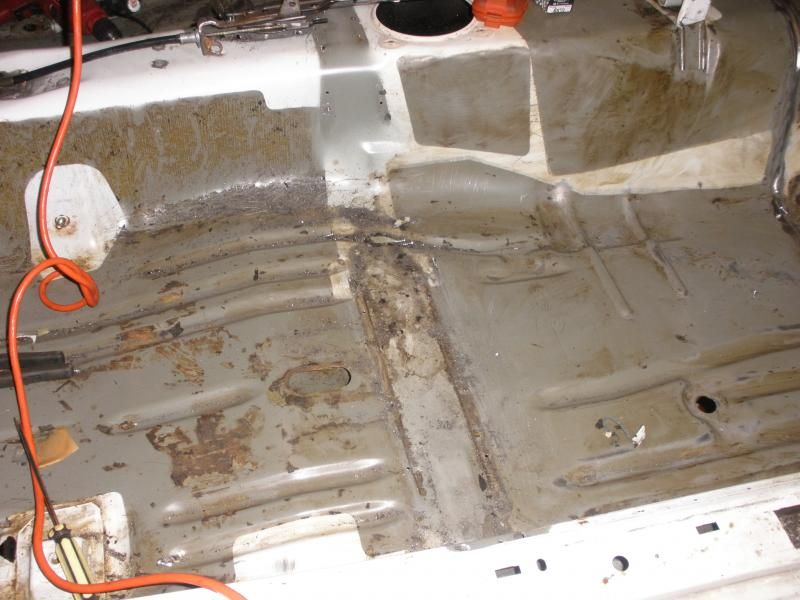
Rear floor pan area

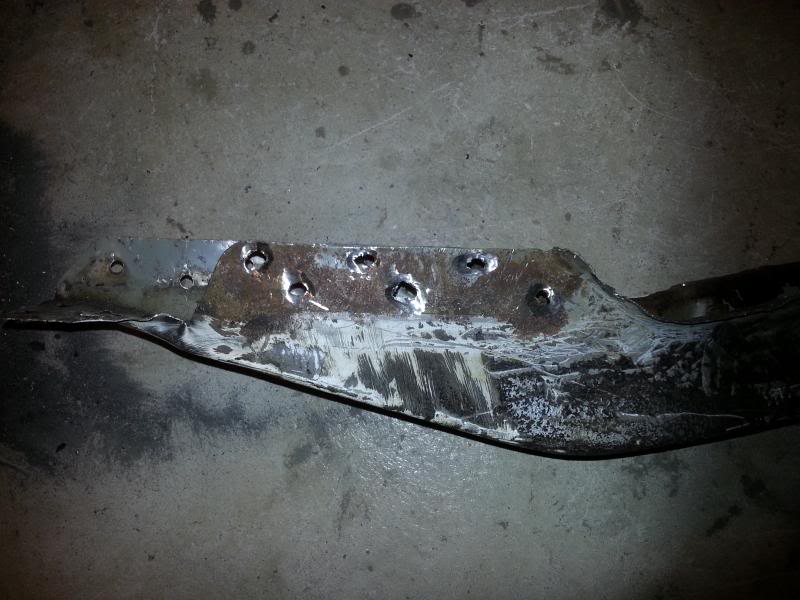
Removed closing plate for side member.


Random transmission tunnel rust hole.


The infamous floor pan rust

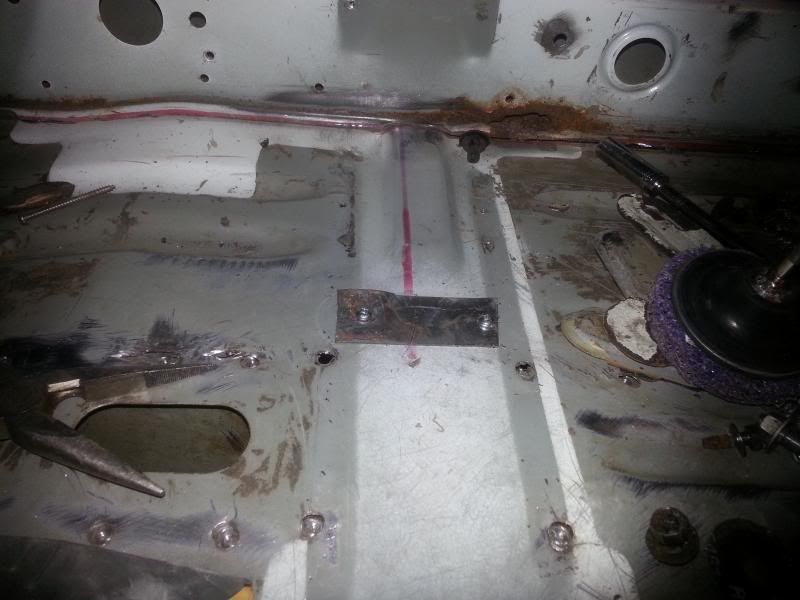
So I removed all of that sound deadening and started to work on that flimsy brace that goes door to door.
These two spot welds weren't even done properly. All I had to do was slip a flat blade screwdriver between the floor and the brace and give it a twist. They popped off. Just like that. Gotta love Nissan. f***
Removed that flimsy brace.
The dimple in the middle of the picture is another bad spot weld.