Items needed:
DOT 3 brake fluid
10mm box wrench
1/2" open end wrench
vacuum hose
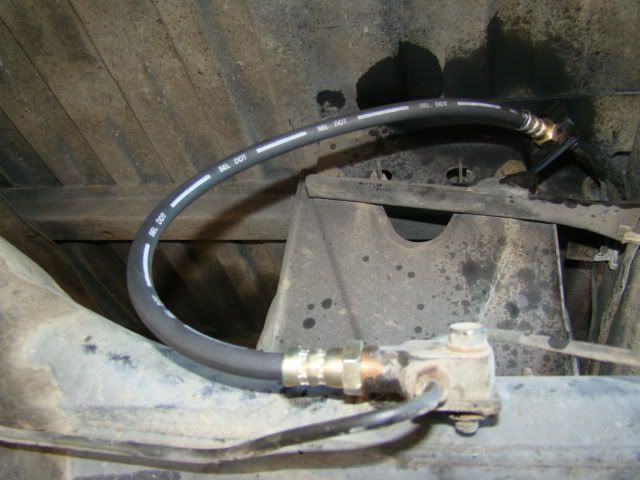
replacement brake lines. Note there is only ONE rear rubber brake hose. That is because the rubber brake hose is used to jump the gap between the rear hardline and the axle. That is it! Simply hardline on the axle between the two sides. You'll see in the pics.
According to the parts store, there are 4 hoses for the front: 2 for left and right "outer" and 2 for left and right "inner". However, from what I could see, there are only three for the front, 2 left and right "outer" and 1 right "inner". The "outer" brake line goes from the hard line on the frame to the caliper. The "inner" goes from the firewall hardline and jumps the gap to the frame hardline on the passenger side. You'll see what I mean when you take a look. I did not see an "inner" brake hose on the driver's side.
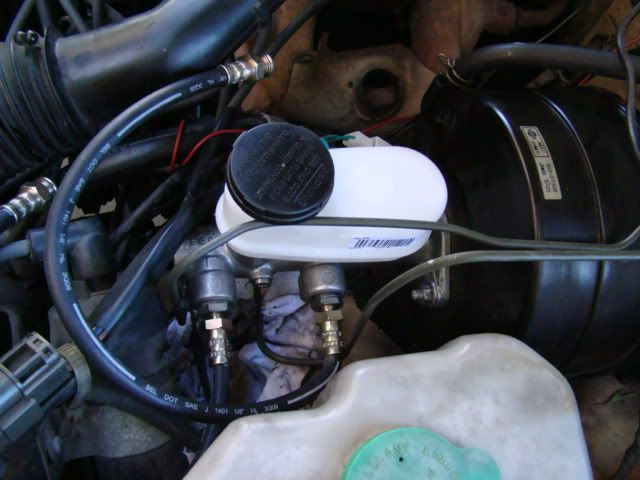
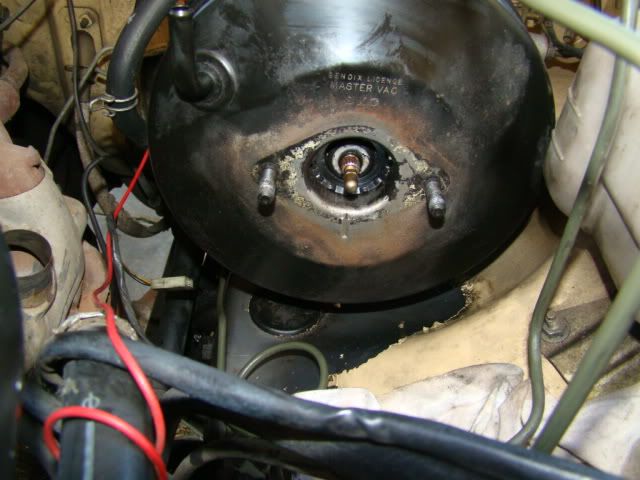
Removing the two hardlines from the existing MC. After that, remove the two nuts holding the MC to the booster. Note you do NOT need to disconnect the brake pedal to do this.

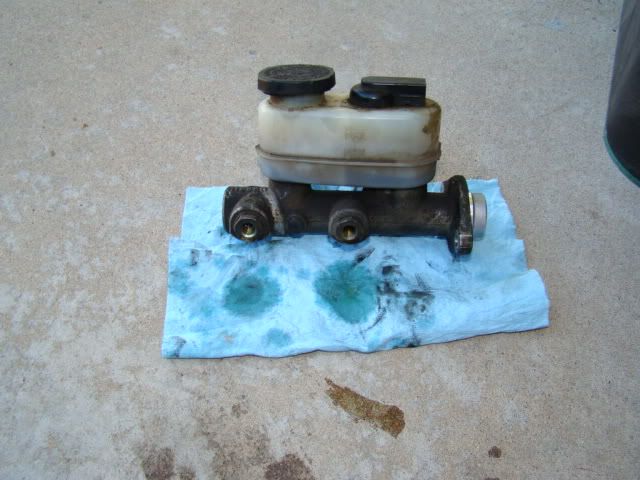
MC removed. The new one is slightly different in that the low level sensor is part of the cap in the new unit, and it is separate in the old one.
New MC with the rear brake lines ready to be bench bled. You can do the bench bleeding with the MC installed on the booster. Simply connect the new brake hoses to the new MC and route the hoses below the fluid level in the MC. After done, wipe off any excess fluid off the rubber.
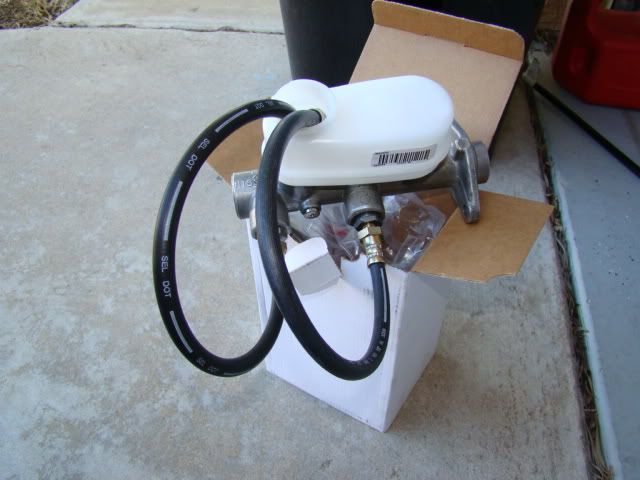
Bench bled, cheating a little. Tip: when connecting the old hardlines to the new MC, do NOT bolt the MC to the booster yet. Connect the hardlines to the MC FIRST than bolt to the booster. If you connect to the booster first, the front brake hardline is difficult to line up with the MC, and there might be a small chance of cross threading.
The is where mine was leaking. The rear of the old MC was allowing fluid to drip down the booster and onto the fender. You can see the affects of the fluid on paint!
Rear brake line. This is what I'm talking about the rear only requiring one hose. Had to use some WD40 for the top connection.
Bleeding is simple. Take the appropriate sized box wrench on the caliper valve, insert the vaccum hose onto the nipple with the other end in a container, and have your friend pump the brake pedal. Continue until all the old dirty fluid is out, and there is no more air bubbles. Continue to all 4 brakes.
The changes were amazing! can stop a LOT better and surprisingly simple!