Computer: Zotac Nano: $270 (you can build better, but unless you are one of those that want the best simply for the sake of it, this will be WAY MORE than what you need)
Monitor: Lilliput 669GL 7”: $180 (great touch response, decent sun readable, but I plan on upgrading to a different one that is crystal in the brightest sun for about $600…I keep my roof open)
Power: DCDC USB: $60 (provides the power for the computer, monitor, and auto start/shutdown for computer)
Power Case: $7
USB wires: 2 16’ to reach glovebox: $32; 1 10’ to reach touchscreen: $6; 1 3’ to power supply $4; 1 4 port hub in glovebox $4; 1 5’ from glovebox to speaker: $6
HDMI wire: 10’ to reach monitor: $8
Right angle HDMI adapter: $6 (MUST be sure to get the 270 degree and not the 90 degree with this particular monitor)
Speaker: AYL mini: $13 (The absolute BEST little speaker I’ve ever heard! Bought for general computer feedback and to hear it talk to me like KIT lol, but caught myself a couple times listening to music on it)
Speaker Wire: 15’ Stereo headset extension: $6 (Didn’t really want to buy 15’, but it was the best build quality for the price)
Ground Loop Isolator: $11 (I bought this for a specific set up I’m doing, so you may not need it, but it works)
Various wires, connectors, relays, switches, grommets, fasteners, led indicators, and other stuff: Maybe $100-250.
Leather to match interior, free sample from a furniture store. Sorry, but no pics of the touchscreen fabrication.
We’ll assume you have all the tools you’ll need to do this.
Total $763-$863
Depending on how in depth you want this thing to interface with the car…you can do some amazing stuff with the car…you could spend up to $3000. Caveat, after you get everything together, there is one thing that would be HIGHLY useful, almost a necessity, but you may never need it again, http://www.amazon.com/Pyramid-13-8-Volt ... 11&sr=8-11.
So after everything is bought
Pre setup: Create the led/switch box, I’m probably going to do it again because I don’t really like how it’s not perfectly flush with the area of the cigarette lighter.


Testing everything out.

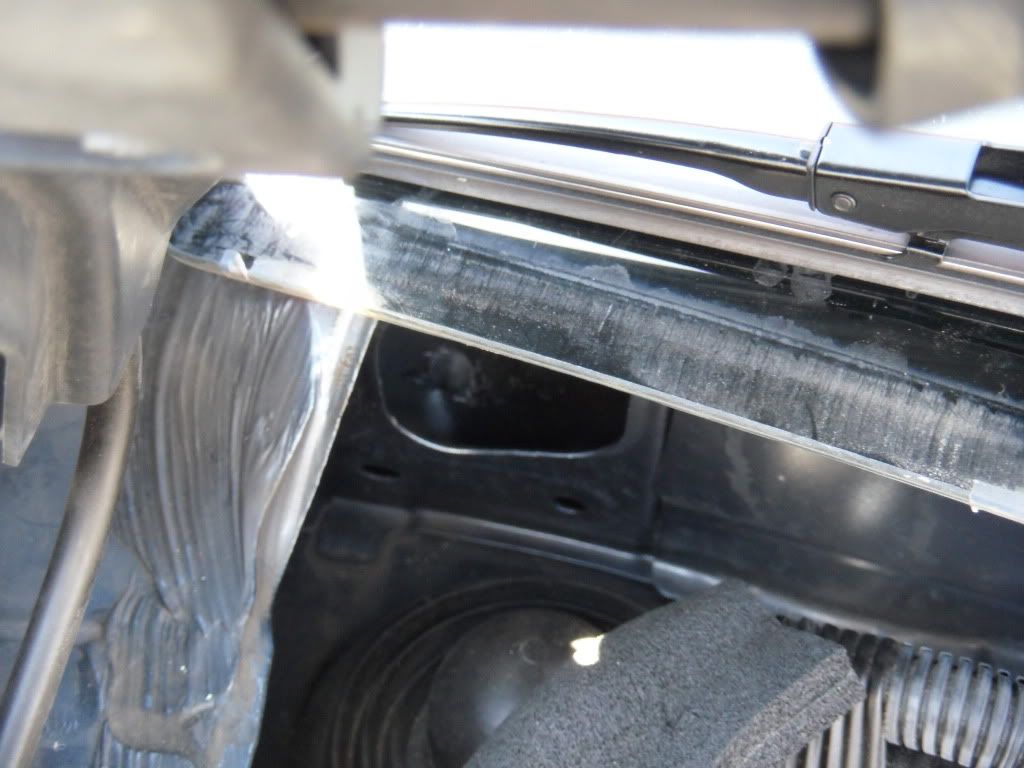
Step 1: Drill the hole for your power line. I drilled it in that small crevasse above the grommet on the passenger side. I recommend not drilling it there because it is hell fishing it through the firewall covers if you want to keep them in tact, getting the grommet in cleanly, and then sealing it up. I chose that spot initially because I was paranoid of the rain and water leaking in.
Step 2: Take the car apart and drill the hole through the front of the car. Instead of posting all the pics of ripping the car apart this How To FAQ was my whole process. just-testing-thread-post-t555705.html#p6311317
Step 3: Secure fuseholder that the power cable is running from.

Step 4: Run the wires. I chose to run the wires over the back seat and through the rear of the center console. I first took a clothes hanger and attached a strong 5’ 12awg wire and ran that through. I then got rid of the cloth hanger and used the wire to fish the rest of the cables with. The reason for this is I found it easier to pull a flexible wire through and get over the little hump at the front of the back seat…especially when it came to the usb and hdmi heads. Also, with the length of the wire, I didn’t have to refish it, there was still enough on the back end to just pull it back and attach the next cable to fish.


Step 5: Set in the monitor, speaker, ground isolator. (Maybe one day I’ll set up a switch to pipe the computer through the system, but for now I just need simple computer audio feedback) The wires and relay under this is a VERY tight fit.


Step 6: Designing the spot to hold the computer. It’s not pretty, but it does the job and secures the computer pretty tightly.
Left side of trunk and space, where trunk rope is attached to:

Where the computer will sit:

Had to build a little platform, because if you look two pics up, you’ll see little knobs from the trunk pully protruding.

Me nearly cutting off my toes with the saw making this stupid platform. It was way worse than how the pic looks, the saw cut down to my socks when it bucked and ran loose…I sat quiet and still for about 15min after lol.

The overall enclosure built. The bracket I got at home depot, and the little round bumpers are there to hold the computer in snug…they are the things you buy to put on chair feet to slide them easily.

Finished

Step 7: Connect everything. Power, ground, remote wire, cables, led lights, switch. Sorry, no final pick. I used the thick awg wire in the pic at the end of step 5 going to the cigarette lighter as the remote switch for the power. I grounded to the backrest of the backseat; there are two grounding points. I used a cat5 cable to connect all the LEDs as needed. Much easier to run one single cable, and since they use low current this should be sufficient. Although next time I'll prob use cat6.


The only other thing I plan on doing in the near future is using the fact the computer is dual display, add a switch and feed the display port on the computer to the dash touchscreen using something like PAC VCI-NIS for an M35. That way I can put the nav in aux mode, flip the switch, and have the computer in the car’s monitor if I need it.