Betzy 240Z updates for 2013

A forum for owners of S30 and S130 Datsun Z's... 240Z, 260Z, 280Z and 280ZX!
User avatar
gmac708
Posts: 1913
Joined: Thu Jul 31, 2008 1:59 pm
Car: :o)
1970 240Z
1972 510

Post

It's been pretty quiet here in classic Z general. I thought it is time to post up some info on my plans for Betzy this year. :dblthumb:

Right now everything is covered up for the colder months. The kids got me a car cover for xmas for Betzy to keep her reasonably clean during the winter.

Image

I spent the better part of today cleaning up and putting things away. I cleaned out the cabinets and put away rest of the stuff left over from last year. Cleaned off the white board and ready to start.

Image

I want to improve the handling and maybe get a little more traction. I ordered a few more adjustable parts for the suspension. This should also help be get the wheels more aligned.

Image

First thing is going to be jacking her up and measuring everything. That way I can at least go back to that point. I have some cosmetic stuff to do on the inside and out, more on that as we get going. Might have some more parts powdercoated. Definitely need some new rubber. Thinking about a set of track tires and rims. Also need to go over everything mechanical to make sure she is ready for this season.

Image

Anyway, thats it for now. I should have something done by next week.

Gord


boostedh23a1
Posts: 281
Joined: Tue Oct 17, 2006 1:37 pm
Car: Datsun 240Z
Datsun 280Z
Location: Beaufort, SC

Post

Nice upgrades. I want to change my AZC front LCAs over to the techno just for on car adjustability. Adjusting the AZC is a total pain in the a**. I have the T3 R230 kit and traction with some 295 kuhmos and the stock rb boosted to 12-14 was fine. With the rb30/26 im probably gonna run some 315 or 325 dot slicks. Not sure what i want to do with the differential yet, i do have some 4.11 gears in it which is pretty insane with the rb30. It was a nice match for the 2.6 though.

User avatar
gmac708
Posts: 1913
Joined: Thu Jul 31, 2008 1:59 pm
Car: :o)
1970 240Z
1972 510

Post

I got started with my suspension mods on Sunday. I am starting with the front end because of it's greater distance from the garage door and its freekin cold out. I fired up the heater and it wasn't too bad after an hour or so. anyway...

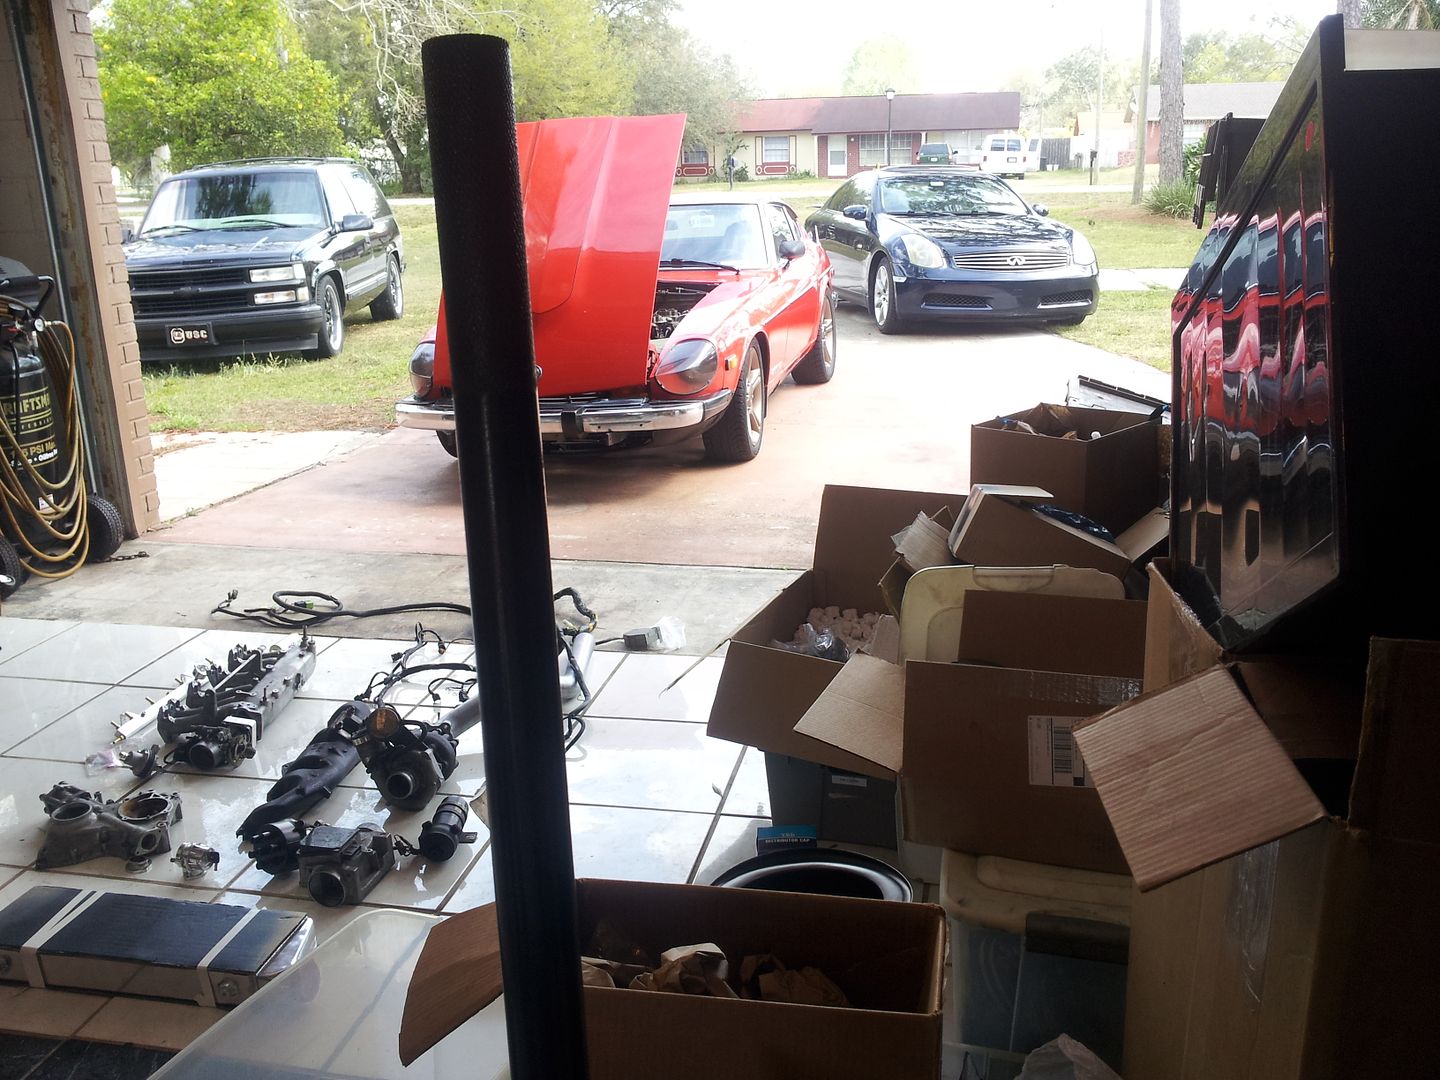
I took some shots of under the car showing some of the problems I caused by lowering the car. :ohno:

As you can see, the lower control arm is almost parallel to the ground and the tie rod end is above parallel. The tie rods are manufactured with a bend down to compensate for normal geometry between the steering rack and the steering knuckle.

Image

The first thing I did after I put the car on jacks was to map out the present setting on the floor, using a plumb bob. I know it looks kind of silly but it will actually help me get it back to where I started (reasonably close) and can get it dialed in with a proper alignment later. My pivot for steer knuckle was centered off the grease fitting on bottom, The end of the axle was for steering limits.

Image

It is fairly simple to do and it is repeatable. Wax cord, Magnet, part of a puller made up my plumb bob.

Image

Image

Brakes came off next.

Image

Then the bolts on bottom holding strut to steering knuckle.

Image

This is what everything looks like stock with the strut removed (sway bar disconnected).

Image

You can see from this picture that the lower control is not centered in the pivot mount. It is slightly forward. Poly bushing.

Image

I marked the center of that forward pivot on the floor for later dimension check and comparison to the other side.

Image

Here is the new TechnoToy Tuning (TTT) lower control arm and Arizona Z Steering knuckle with integral spacer.

Image

TTT lowers come with new ball joint. ***Note about ball joints***You may have noticed that my ball joints were mounted on top of the stock lower control arm (LCA). My car is an early series 1 car and originally, up to July-1970, had a smaller ball joint (same as 510 I think). I ordered the newer bigger "normal" ones a couple years ago and they would not fit in the normal position on stock LCA. I discovered they fit when I mounted them on top of the stock LCA.


New steering knuckles look really clean. They are approx 10MM shorter so I should get a little more response out of the steering. They also come with a little hole to assist with bolting them to the ball joint.

Image

LCA looks awesome. Rod end has LH thread so adjustment can be done without removing the arm. Pretty slick.

Image

It comes with a bunch of washers to assist in spacing. I figured three on back and one in front to duplicate stock spacing.

Image

Bolts right in.

Image

TC rod is next. TTT stuff looking good.

Image

No more poly bushings! Adjustable. Sweet. :bigthumb:

Image

Here it is installed. The one inch spacer is built into the knuckle. This will lower the knuckle tie rod end from the bottom of the strut by about 1inch.

Image

Overall impressed with the fit so far. :dblthumb:

Image

Next is the other side. I am also doing a little cleaning up on the top of the strut. I'll update later.

Gord

User avatar
gmac708
Posts: 1913
Joined: Thu Jul 31, 2008 1:59 pm
Car: :o)
1970 240Z
1972 510

Post

I took care of a few items on the strut. Good time to open it up and check out the inside. :bigthumb: Had a little water inside. Not much of a problem. Then put back together.

Image

I purchased the coil thrust bearings. They let the coil spring rotate on the spring perch while being compressed and it also makes it a little easier to adjust with a load on it. :biggrin:

Image

Put a little grease on it to keep from corroding.

Image

All good now.

Image

Then on to the other stuff.

So I get the struts installed ...I used the plumb bob method of adjusting the struts back to the original position. Works great! The measurement from center of inside arm to center of grease fitting was 11 3/16" (285MM) on both sides. Must have done something right for them to be the same. :gotme As I said before, a great place to start before a proper alignment. :dblthumb:

Image

...and then find out that the steering knuckle hits the TC rod forward mounting bolts when turned inboard. :mad:

Image

Image

Image

CRAP!

So I figured I would mount the lower ball joint on top surface of Lower control arm on the driver side.

Image

Image

Better, but still hitting. This sucks. I know it will be OK with weight on it and the control arm comes beck to level, but it still isn't right. I might try getting the spacers from TTT and use the old knuckles. The AZ knuckles are way beefy and have a lot of extra meat on them. I do not want to grind them.

This sucks. :frown:


gord

User avatar
Ace2cool
Posts: 12672
Joined: Sun Apr 20, 2008 5:21 pm
Car: 1991 Nissan 300ZX TT
1966 Datsun Fairlady 1600
2005 Suzuki GSX-R 600
1974 Honda CB550 Four
2009 Ford F150 Lariat
Location: Murfreesboro, TN

Post

She's looking beautiful, gord.

User avatar
gmac708
Posts: 1913
Joined: Thu Jul 31, 2008 1:59 pm
Car: :o)
1970 240Z
1972 510

Post

Update

I had to spend a week on the road in the beautiful state of Arizona. I used to be able to say it rains every time I go to Tucson. I can't now because it snowed! :crazy: Otherwise everything went well. Now I am back home and had a chance to get working on Betzy.

I talked to the guys at TTT and discussed the options for the lower ball joint. The lower ball joint can be mounted on the top or bottom. I like the mounting on the top as it gives a bit more clearance between the knuckle and the front part of the TC rod.

Here is a picture of it bolted to LCA. I had to grind away a bit of the casting mark on the outside radius to make it fit through hole in LCA. Other than that, it worked perfect!

Image

Here is shot of plumb bob at work trying to get it back to original position.

Image

Having marks on floor for reference. I ended up bringing the wheel position in 1/2" from where I started. Centerline stayed the same.

Image

Everything adjusted easily. Solid as a rock and smooth movement. No more squeaking bushings.

Image

sway bar hooked up.

Image

Brakes back on and bled.

Image

All done, back on floor. Looks a lot better. Now my steering arms and LCA's are not bent up so much.

Image

Plenty of room for the knuckles. They do not hit the TC mounts or mounting bolts with weight on wheels.

Image

After I got the front end together, I took her for a test drive. Handles perfect! No fender rub or any unusual noises. I did a rub check for steering stop to stop. Cannot really tell until I get it on the track, but I like the quicker steering response. The braking and weight transfer to the front caused no changes to the handling at all. This is good.

Next is starting on the rear LCA's.

User avatar
gmac708
Posts: 1913
Joined: Thu Jul 31, 2008 1:59 pm
Car: :o)
1970 240Z
1972 510

Post

OK

Starting on the back.

One of the things I noticed on the 240Z is that the rear wheels are not centered in the rear wheel wells. This drove me nuts when I was cutting out the ZG flares.
Here is a shot of the clearance on the forward right.

Image

And aft right.

Image

The stub axles line up, or are just forward of center with the differential.

Image

I am going to move the axles back about 1/2" from where they are. This should give me a little more fender clearance. Anyway...

I started by marking the axle position with the plumb bob on the floor.

Image

Brakes, axles, and sway bar were removed for clearance.

Image
Image

Then I knocked out the pindle pin.

Image

I had them out a little while ago, so they came out easily. I have heard horror stories about getting them to move. The little bolt in the middle is a key that hold it tight.

Image

Next up was to pull the struts. They will get a good once over to make sure everything is OK. Also going to add the spring thrust bearing. Same as front.

Image

Image

Image

Sure felt good driving her this weekend. Even if it was only for a few minutes. It was cold and the rear tires could not get a good grip. Felt kind of "greasy" sliding around when getting on the throttle.

That's it for now.

Gord

User avatar
evildky
Posts: 14713
Joined: Sat Jan 31, 2004 9:23 pm
Car: 71 240ZT, 87 300ZXN/A-T, 06 350Z GT, Tundra TRD RW
Location: Louisville, KY
Contact:

Post

Why no rear LCA's?
You did get lucky on the spindle pins, I've had 1 pair that came out without a fight and every other set I've ever done has been a fight, one I simply could not get and had to take it to a machine shop.

User avatar
gmac708
Posts: 1913
Joined: Thu Jul 31, 2008 1:59 pm
Car: :o)
1970 240Z
1972 510

Post

evildky wrote:Why no rear LCA's?
Soon. I will do those next. I have the Techno Toy Tuning Rear LCA's. :bigthumb:

User avatar
300ZXttZMAN
Posts: 7807
Joined: Mon Nov 22, 2010 4:07 pm
Car: 1990 300zx Twin Turbo 5 spd pearl white.

My Daily: 2008 Frontier NISMO package, 4x4 Crew Cab.
Location: Sulphur, LA 70665
Contact:

Post

Looking great as usual. I love reading your threads.. Keep up the good work. :bigthumb:

subscribed

User avatar
VQpwrdSE-R
Posts: 649
Joined: Sat Dec 19, 2009 4:32 pm
Car: 2005 Code Red Nissan Altima SE-R
2013 Nissan Altima SV
Location: Pennsylvania

Post

I see what else you have been up to in 2013 Gordon.
Image
Way to go man, do you need votes to win? Anything we can do?

User avatar
gmac708
Posts: 1913
Joined: Thu Jul 31, 2008 1:59 pm
Car: :o)
1970 240Z
1972 510

Post

VQpwrdSE-R wrote:I see what else you have been up to in 2013 Gordon. Way to go man, do you need votes to win? Anything we can do?
Not really sure what to do at this point. I am so excited about the whole thing. :biggrin:

User avatar
VQpwrdSE-R
Posts: 649
Joined: Sat Dec 19, 2009 4:32 pm
Car: 2005 Code Red Nissan Altima SE-R
2013 Nissan Altima SV
Location: Pennsylvania

Post

It's crazy! Do you have a links for the motor trend contest so I can find out more info? What happens? Does the winner take on a 370z? All of the Zs are nice in their own way, but the soho z looks like it was backed by a tuning company.

User avatar
gmac708
Posts: 1913
Joined: Thu Jul 31, 2008 1:59 pm
Car: :o)
1970 240Z
1972 510

Post


User avatar
gmac708
Posts: 1913
Joined: Thu Jul 31, 2008 1:59 pm
Car: :o)
1970 240Z
1972 510

Post

Update!

So today I continued with the rear lower control arms (LCA). :bigthumb:
The LCA's I chose were from Techno-Toy-Tuning (TTT). There are so many out there to chose from. They looked the best to me and were adjustable. :dblthumb:

Image

The rear kit comes with all new bushings, lube, and washers for spacers.

Image

Taking the old ones out is real easy. I removed the axles and struts and brakes but you don't have to. My car has a sway bar and that needed to be disconnected. Next are the big bolt in the end of arms.

Image

Need a jack to support front cross-member holding diff pinion mount, that is pretty heavy.

Image

Compare the two. Mass produced original is perfect for form and function. Aftermarket is lighter, and is adjustable. :dblthumb:

Image

Rod end is left hand thread, bushing in arm is right hand thread. Middle nut works like turnbuckle. You do not have to disconnect anything to adjust.

Image

Slides right in. Used lots of lube to prevent squeaks.

Image

Nice! :yesnod

Image

Strut bolted up next. The sweet spot seemed to be to be all the way back. I put all the spacers in the front. I really wanted the axle as far back as I could get it.

Image

By my measurement, I netted about 1/4" aft and Inboard. Not all that much really.

Image

OK

So everything back together. I measured the axle length against the stub axle hub. Still does not bottom out.

Image

Pretty slick install. I adjusted the toe to parallel using a long 6ft carpenters level. It should be good until we get the car on the alignment rack.

Image

Back on the ground

Image

Plenty of room, clean install. Me-likey...

Image


Image

Test drive went perfect.

Back inside and a good look over tomorrow...

Image

That's it for now.

Gord

User avatar
evildky
Posts: 14713
Joined: Sat Jan 31, 2004 9:23 pm
Car: 71 240ZT, 87 300ZXN/A-T, 06 350Z GT, Tundra TRD RW
Location: Louisville, KY
Contact:

Post

sexZ

User avatar
gmac708
Posts: 1913
Joined: Thu Jul 31, 2008 1:59 pm
Car: :o)
1970 240Z
1972 510

Post

Update

Went to get Betzy alignment done today.

Image

Pretty cool stuff. Machine did most of the calibration checks.

Here is picture of initial rear set up I had eye-balled. Pretty close.

Image

Ended going with the following settings.

Front
Camber: -2.7 on both (that's all she's got captain)
Toe: 0.24 left 0.25 right Total 0.49 degree out.

Rear
Camber:-2.5 on both
Toe: 0.12 left 0.07 Total 0.19 degree out.

Having the adjustable lower control arms made things so easy. I think it's a pretty good start for a track setup. I'm going to mark and measure the camber plates for these settings. At least I will be able to come back to this point in the future. :dblthumb:

Tomorrow we get some new rubber on the back.

gord

User avatar
evildky
Posts: 14713
Joined: Sat Jan 31, 2004 9:23 pm
Car: 71 240ZT, 87 300ZXN/A-T, 06 350Z GT, Tundra TRD RW
Location: Louisville, KY
Contact:

Post

Thats a lot of camber in the rear, makes for dificulty getting traction on corner exit. I like to in in the rear, really gets the car turning but might be too agressive for a street driven car.

User avatar
gmac708
Posts: 1913
Joined: Thu Jul 31, 2008 1:59 pm
Car: :o)
1970 240Z
1972 510

Post

Hmmmmm.
I suppose it depends on the track layout as well. I was setting it up for best track setting. Doug from formula drift also said I might want to back it out to -1.5 for the rears. I might do that tonight. Cool thing about adjustables. :bigthumb: we can always make the changes at the track. Thanks for the input!

Gord

User avatar
gmac708
Posts: 1913
Joined: Thu Jul 31, 2008 1:59 pm
Car: :o)
1970 240Z
1972 510

Post

Car is getting trailered to Vegas tomorrow. There are going to be 4 events.

1. 0-60-0 MPH
2. Slalom
3. auto cross track.
4. Vegas inside road course.

Looks like I will be busy... :woot:

User avatar
98blackbell
Posts: 166
Joined: Sun Sep 12, 2010 4:14 am
Car: 1995 Nissan 240SX SR20DET(STOLEN)
1993 Nissan 300ZX 2+2
2006 G35 Coupe
1998 Chevy Tahoe 2DR 5.7
1975 Datsun 260Z Turbo
Location: Florida
Contact:

Post

Great build. Looks awesome. Good luck this weekend

User avatar
VQpwrdSE-R
Posts: 649
Joined: Sat Dec 19, 2009 4:32 pm
Car: 2005 Code Red Nissan Altima SE-R
2013 Nissan Altima SV
Location: Pennsylvania

Post

gmac708 wrote: 4. Vegas inside road course
I must look this up!!!

User avatar
gmac708
Posts: 1913
Joined: Thu Jul 31, 2008 1:59 pm
Car: :o)
1970 240Z
1972 510

Post

Got the car ready to go to Vegas. Posted Vegas story in General chat a-z-car-challenge-in-las-vegas-t572427.html

I will update that post for the next couple weeks.

I ended up having to change my left side engine mount. The Poly had ripped apart.

Image

I call Mack at Mckinney Motorsports and he sent me a solid mount. This will not fail.

Image

View new installed

Image

Image

Image

I also got in contact wit Ricky at Raw Brokerage and picked up a pro series poly with threw bolts. I'll swap back to these after I get back from Vegas.

I had not liked the way my front bumper fit. I don't know if you remember from my build or not, but my front bumper was all messed up from a previous front end crash. It looked pretty bad. Poor repair with big hammer. :mad: I sent it to a place in Tennessee and they said it would be about $400 plus shipping. Then I found an overseas company that was producing a stainless steel aftermarket replacement for about the same price. I went for the replacement, but it did not fit as well as the original. If you don't have ZG flares, you would probably not notice. It's a bit long at the back and kind of squared off instead of a slight angle. Again, your probably not notice unless you spent a bunch s*** load of hours getting your ZG flares to fit perfect, only to swap out later and find they don't fit the new bumper. I made them work by having the bumper sit a bit proud (forward) in the front.

I was not happy, but it was the best I could hope for. Then...I did a bunch of research and located Denver Bumper Works http://www.denverbumper.com/ .

They fixed my old bumper and filled in the holes to make it look identical to Euro style. It came out perfect! Unbelievable! Gorgeous! $275...I would highly recommend these guys to anybody. I looks good, fits even better. Something about real chrome. Soooooooooooooooooo Happy :biggrin: :biggrin:

Image

Thats it for now.

Gord

User avatar
kouki munster
Posts: 2195
Joined: Wed Nov 09, 2005 6:13 pm
Car: 97 base 240
Location: Anderson, SC

Post

Fantastic work as always. :bigthumb:

User avatar
harlest
Posts: 9
Joined: Tue May 29, 2012 12:34 pm
Car: 74 260z - 76 280z
Location: Madisonville, LA

Post

This is one NICE MACHINE gmac708. I like that Betzy does not have head light covers I think they mess with the aggressiveness of the Z. Have you ever considered blacking out the flares and hood? Just a thought. Great suspension mods keep it up :dblthumb: Always excited to read your updates

User avatar
gmac708
Posts: 1913
Joined: Thu Jul 31, 2008 1:59 pm
Car: :o)
1970 240Z
1972 510

Post

harlest wrote: Have you ever considered blacking out the flares and hood? Just a thought.
Yes. In the beginning, that was the plan. Things kind of changed as the build progressed. Remember I hated orange when I started. I was really close to painting Laguna Sega Blue. Then Black, and then Back to orange...I have had people say that I should have left it the way it was before I painted it. The copper paint and the bondo looked kind of rat rod / Ratsun kind of look. The black satin fenders and hood would look really good with the orange as well. Maybe she will change in the future... I really like the way she looks now, at this moment. I can always lacquer the fenders satin just to see :bigthumb: . Easy to wipe off with thinner. Not crazy about painting the hood. Rear spoiler would look good black.

Personal choices are what it's about. I can look at a Z with the headlight covers and appreciate them, the G-nose is pretty awesome, but I prefer "commando-style" "au-natural" with nothing up front covering the lights. And then I go and ZG flare and spoiler the car....... :crazy:

Gord

User avatar
harlest
Posts: 9
Joined: Tue May 29, 2012 12:34 pm
Car: 74 260z - 76 280z
Location: Madisonville, LA

Post

I understand the natural look. I say the same thing but it's like these cars were secretly made for flares! They look so good with em! Hopefully this summer I'll be able to finish the bodywork on my 74z and get it together. You guys with your drivable Z's are killing me. It was 1994 since I last owed and drove an s30 :tisk: I'm going with the LS1 this time but for everything else I'll be scrolling through your build thread. Thanks for taking the time and effort to document so much

User avatar
gmac708
Posts: 1913
Joined: Thu Jul 31, 2008 1:59 pm
Car: :o)
1970 240Z
1972 510

Post

A big update

So things are getting back to normal. Vegas was awesome. Car was awesome...

Image

But I'm about 1 month behind where I wanted to be at this time. A funny thing happened on the way to Carlisle...

One thing that has been bothering me about my engine has partially being consistently reminded that I am in imminent danger of engine failure due to my crank collar being too small to drive the oil pump. As I watch Betzy, lap after lap, at Vegas motor speedway, I was wondering when the failure would occore.. I promised myself after we finished, I would get the upgrade.


So upon touchdown back in Columbus. Out came the engine for a freshen up on the bottom end. No biggy. This is getting easy...

Image

After a good day of work, we had everything opened up.

Image

And guess what? I had the good crank collar anyway... :dblthumb:

Image

So now I get to put everything back together. I'm going with new bearings and an upgraded N1 oil pump. That should help with keeping the RB going for many years.

Might as well get some fresh paint on the block.
First primer.

Image

Then some black.

Image

Getting the bearings ready. This is a time for extra cleanliness.

Image

Plastigage confirms the dimensional checks. Cool stuff.

Image

Head work is another story. Keeping all the shims and buckets organized is a must. Everything went to the gunk tank for cleaning.

Image

Intake and exhaust valve guide seals needed to be changed and I had to make a special tool to remove spring and keepers.

Image

I am running behind but It's not that bad.

Gord

User avatar
addisonblck
Posts: 710
Joined: Tue Dec 04, 2007 6:16 pm
Car: 93 se mods soon to come
Sc300 1jz swap laundry list of goodies
Location: Baton rouge

Post

i just spent the past 3 days reading both your son's 240 and your 240 builds..... you sir, have excellent taste. Really love what you've done with the z. i can't wait to see more.

User avatar
gmac708
Posts: 1913
Joined: Thu Jul 31, 2008 1:59 pm
Car: :o)
1970 240Z
1972 510

Post

addisonblck wrote:i just spent the past 3 days reading both your son's 240 and your 240 builds..... you sir, have excellent taste. Really love what you've done with the z. i can't wait to see more.
Thanks. Cams 240SX w/SR swap was a bunch of fun.

Update
With work, I got to spend all week at home this past week and put my time to good use at night. I got the head all back together and bolted to the block.

Image

Timing gears and stuff on front all done.

Image

covers and stuff

Image

Turbo oil and water lines...

Image

Flywheel and clutch

Image

Mount the transmission.

Image

Now here are the mounts. All are Mckinney mounts. Left is original poly. I ripped two of those in half. Top is the hard mount, I used for the Vegas competition. The middle I ordered from Ricky at Raw Brokerage and what I am going to try. The have the best of both worlds.

Image

A word about Mckinney. I have had two failures and both times I have called Mac and he has shipped parts, no questions, no debate. :dblthumb:
So engine is back in...

Image

Seems like there is a bunch of room when you start.

Image

All done. Then a test drive. No hood? Meh...who needs a hood. Get some interesting looks.

Image

Then we got the hood back on.

Image

She has a miss and is running like crap at idle. I tried to adjust the base timing and it was all over the place. I'll get her figured out. Things are looking up.

Gord


Return to “Datsun Z Forum”