1. Read the remote start manual and learn where the wire needs to be connected to
2. Consult your wiring diagram for the wire color and wire location in the car
3. Find, test, connect, tape wire in the vehicle
Basic Tools:
Soldering Iron / Soldering Gun
Solder
Wire strippers/Quick strippers
Electrical Tape
Multimeter(Not a test light, Harbor Freight has them under $5)
Wiring diagram(Great place to start is the12volt.com, or just ask me
Zip ties
For a cleaner install, it's always good to go through all the wires on the remote start and cut/tape off all the wires you will not be using. I recomend leaving about 3"-4" of wire on the plug incase you need/want to add optional features or accessories.
One key thing to keep in mind while reading the remote start manual and wiring diagram is the polarity of the "trigger", usually displayed like (+) or (-). In english, it's telling you that a particular wire needs to either:
1. Be connected to a positive (+) power source or ground/negative source (-) because it's an input wire
2. It puts out a positive(+) or ground/negative (-) pulse
Confused yet? Don't be. Example from vehicle wiring.
The parking light wire in the car is red/blue and it is found at the back of the dimmer switch. So, when you go to test the wire with your new multimeterPARKING LIGHTS ( + ) RED/BLUE (+) @ BACK of DIMMER SWITCH
Your meter would do the opposite. When you first hook up the probes, it will read "12.xx", and when you turn the light switch on, your meter would read "0.00"PARKING LIGHTS ( - ) RED/BLUE (-) @ BACK of DIMMER SWITCH
This is what the diagram/manual refers to as "trigger". The wire needs to see + or - for it to activate, or in this case, turn the lights on. In theory,(wouldn't recomend doing this) if you were to leave the light switch in the off position, and touch a wire that had 12v positive source to the red/blue wire, the parking lights would kick on(even though the switch is in the off position)
On a basic car, that should get you through most of the install. The only other part of the install that could be a challenge to n00bs is finding a tach/RPM wire for the tach signal/pulse. This is why I like to recomend DEI Directed Electronics models.(Viper, Python, Avital, Clifford, Automate, Hornet, Wasp, and many more) They have a feature called virtual tach. What it does is reads the vehicles voltage as it's cranking, and then checks the vehicles voltage again after 10 seconds. If the car started, it's good to go. If it didn't, the remote start will try and start the car again, only this time it will increase the time it cranks the car(for those really cold days) to try and get the car to start. It will try to start the car 3 times and if it is unsuccessfull after the 3rd try, it turns itself off.
Ok, buy this point you should have the courage to start. On with the pics!
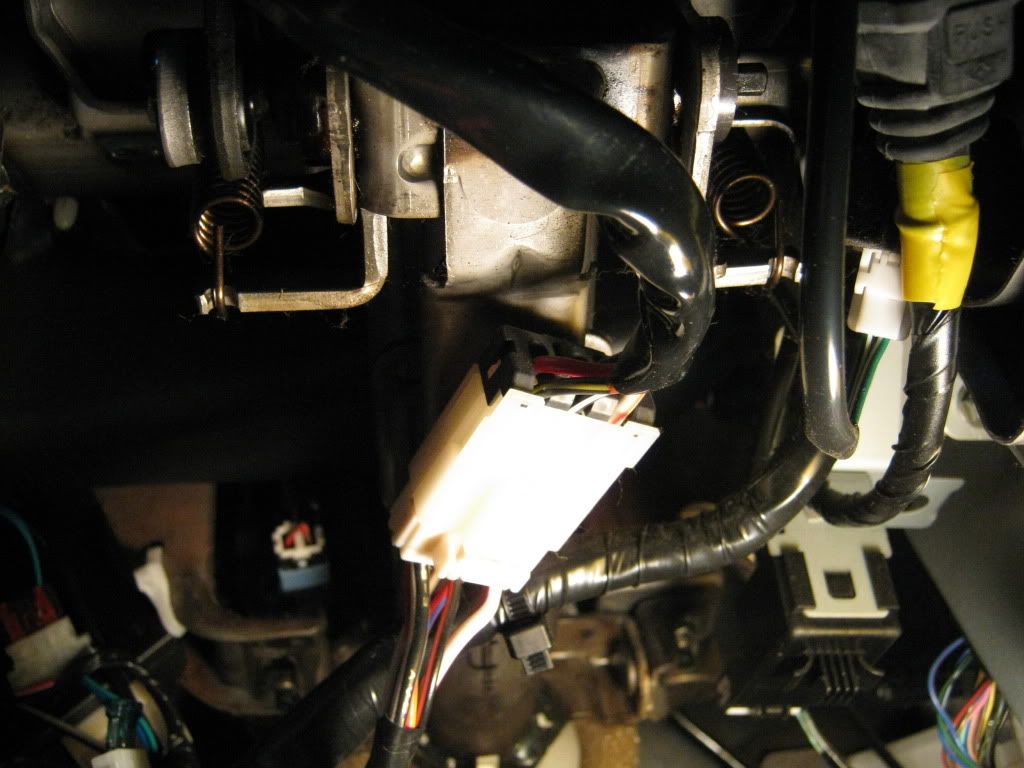
The car is a 1996 Maxima, you see on the left hand side where the remote start brain is mounted, the ignition harness, and brake switch.(This is what would turn the car off if someone where to get into the car while it was running. As soon as the brake is hit, the remote start turns off)

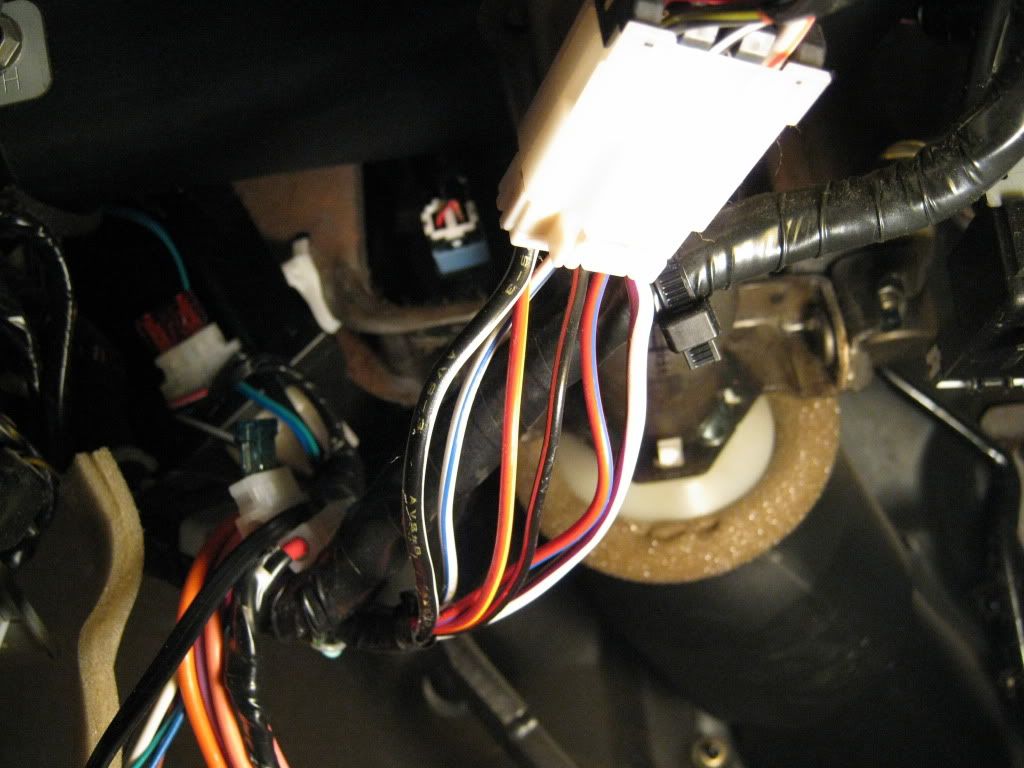
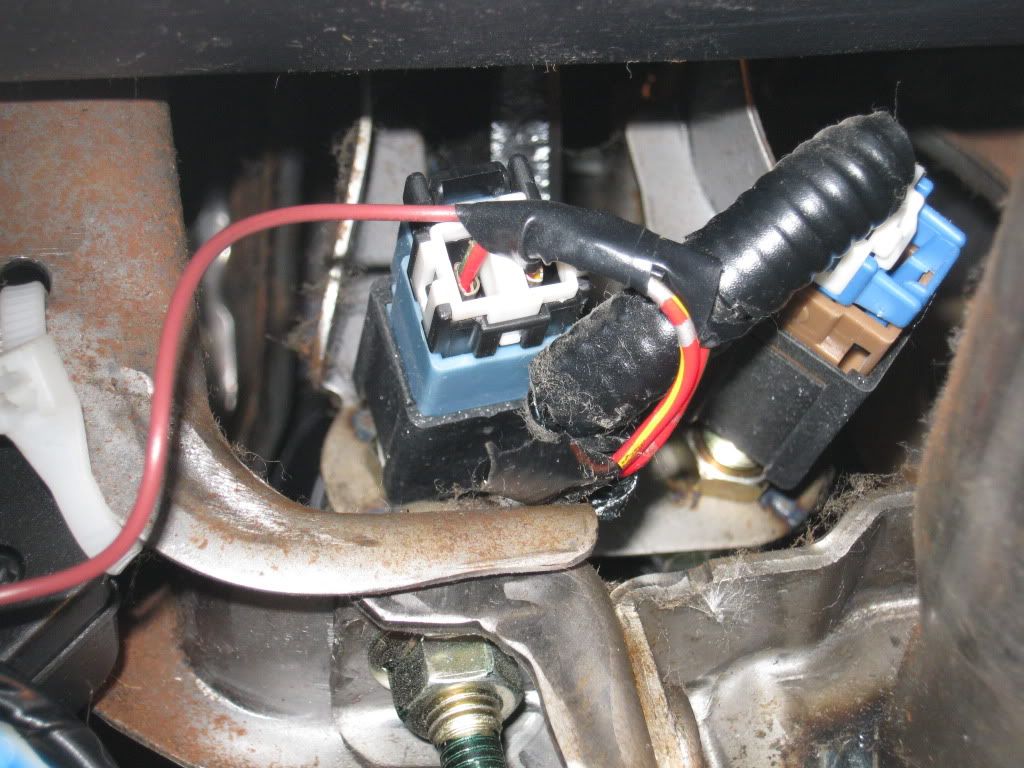
Closeup of the plug. Not all cars have a plug like this right under the column. Most cars will have one continuous harness with a plug farther down the line, more than likely a bit more out of site. Don't be too concerned about finding it. This is a good time to bring this up....DO NOT CUT INTO ANY YELLOW HARNESSES OR HARNESSES WITH YELLOW PLUGS/TAPE!! This is an airbag harness. No need to be in them, around them, or unplugging them. Leave them alone lol. Can be seen at the far right of this pic
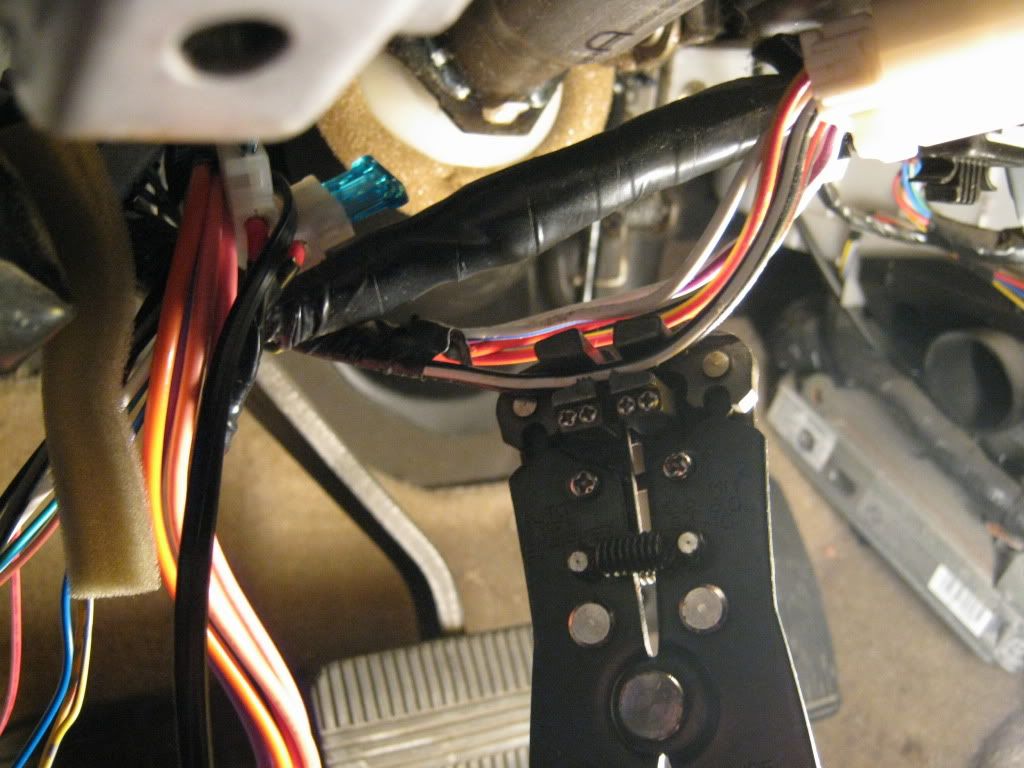
Wire loom stripped away, these are your ignition wires. You will see they are alot thicker than most other wires in the car
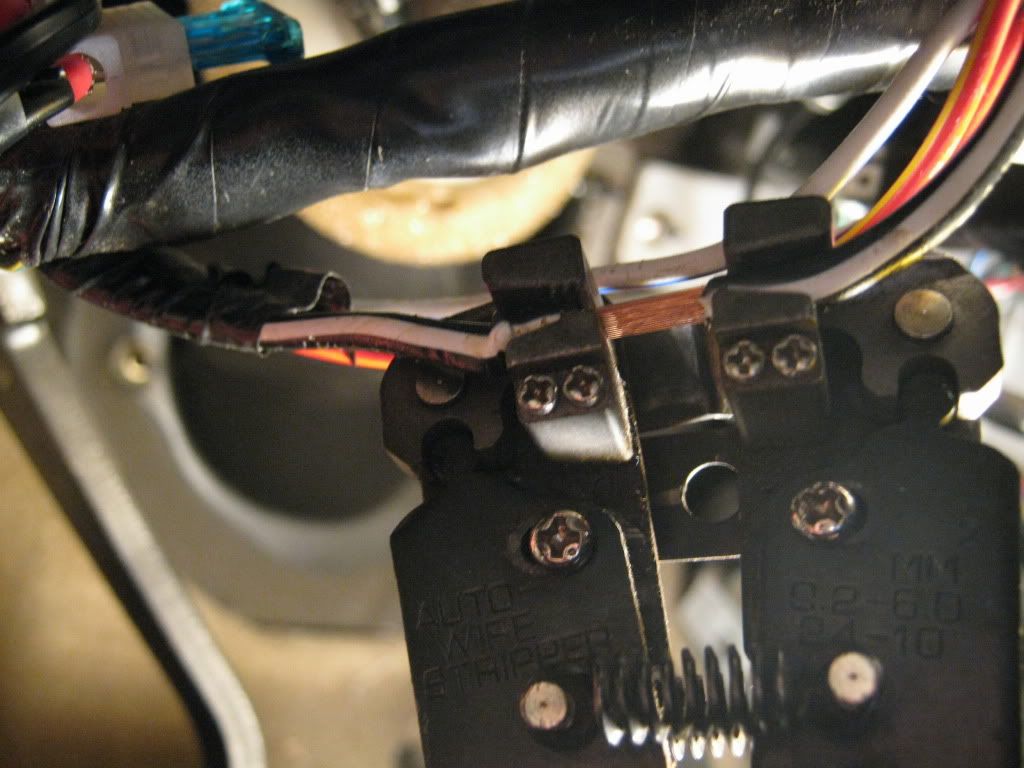
Wire strippers in action
Give them one or two squeezes and presto!
Now, soldering is the best way to get a secure connection, but in the even where you don't have one, or dont feel like buying one because it will probably never be used again, here is a good way to secure your connections "solderlessly"
Strip the wire back and split it
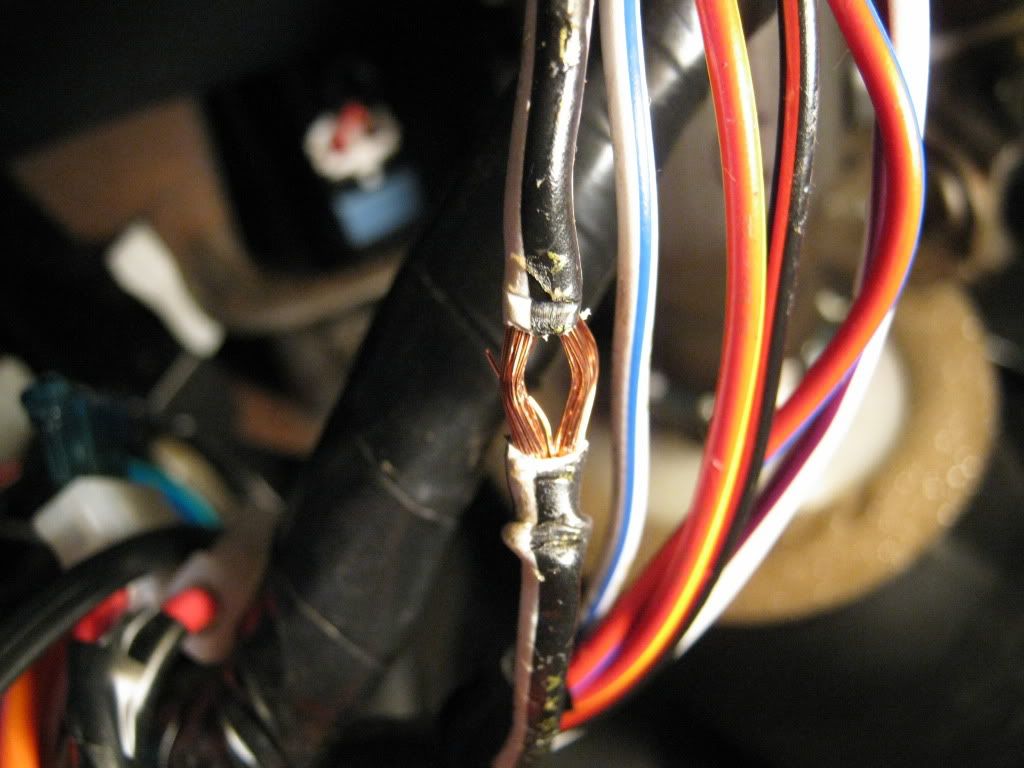
Take your wire and slide it through.....
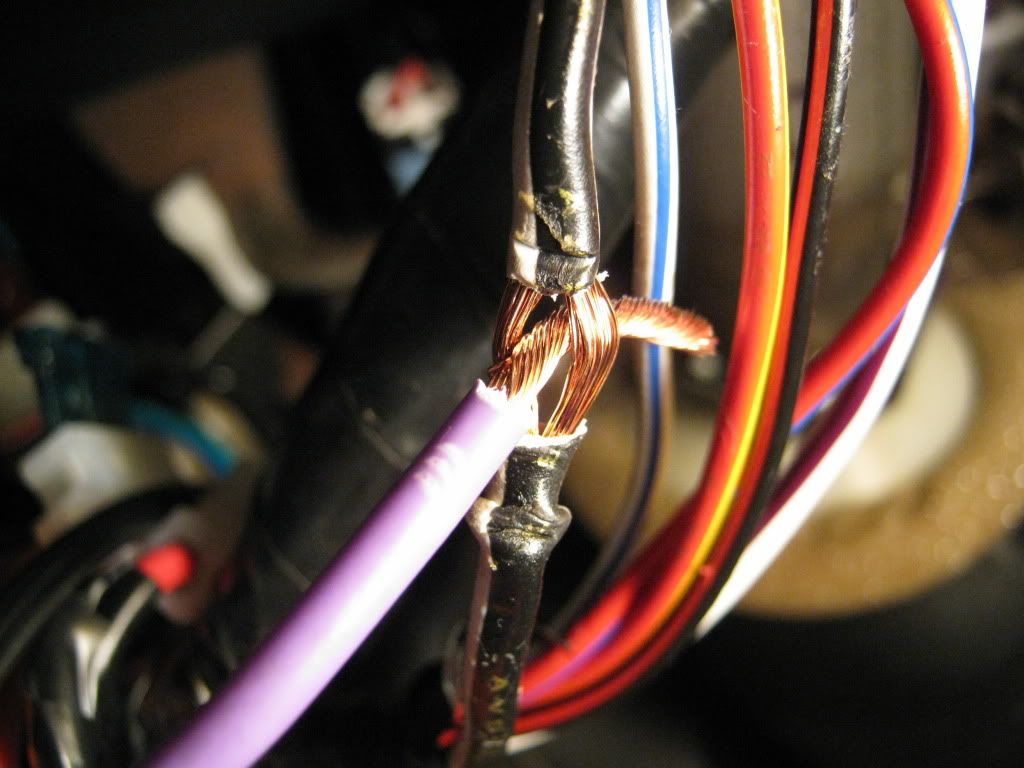
.....and wrap it around
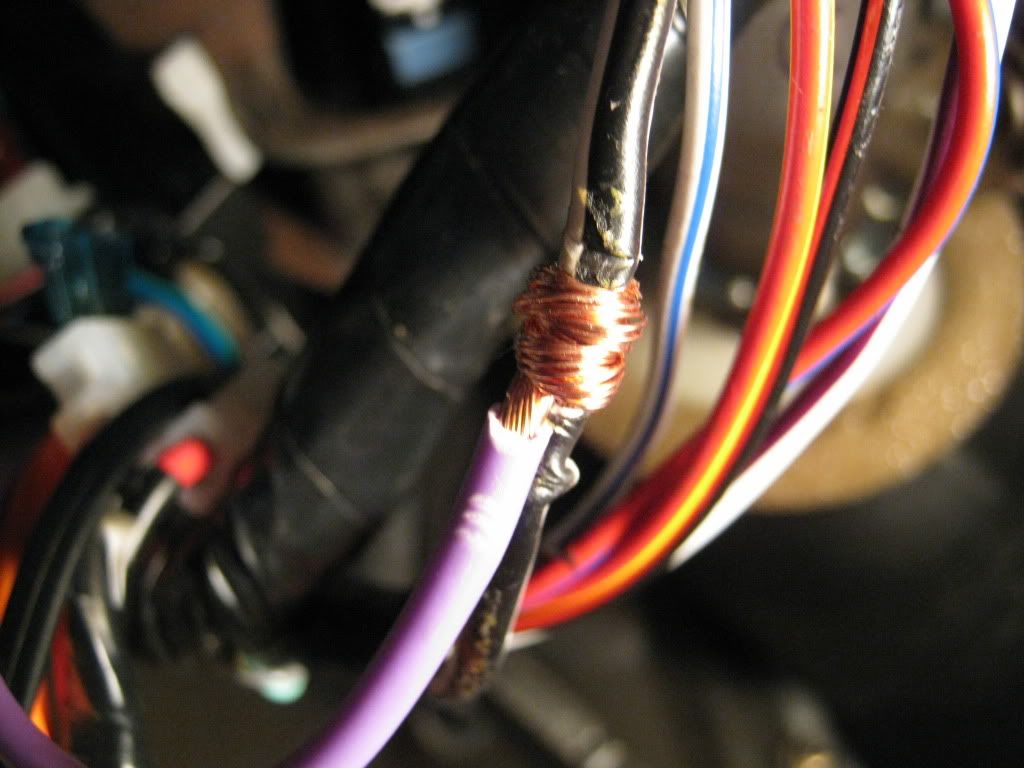
Taping also has an effect on how secure your connections are. Don't just throw a piece of tape right around the joint. Tape can move, slide, or lose it's grip. Good way to securely tape up a connection is to start about 1/2" above/below your connection, wrap across the connection and continue for another 1/2" or so. This will also make sure any rogue strands of wire are covered.
After all your ignition connections are made
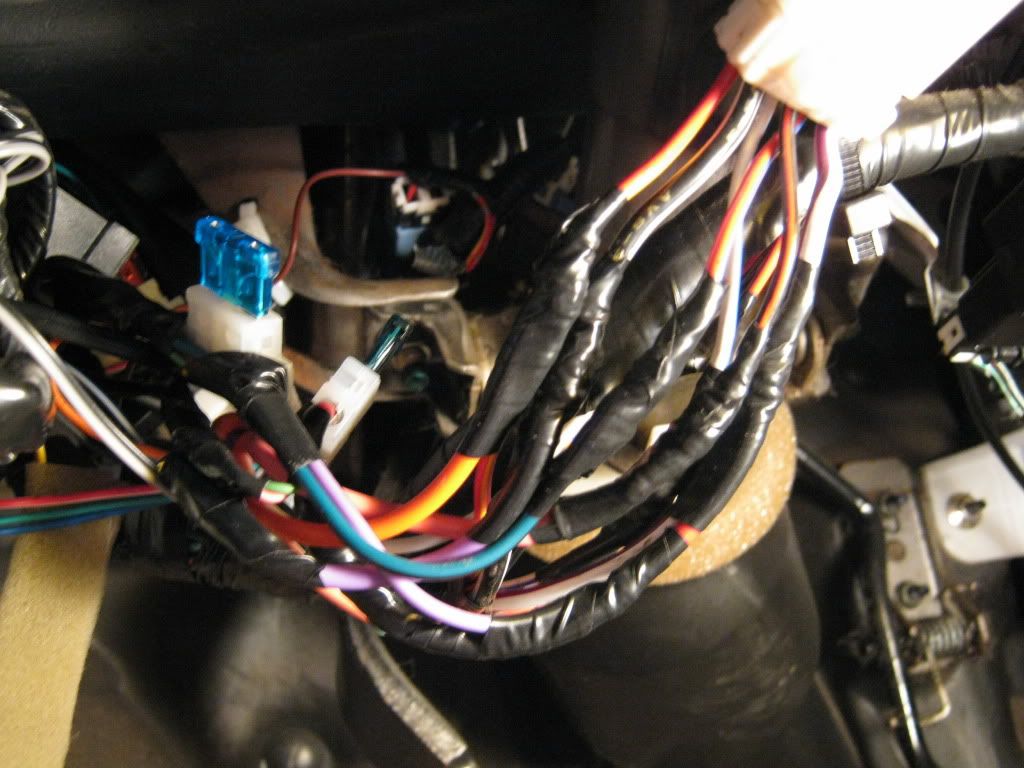
Here is a closeup of the brake switch. This can be another tricky connection that can confuse people. Basically just follow the brake pedal up, and it will be a plastic push in type switch
Last but not least, location for door locks, trunk release/pop, parking lights are usually found in either the driver or passenger kick panel. The pic below is of a different car, but it will have a similar look.

Those are the basic locations where you will find all the connections you will need to put a basic remote start in a car. Obviously things vary from car to car, so please only use this as a guide. Follow your instruction manual and multimeter.
If anyone has questions on a particular application, let me know. I've seen maaaany cars in 11+ years of installing!