Another JZ Coupe Drift Build

General discussion forum about the 240sx, and a great place to introduce yourself to the board!
Twist3d
Posts: 23
Joined: Sun May 19, 2013 7:27 am
Car: s13 1jz Coupe

Post

This build was copied and pasted here so if your reading through and see a bunch of random out of the blue sentences, fear not. Since this is my first build ever let me note a few of my own f*ck up's so people that are in the same process can avoid these mistakes, since that is what these build threads are for, learning. I'm 21 years old and had no prior knowledge of anything prior to this build.

I thought I was building this car, when it was really building me.

1. :crazy: Don't ever speed build a spec cage, I totally regret not waiting till I had the seat I wanted in place. :facepalm:
2. If you become entirely pissed off at something that your working on just stop and leave it. I've learned with this car that if anything is hard or you break a sweat, your doing it wrong..
3. Have fun. This has to be the biggest lesson I've learned over this project, Halfway through my swap I almost lost sight of this, when it becomes 'work' and your not enjoying it, it really can start to have an effect. Do your best to enjoy every aspect of it. You'll be amazed were you end up.


So I know that this build thread isn't as nice as some of the ones out that are out there, This is my first one so be gentle :w00t:. I am doing this to gain a little motivation to get it finished. I hope all of you enjoy my progress.

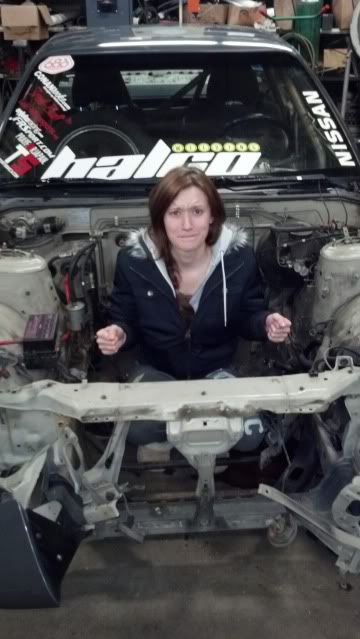
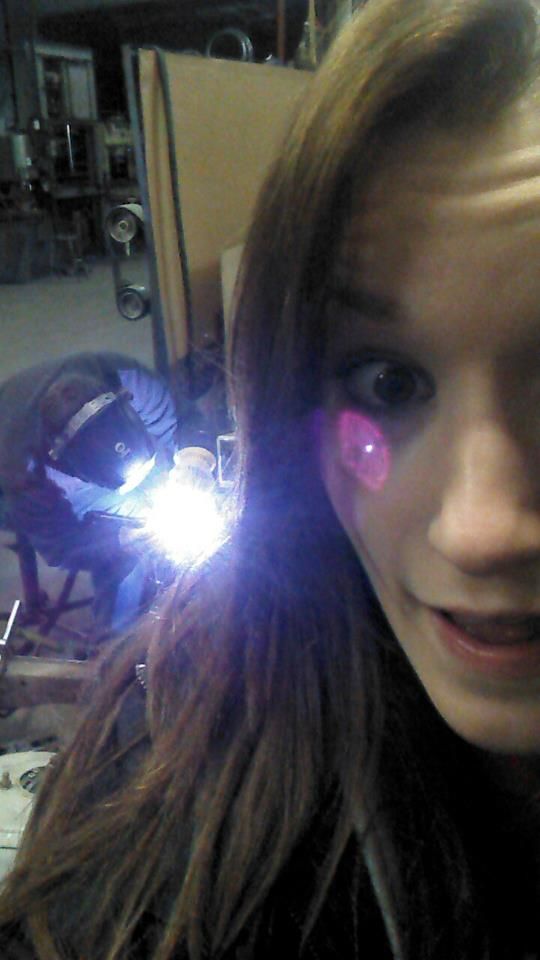
The goal behind this build was build and fab as much stuff as I could with my own two hands just for the feel good factor. Also I blame my girlfriend, she was the one to initially show me that sliding my car around was a sport, and she's been by my side this whole process. I eventually landed my first 240sx and am determined to keep this car till the dirt. I will never get rid of it even after it's a prune.

Enough with the stories and on to the pics.

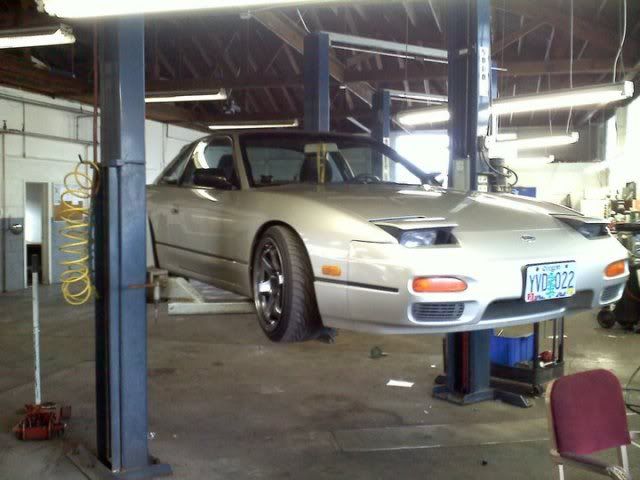
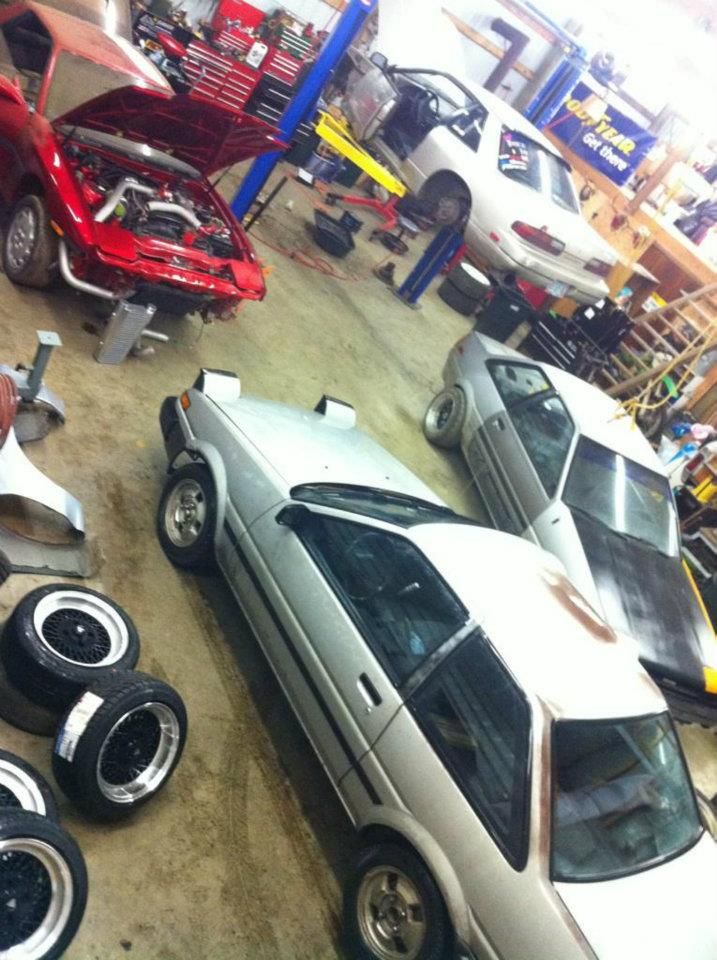
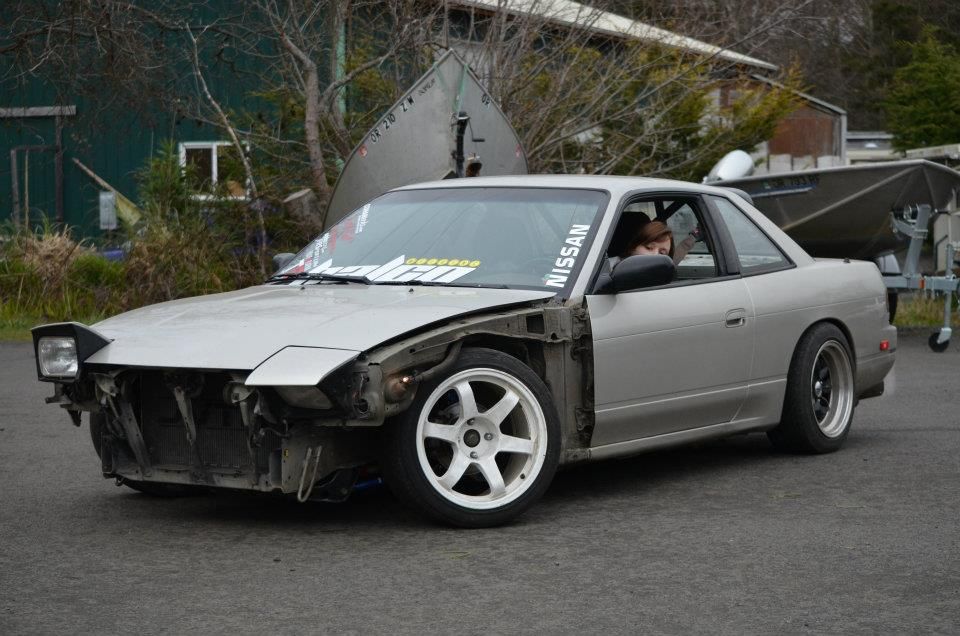
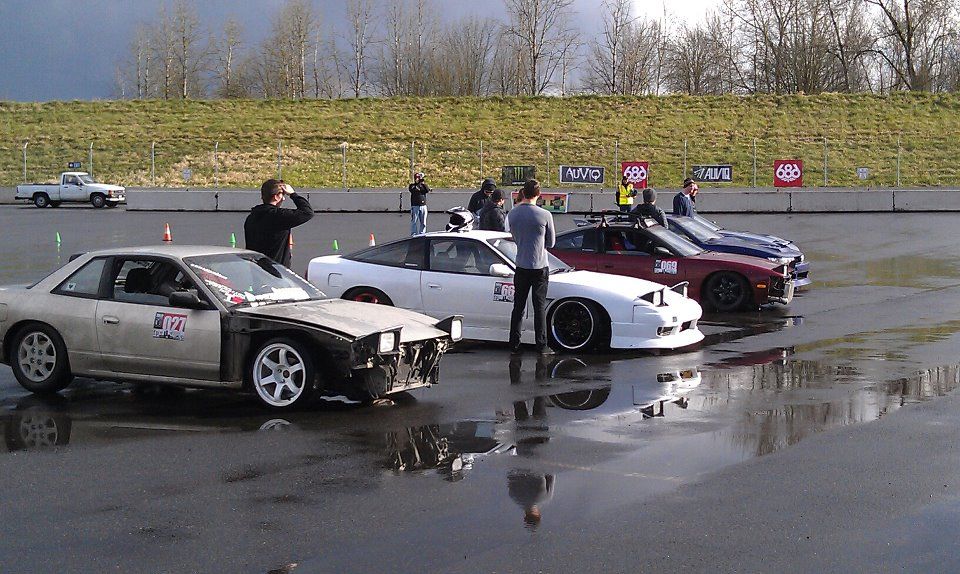
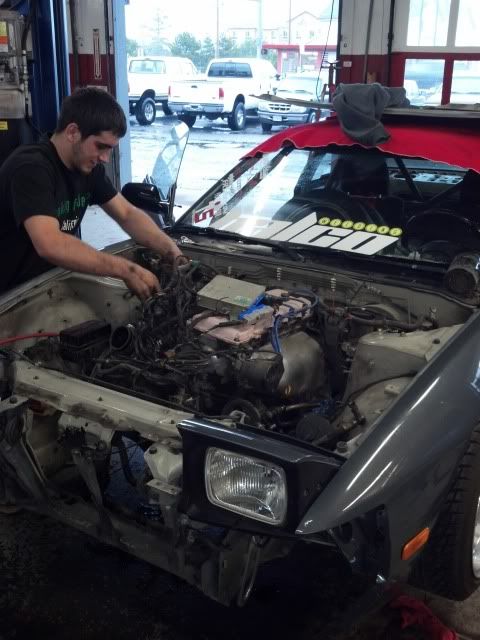
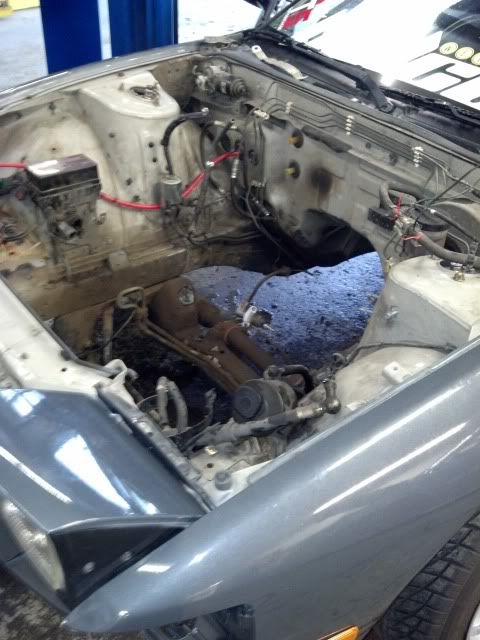
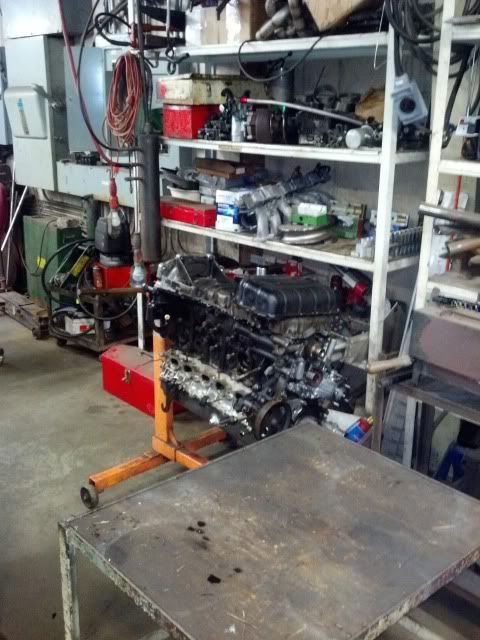
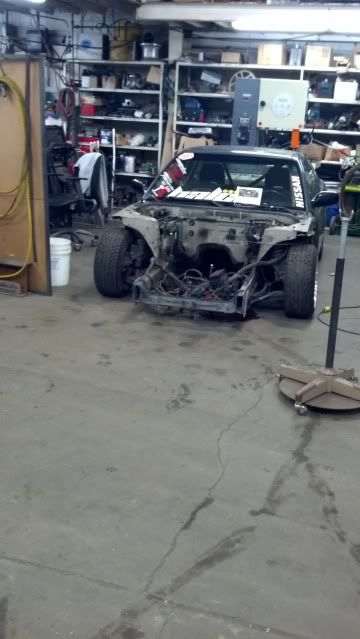
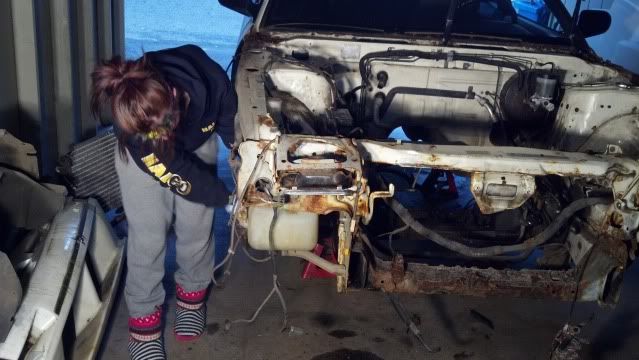
Here is when we first initially got it home after a 680 mile round trip.
Image

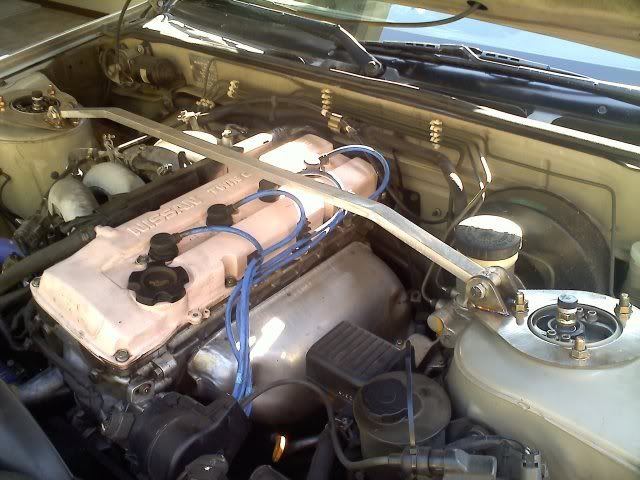
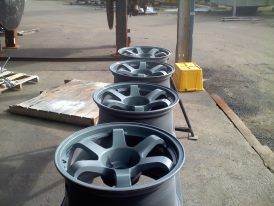
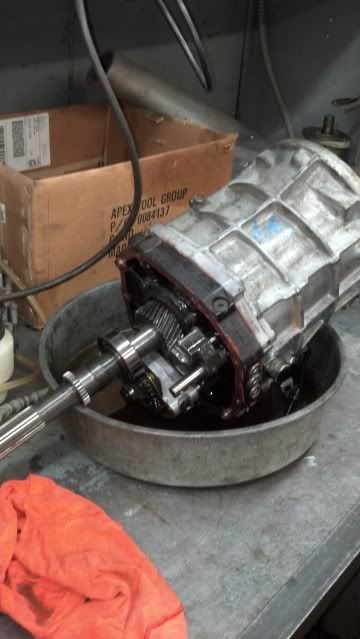
coils wheels and welded diff and a bone stock KADE. The addiction begins.


At this point I'm still a noob. I look it over on the lift.
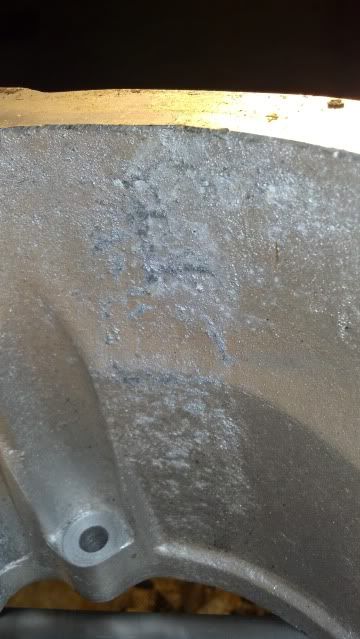
Some little things i was learning about proper alignment, "wore through a set of tires" discovered a re welded rear LCA a sign of some abuse :) etc.
Image


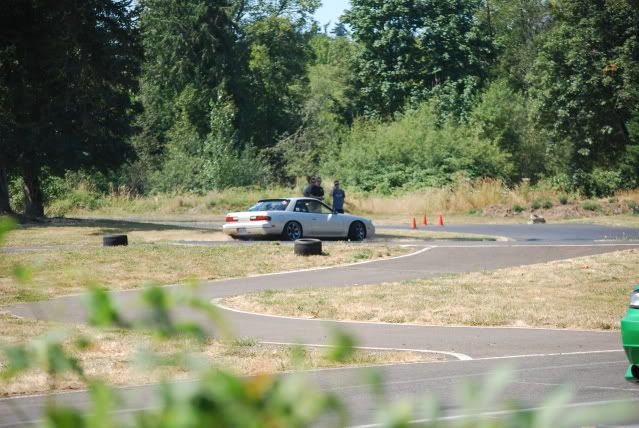
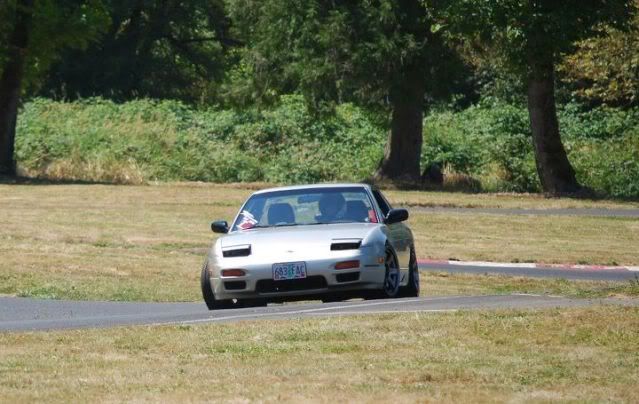
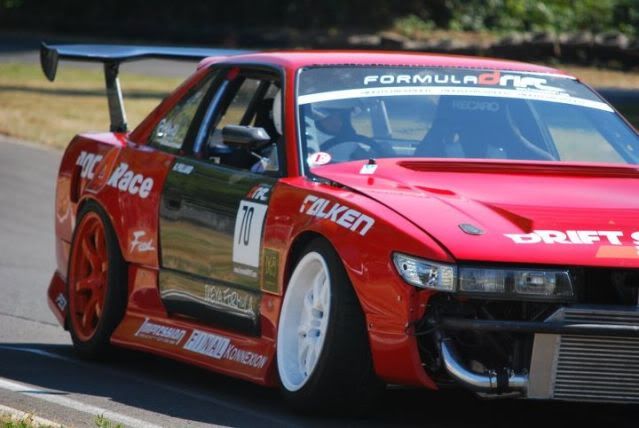
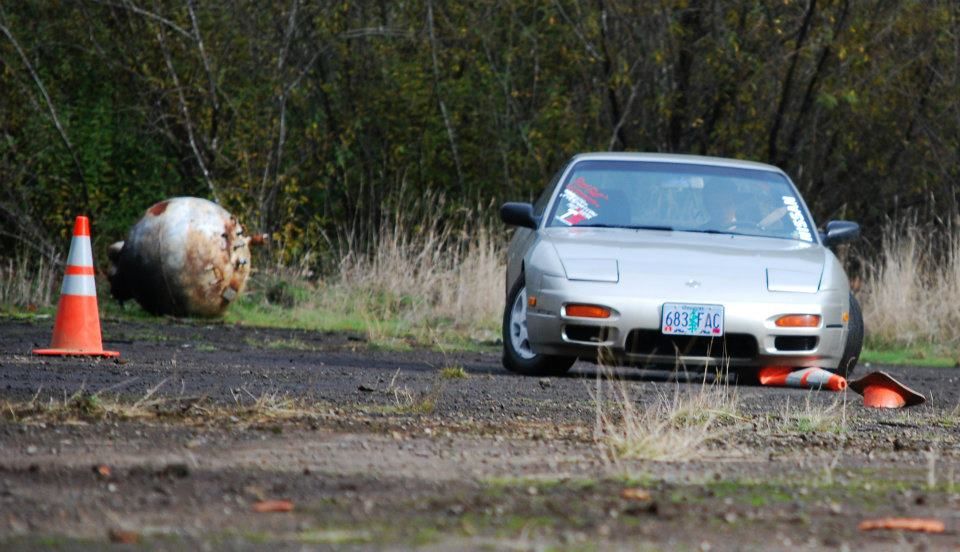
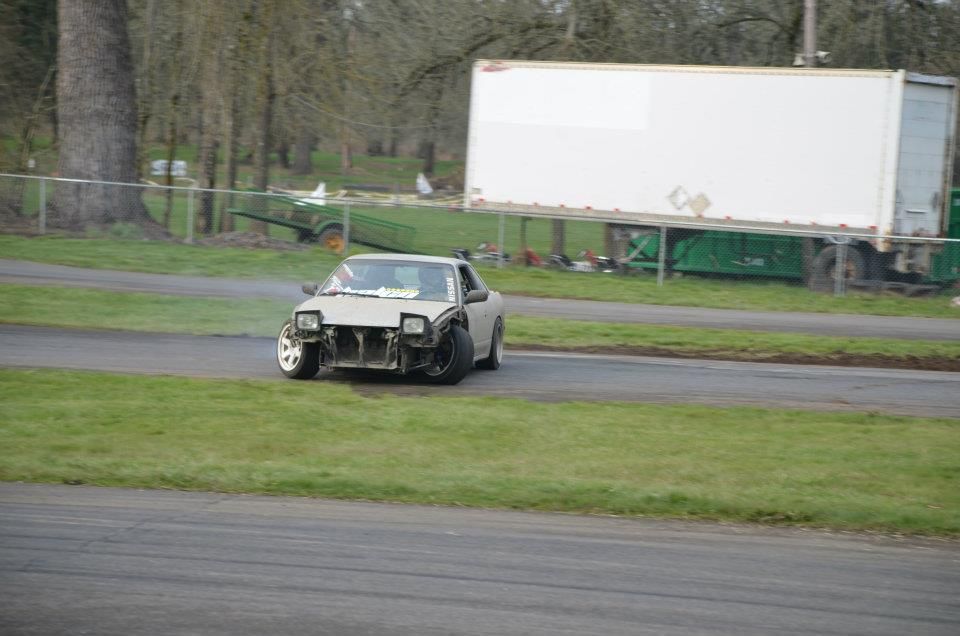
My first drift event. I had no clue I just new I had to try it. This is at a local track in the PNW. PARC "pat's acres racing complex" They made me do a run to see if I could handle the car. NOPE! so they didn't let me on the track, but all I needed was the first 5 minutes and I was hooked!
Image

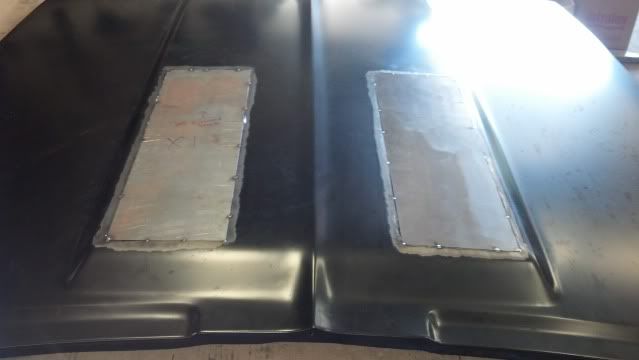
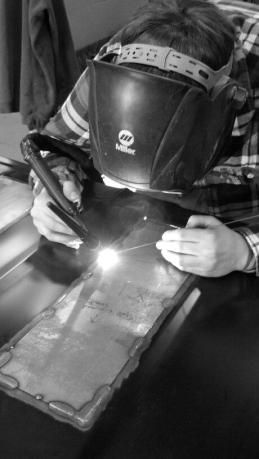
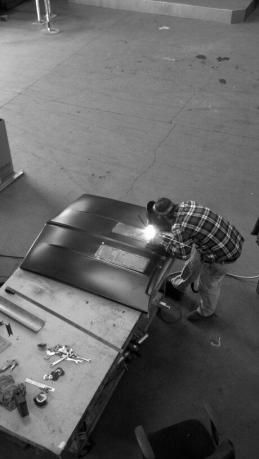
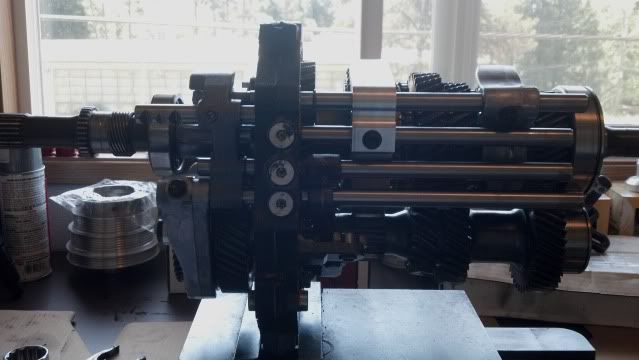
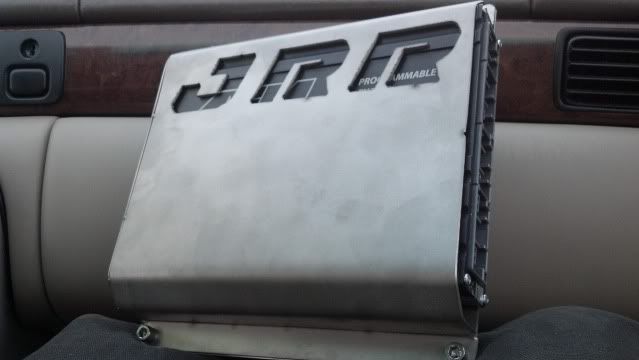
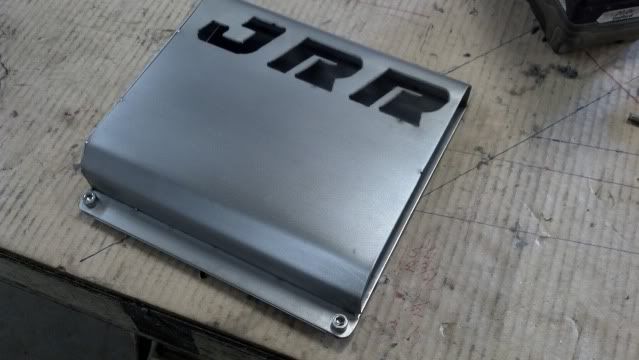
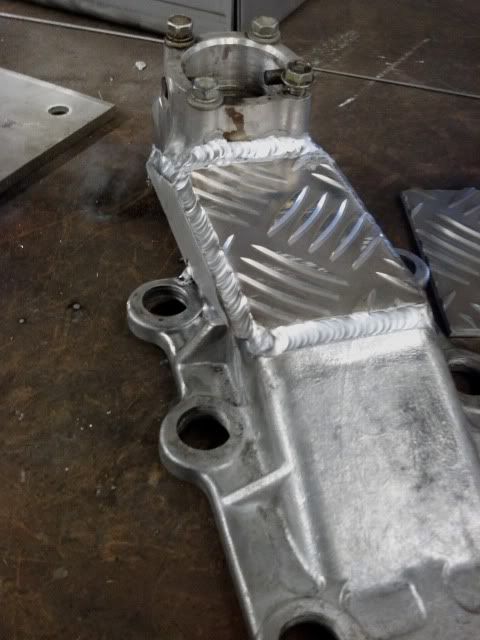
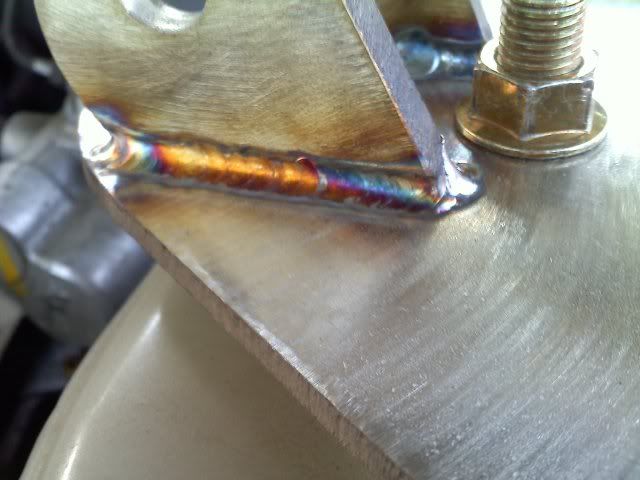
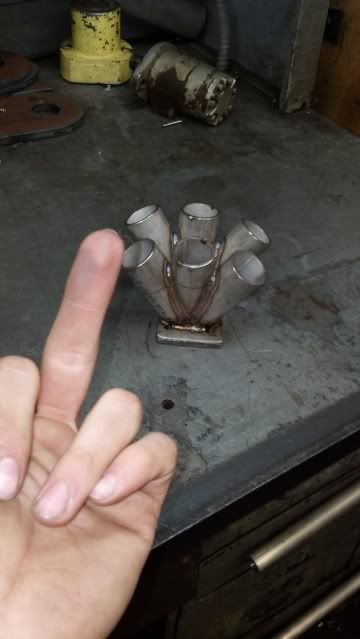
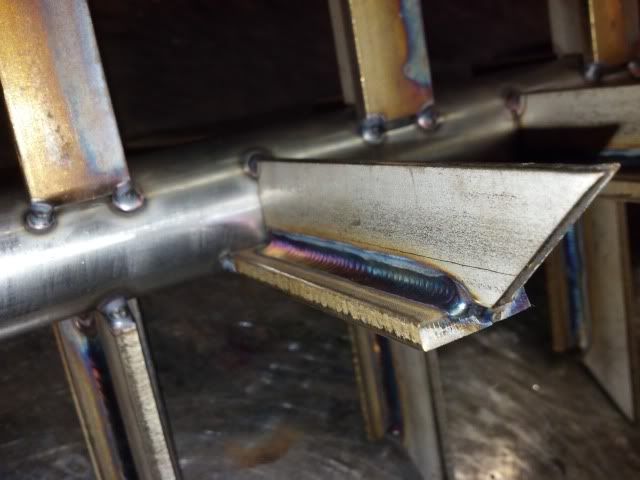
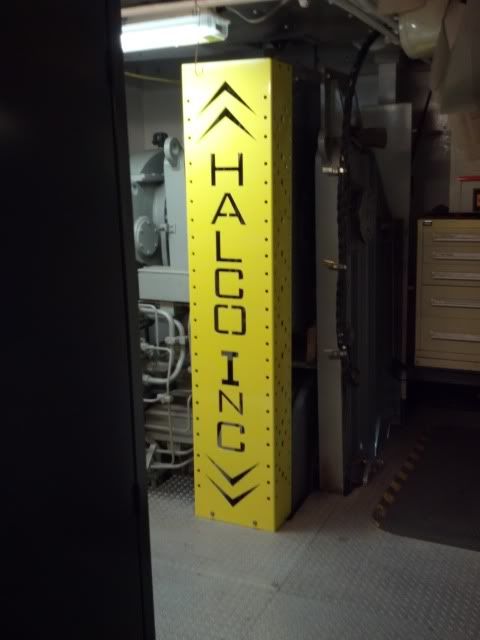
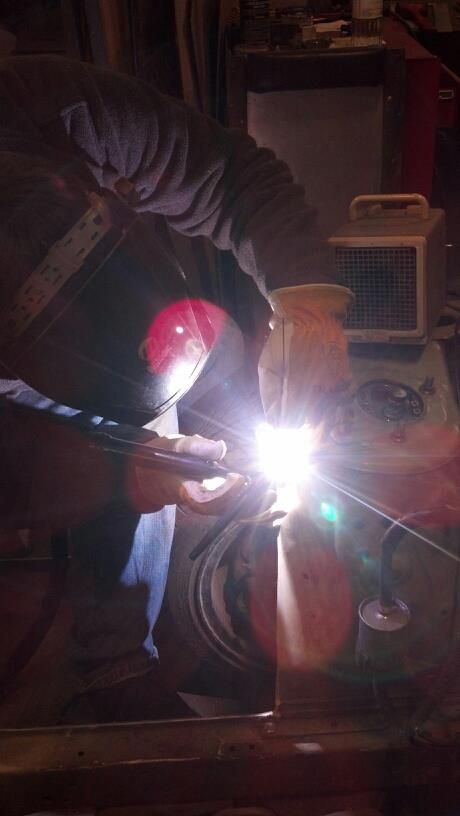
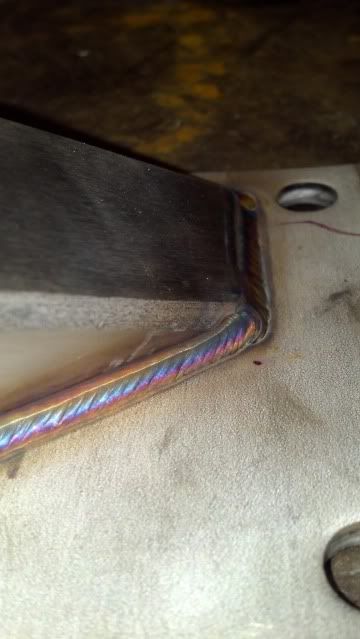
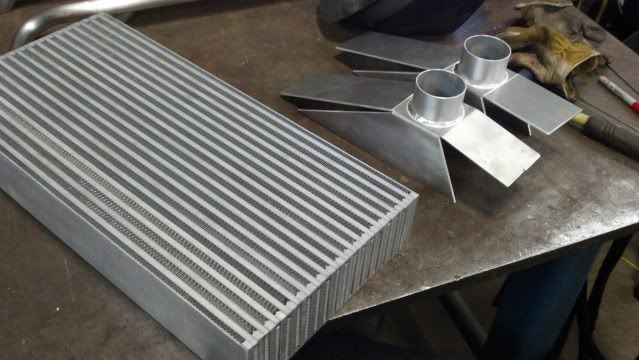
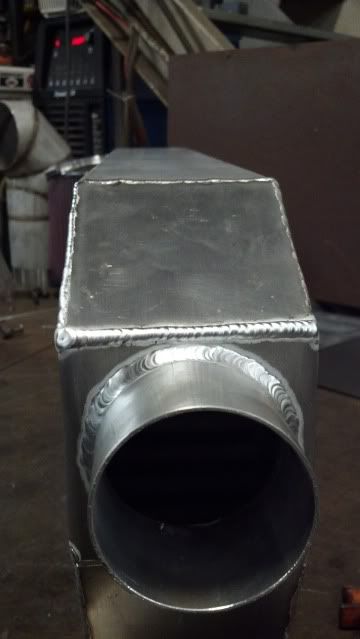
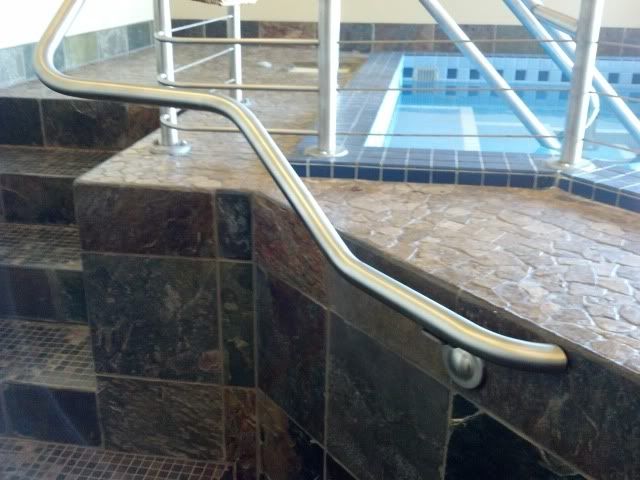
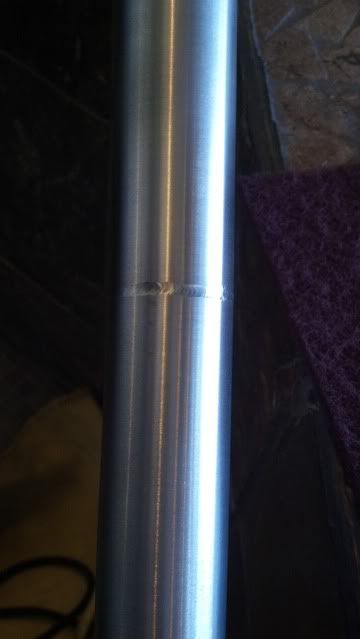
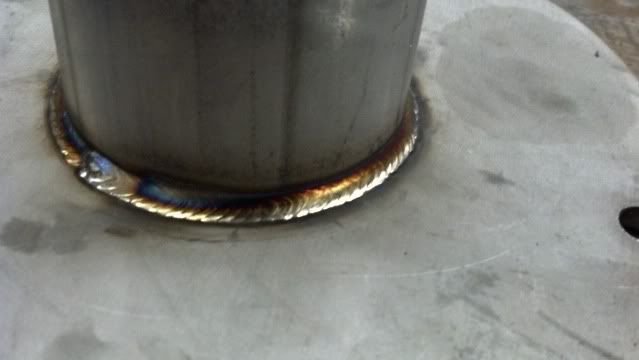
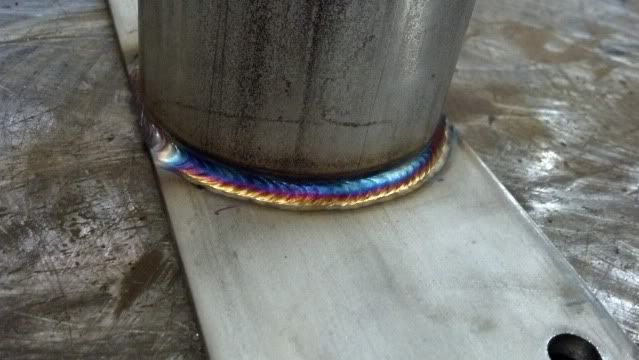
I got a new job at this and it was kind of a life changer. I knew how to MIG weld and loved fabrication as a hobby but knew nothing really about it, I was mostly a computer nerd anyway like an act of god I got the job. I have no idea why hehe. Here's one of my first projects as I was learning to TIG.
Image
Image
Image

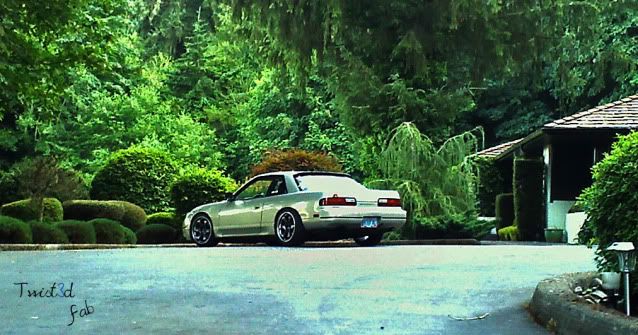
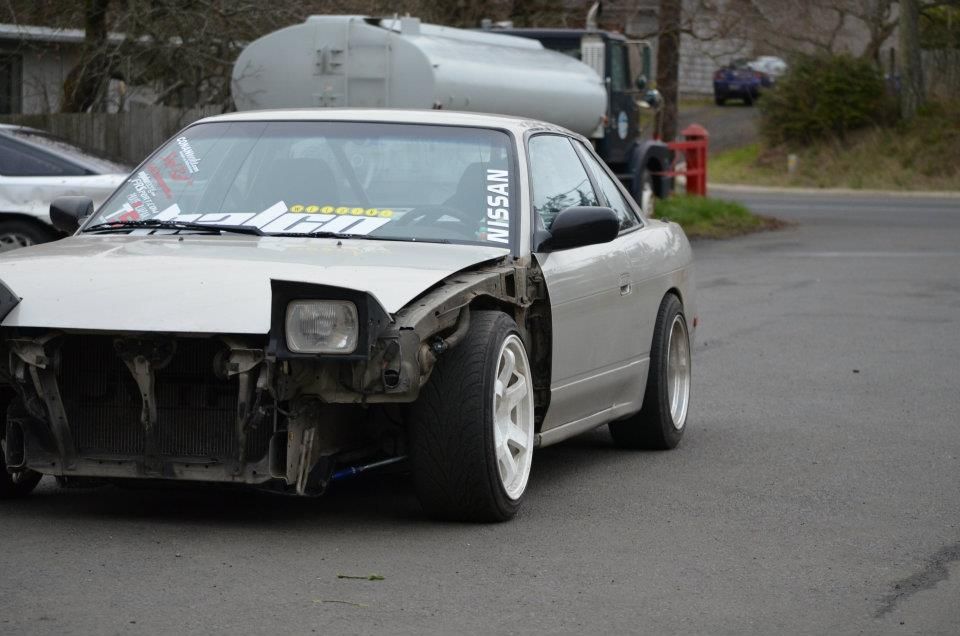
Random photo of the car
Image

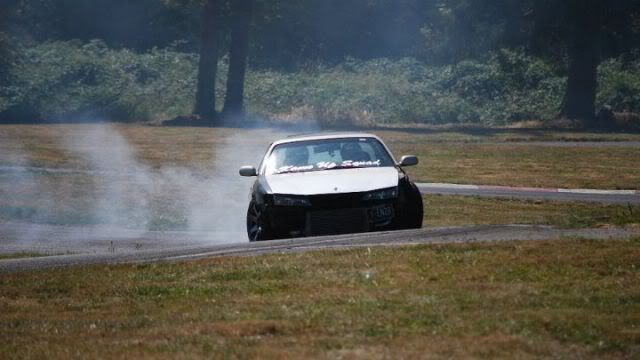
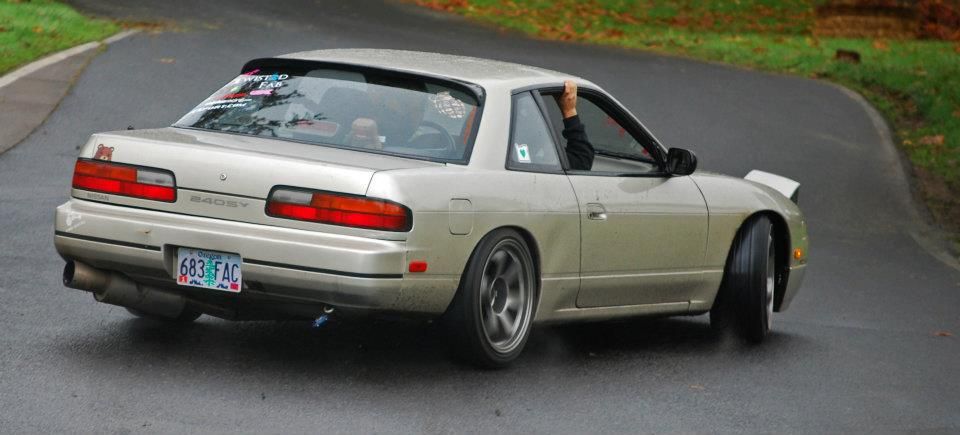
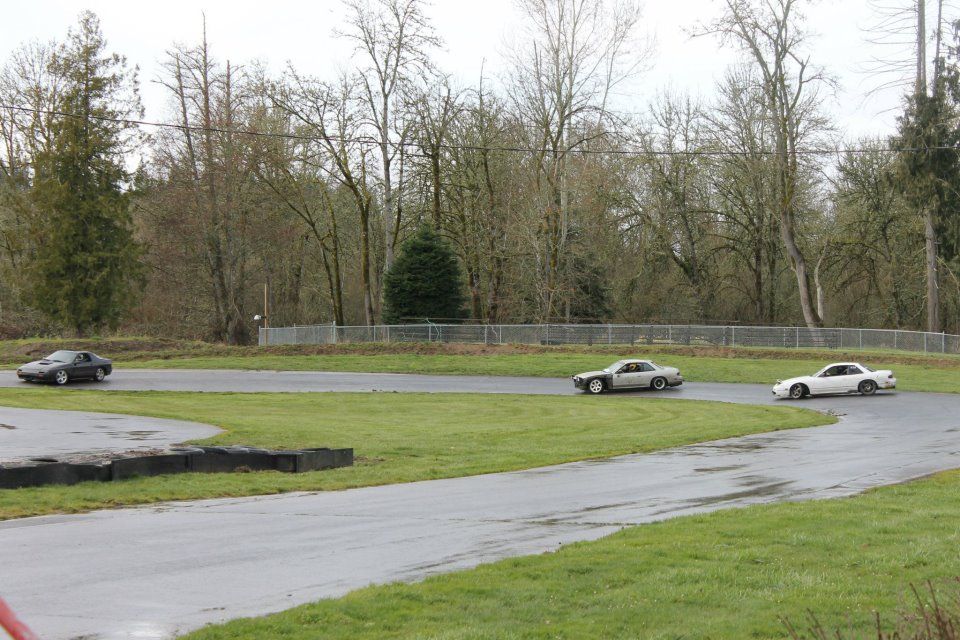
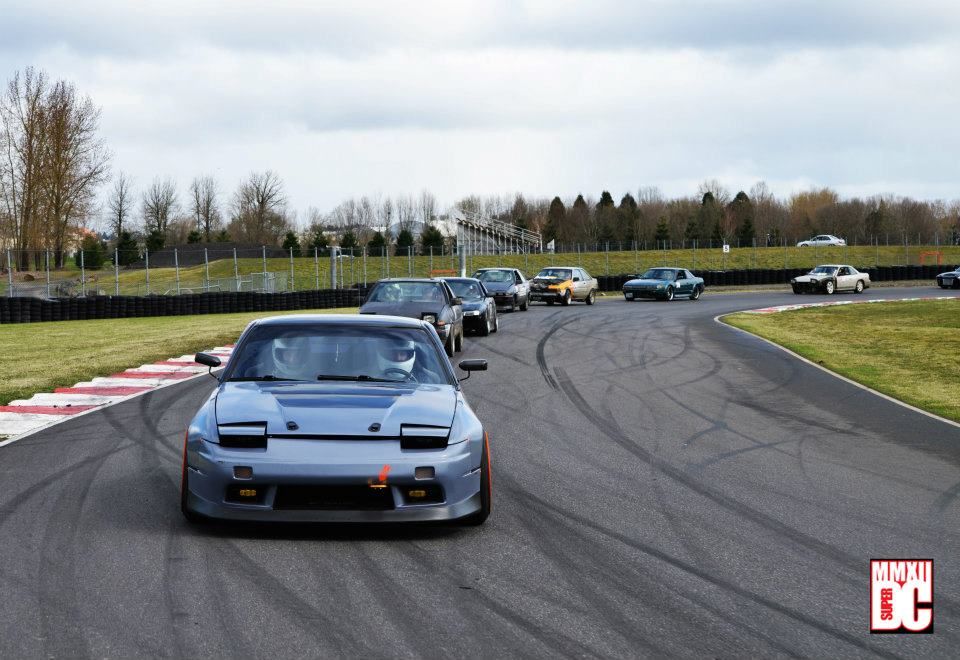
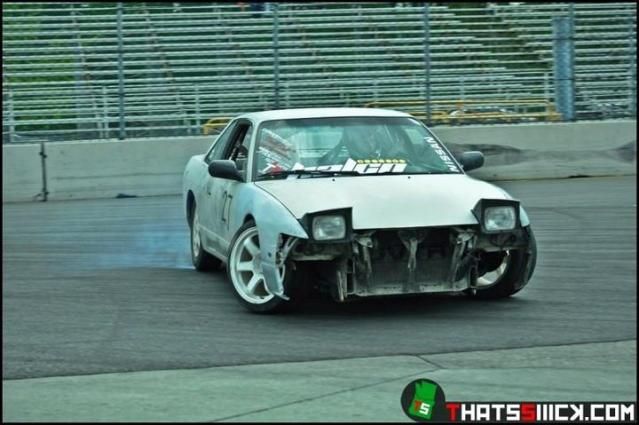
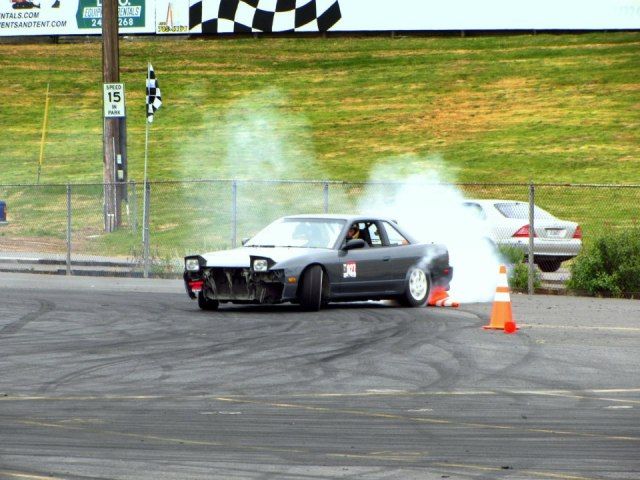
I continued to go to events. Here's one attempting a skid :D
Image

I took a ride with this guy to try and get a grasp of what was going on.
He's been an inspiration since. Thanks Jeremy!
Image

Kyle Pollard blowing my mind
Image

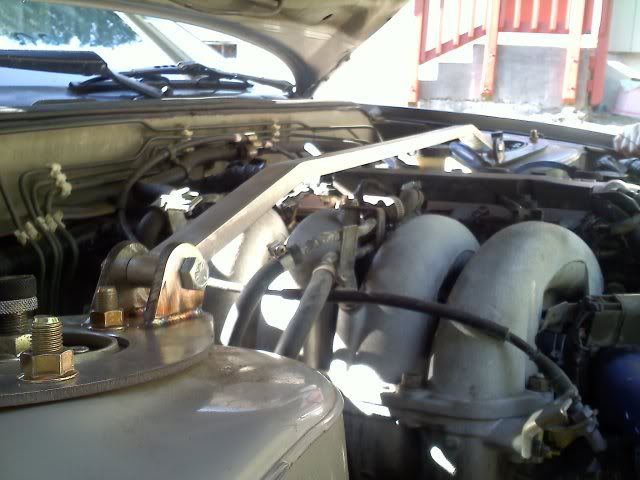
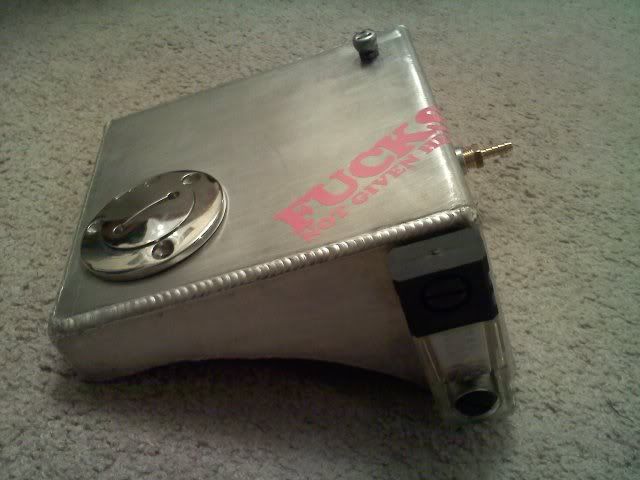
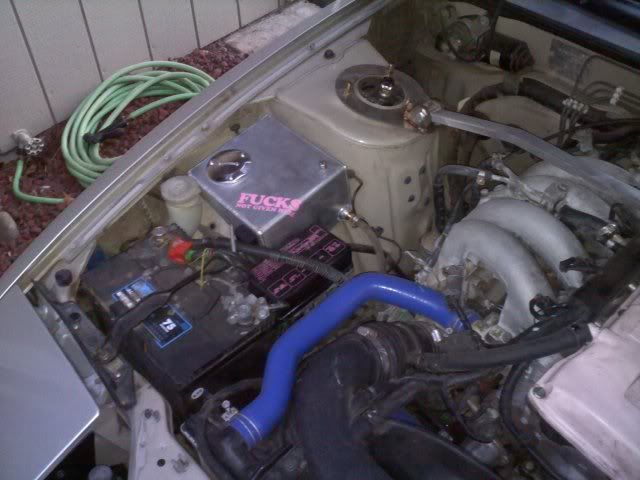
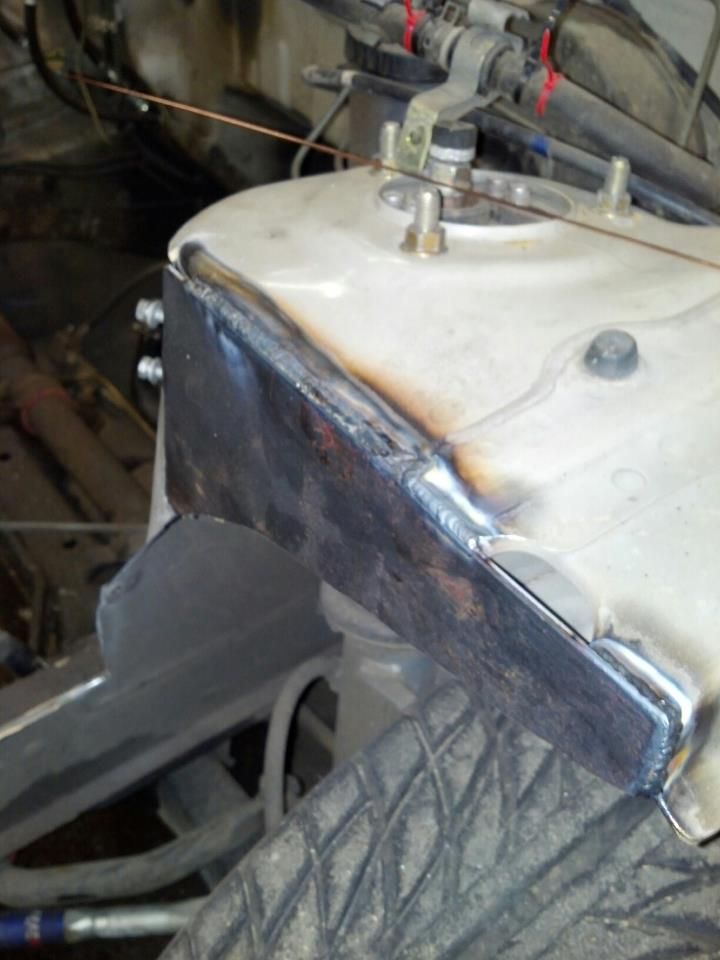
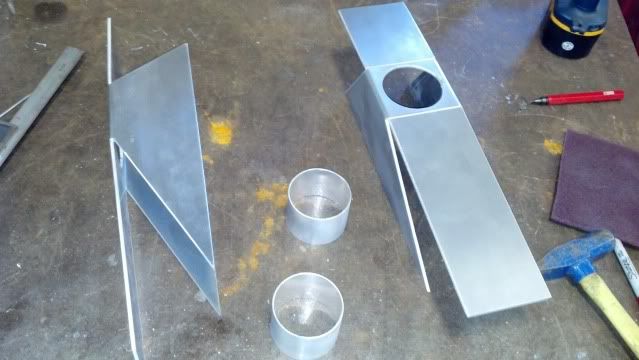
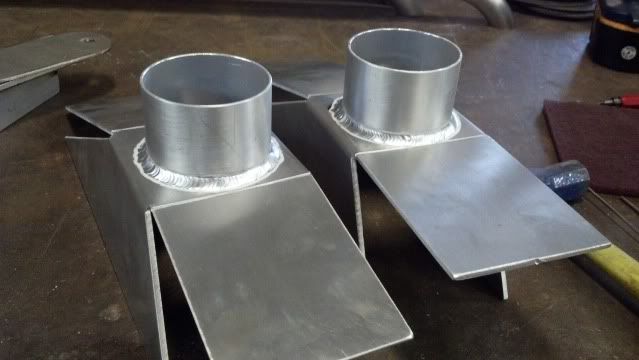
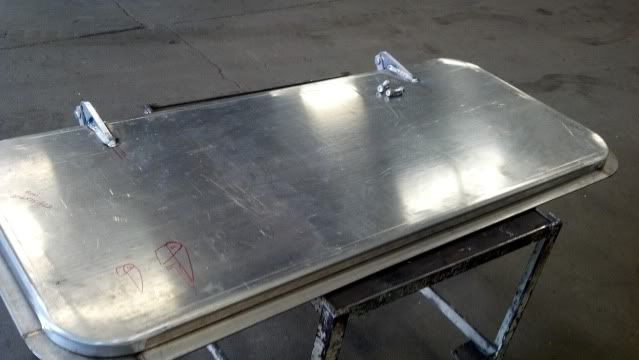
After a few months I gave a shot at trying to make a coolant over flow tank.
I wish I would have never used the dorky fluid level gauge. anyways it served it's purpose for now.
Image
Image
Image

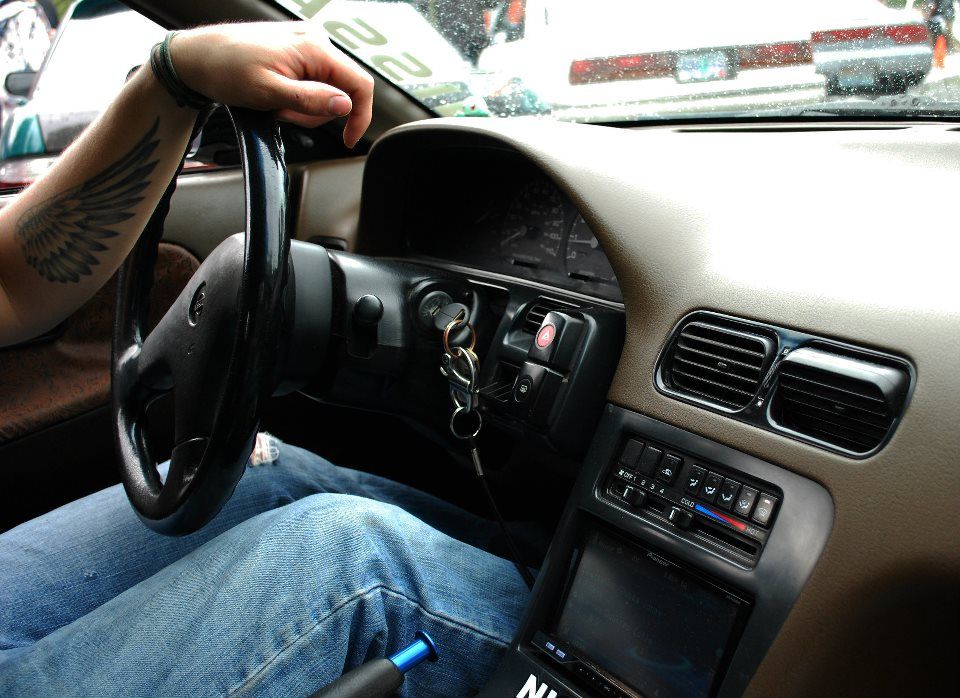
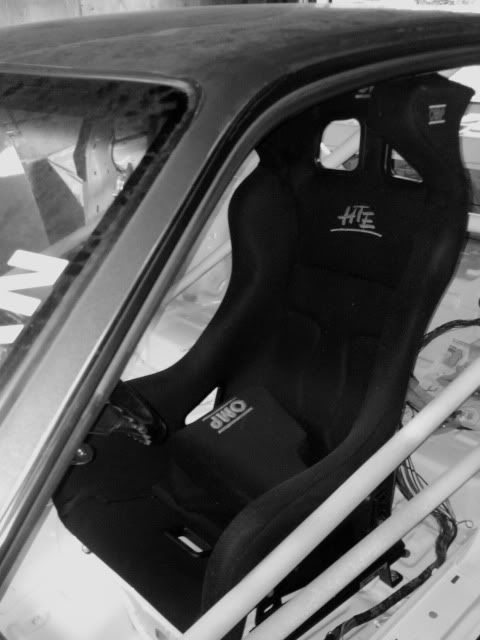
and from here I just kept drifting and modding little things and cleaned up the interior still learning and having fun.
Image
Image
Image
Image
Image

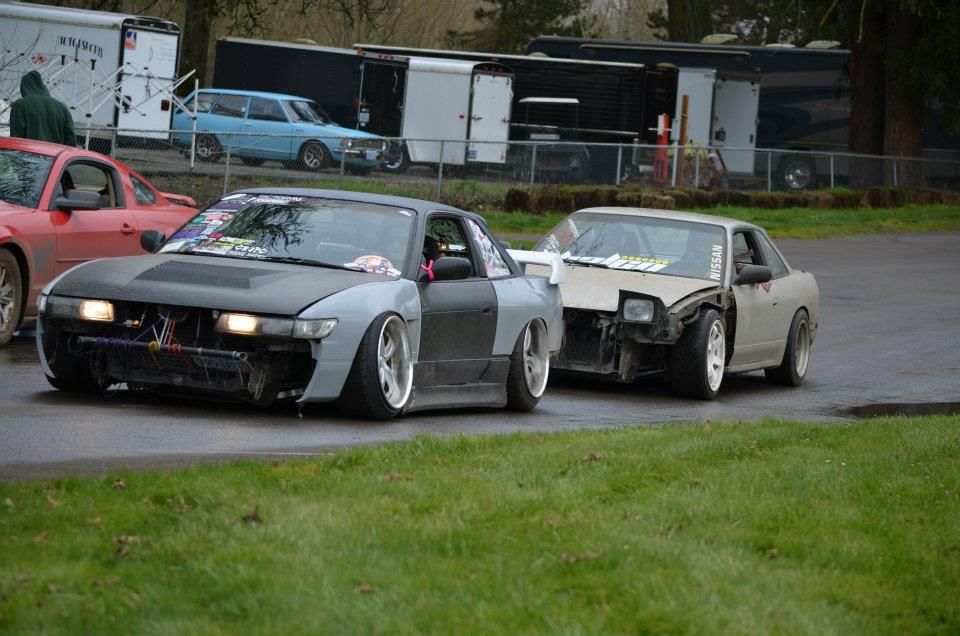
not long after this I was mad one day and being cocky and aggravated i put the car into a 7 ft deep ditch :) soft landing into black berry bushes but way far down there hehe. Never again. I had drifted the car for a year and a half and now it was time for a little advancement.
Image

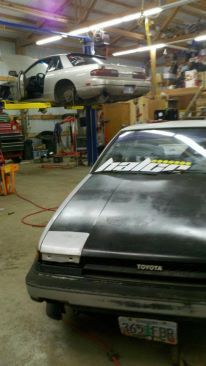
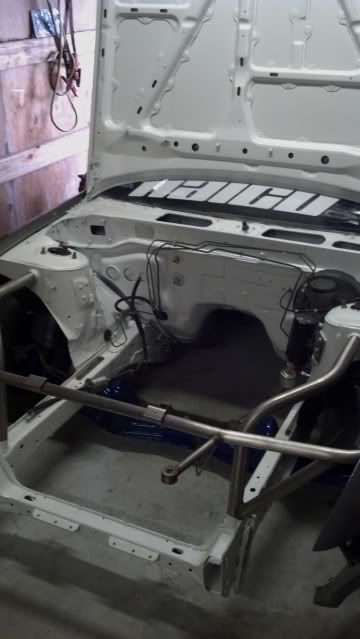
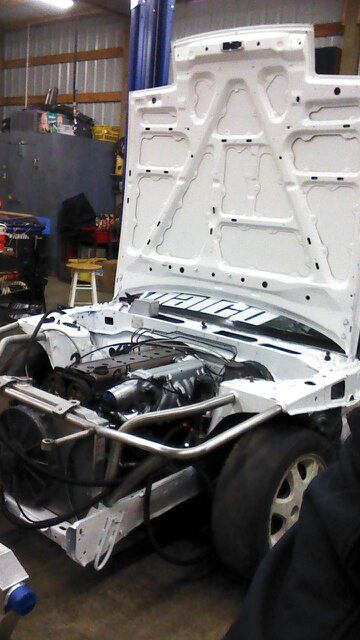
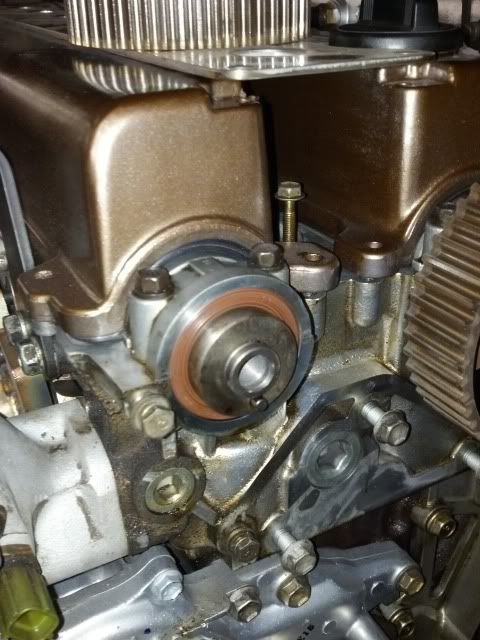
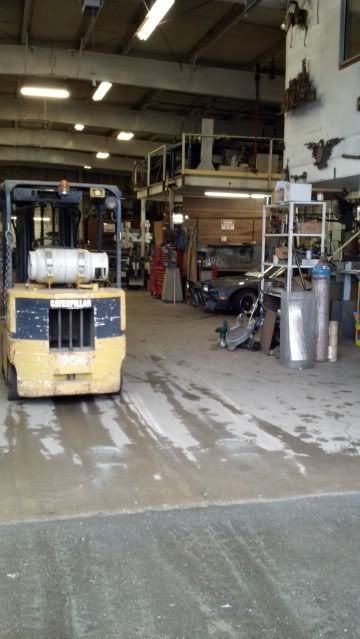
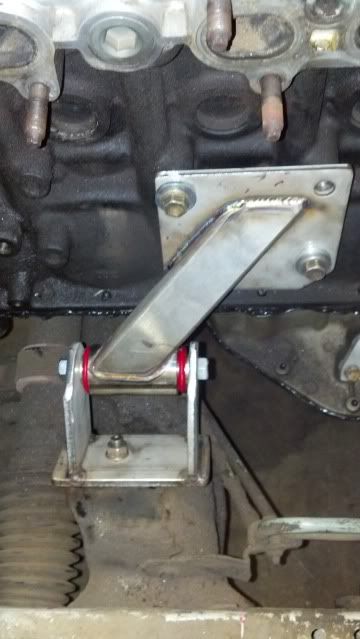
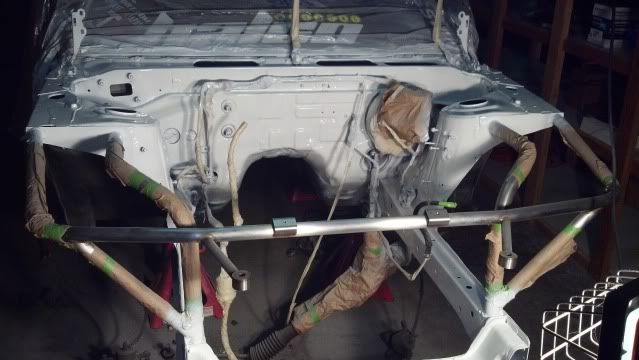
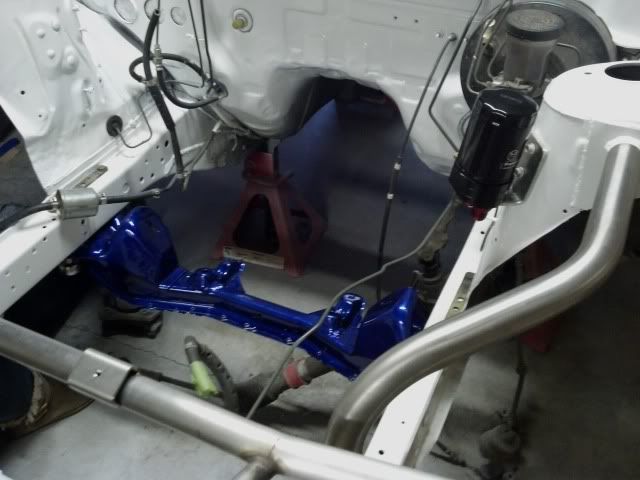
I had met my friend quad and was very privileged that he allowed me to use his shop to begin the suspension build on my car.
Image

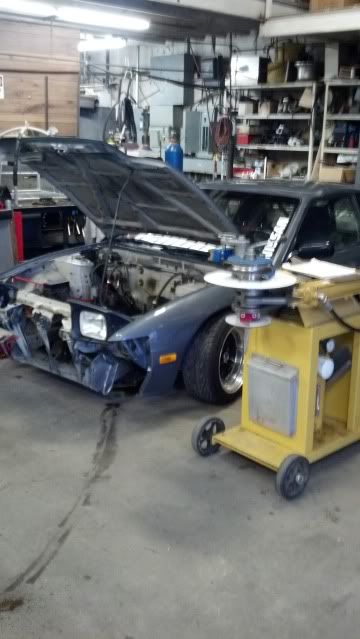
I did the basic suspension stuff for my first time through installed all new bearings on all 4 corners tien tie rods rack spacers Front tension rods RUCAS power brace poly bushings for everything Abercrombie Knuckles boxed all my arms in etc.
Image

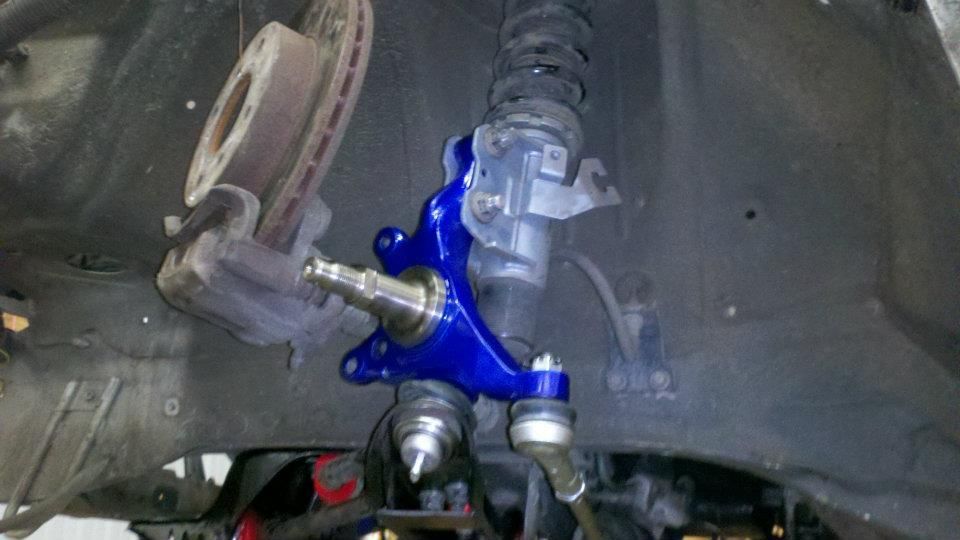
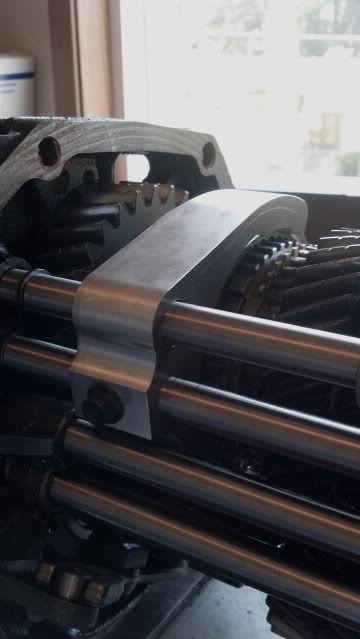
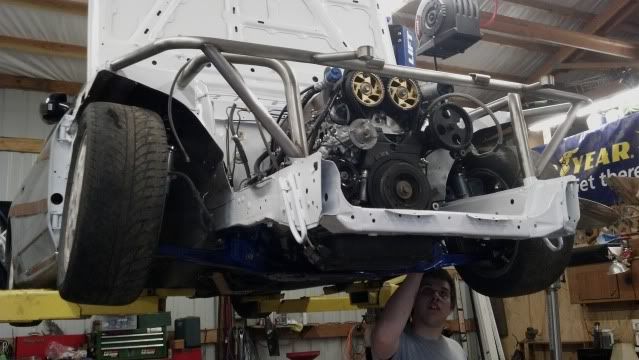
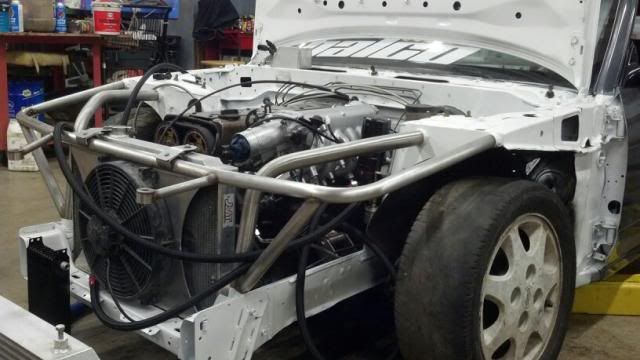
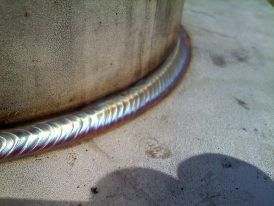
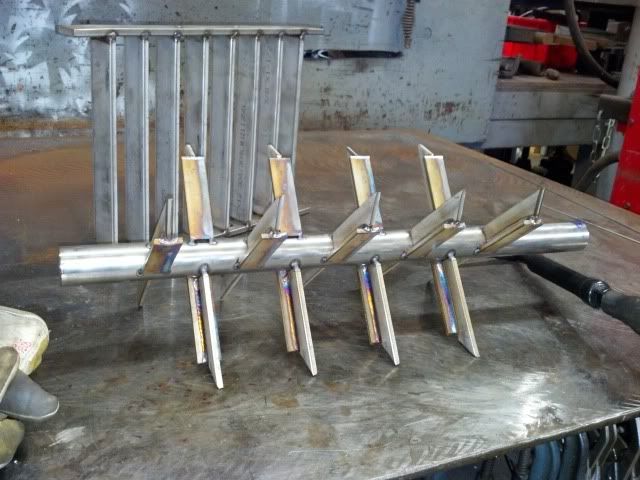
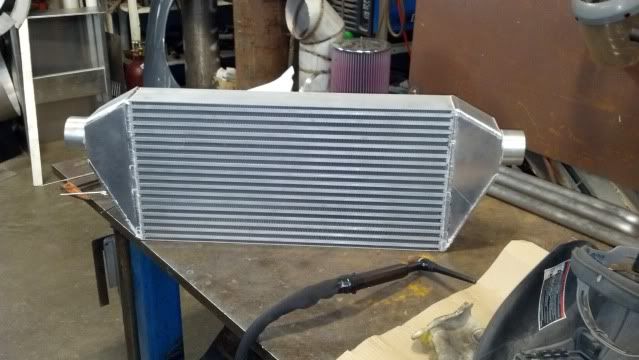
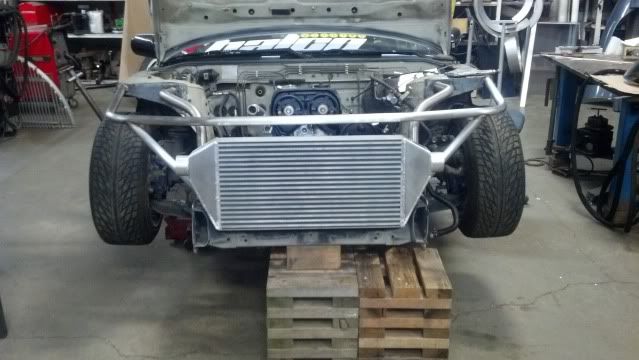
My fab skills were improving.
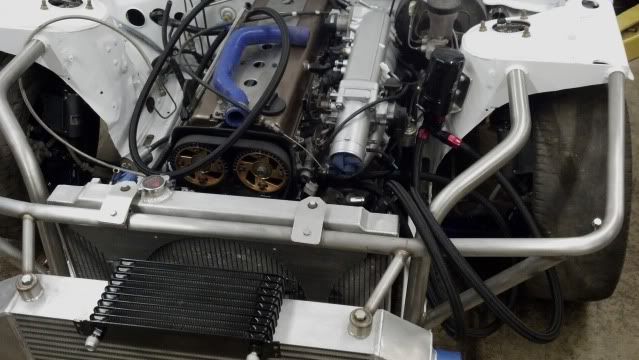
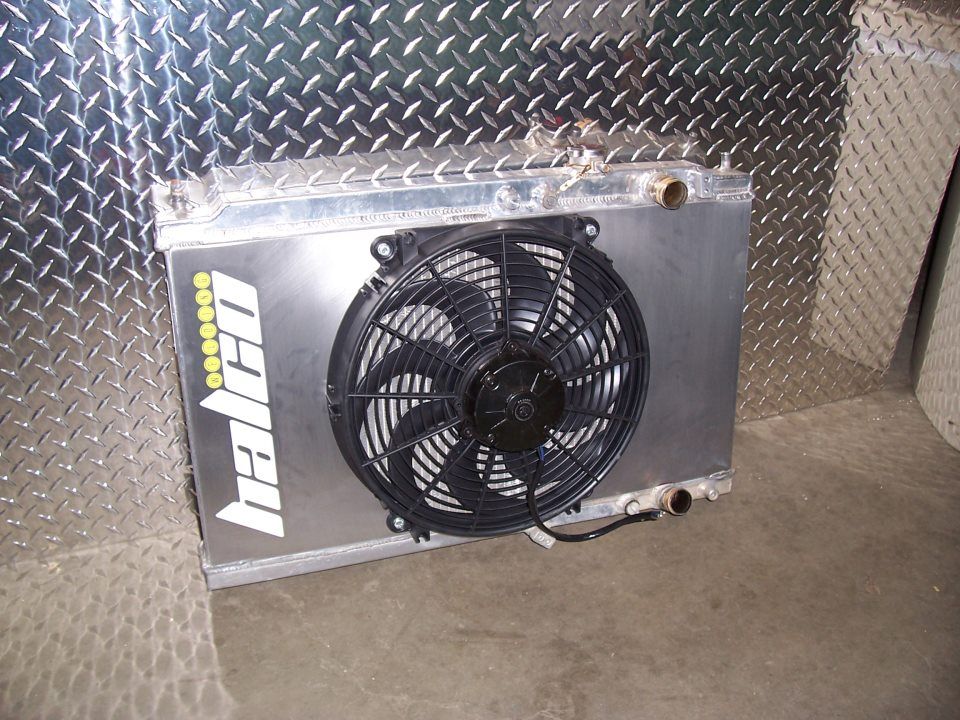
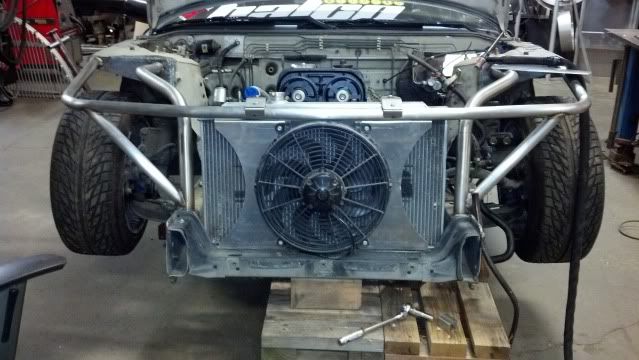
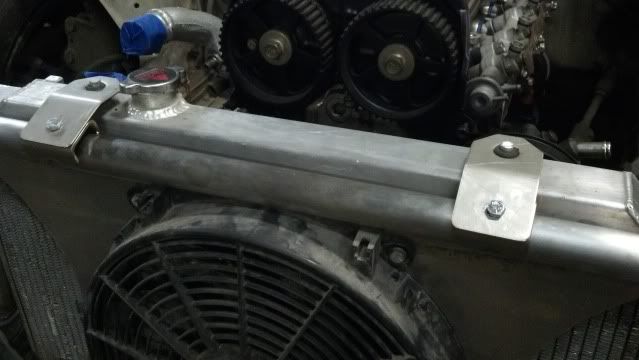
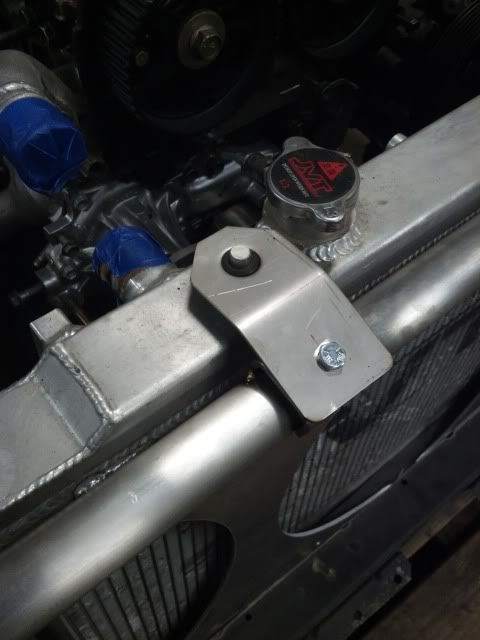
The radiator I did up
Image

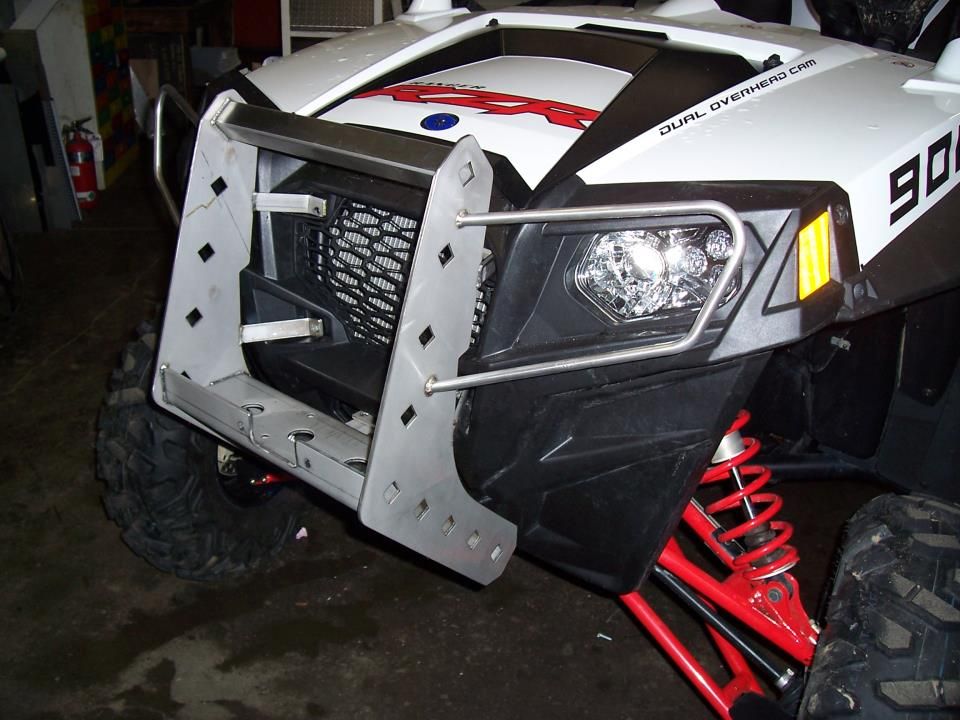
here is a random bumper I did for a Polaris rzr
Image

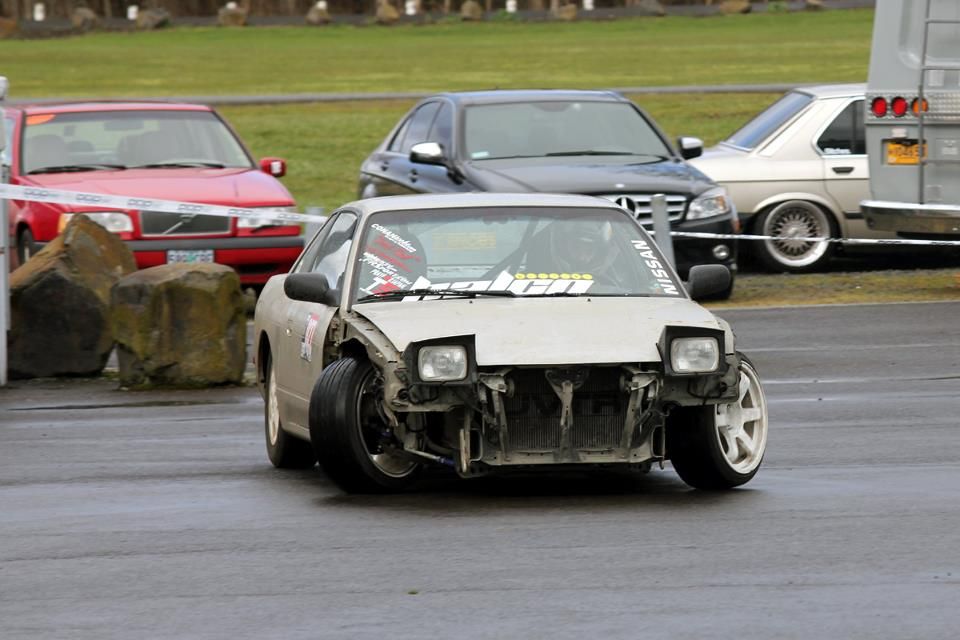
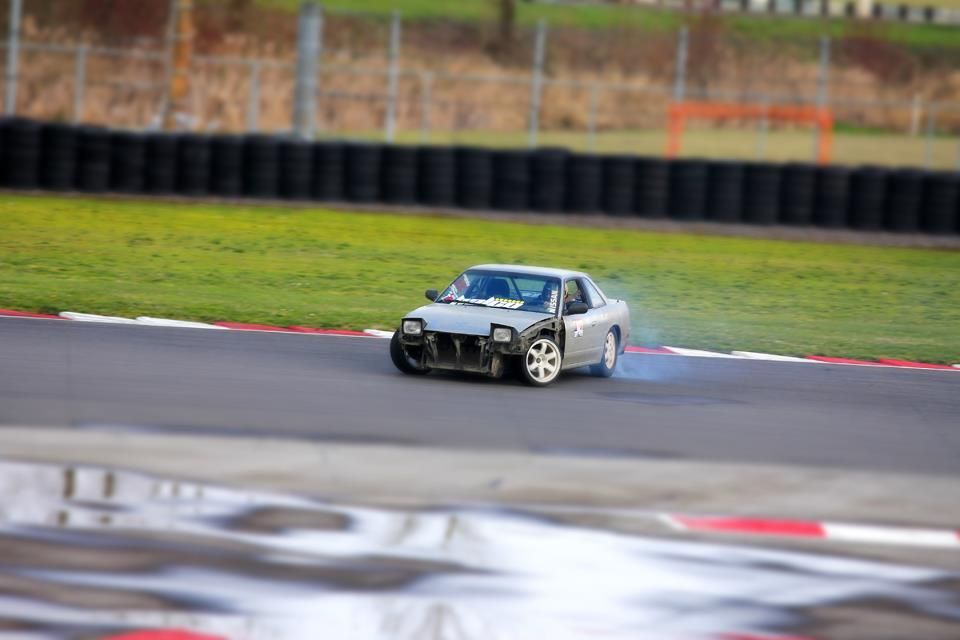
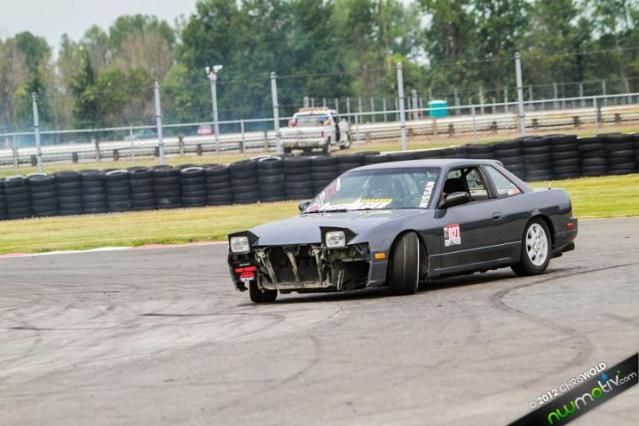
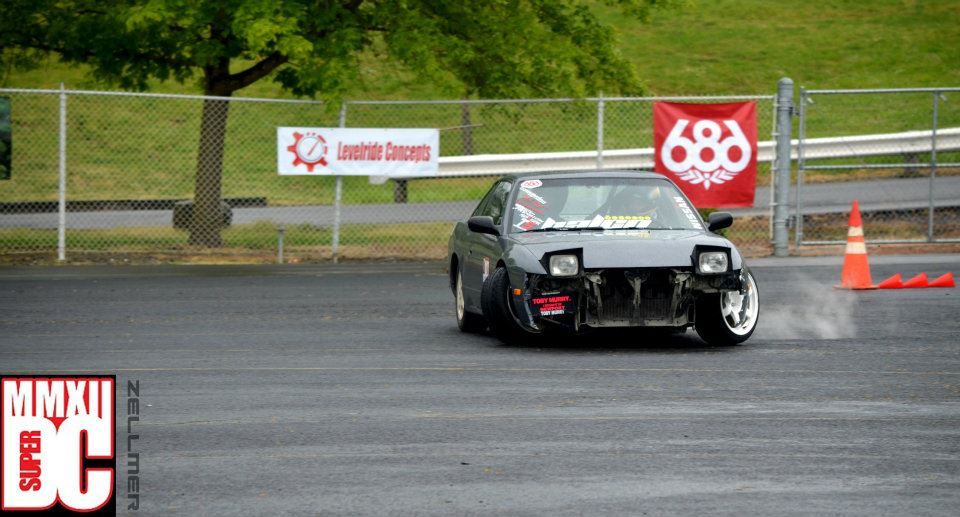
After I did all the suspension stuff I drifted the living piss out of it :D. My GF is short :PImage
Image
Image

Image
Image
Image

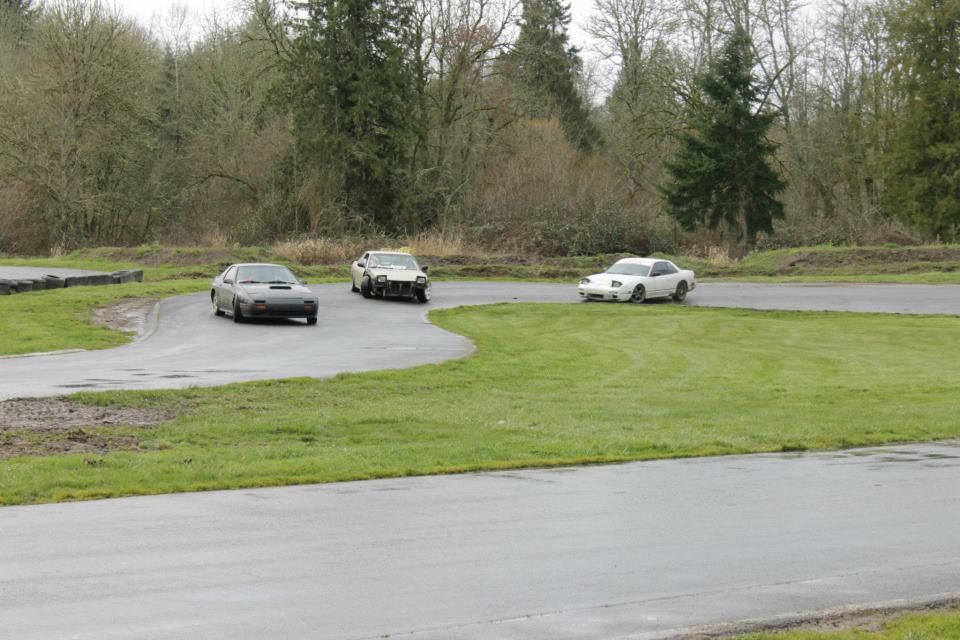
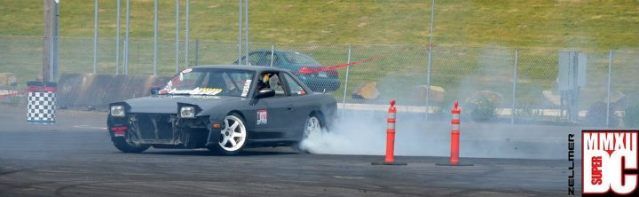
I competed in a season long comp it was kinda a joke but was still a great experience especially the high speed course
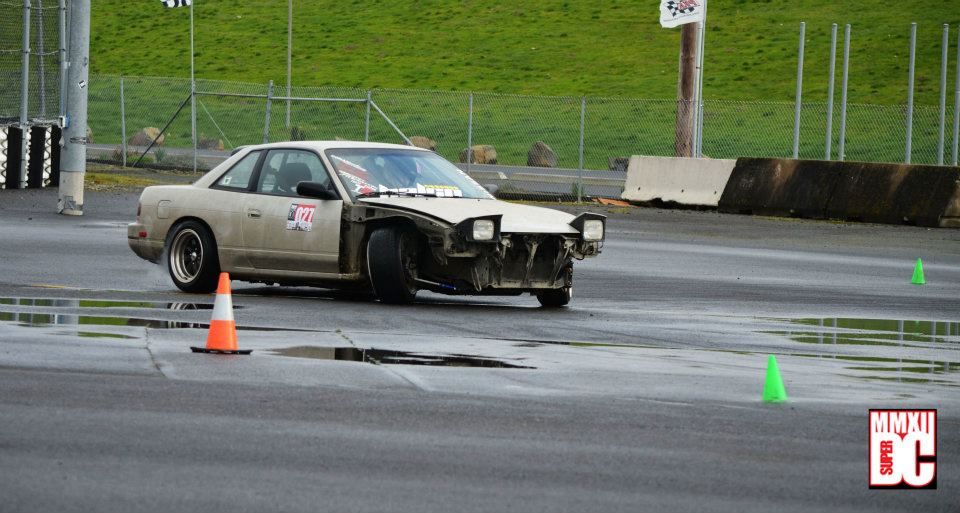
 :D
Image
Image
Image

5th place not bad :D
Image

Image

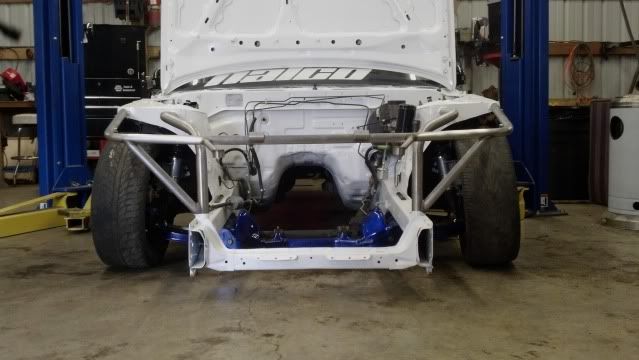
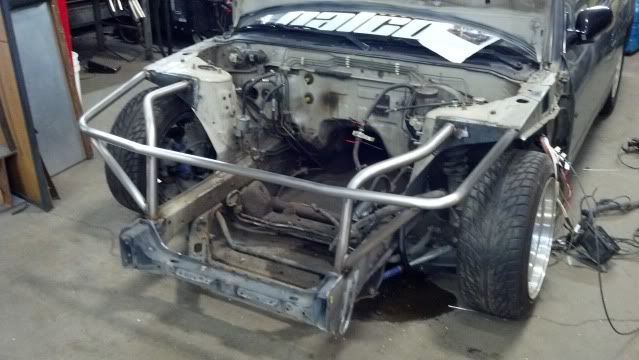
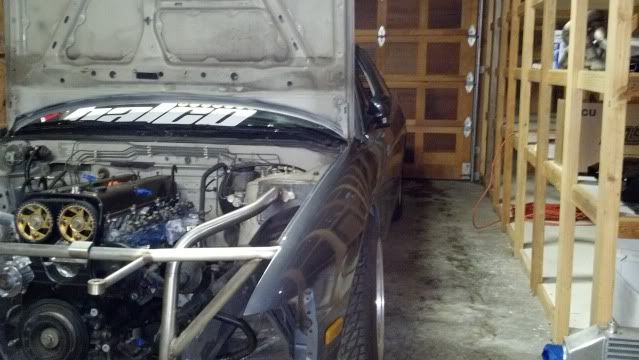
Also if u see I fabbed a cage waiting to do the pics on it when it's finished
Last edited by Twist3d on Sun May 19, 2013 8:10 am, edited 1 time in total.


Twist3d
Posts: 23
Joined: Sun May 19, 2013 7:27 am
Car: s13 1jz Coupe

Post

Somewhere during the season I kept doing little things found some fenders etc and started to do some body work. and more drifting :D
Image

after a few weeks my good friend quad lent me the opportunity to paint my car. Can't thank him enough!
Image
Image
Image

Shortly after the season began to dwindle down and I felt confident that I have learned enough with the stock KA that I could finally upgrade the power plant. I wanted to build something that I would enjoy and learn and grow with. So I had a thing for Toyota's and thought what better than a JZ series.

Twist3d
Posts: 23
Joined: Sun May 19, 2013 7:27 am
Car: s13 1jz Coupe

Post

I shoved all my money in this here bottle to keep from spending it on anything else :P
Image

then eventually this showed up at the shop :eek3d:
Image

Image

I got anxious one day to do something anything made this from stainless lol.
Image
after getting some funds back into play things started to roll and the brown Santa began to make frequent stops. One thing was for sure I didn't want to beat around the bush with the stock twins so I started on the basic motor build.
I'll save the internal stuff for another season.

she's a dirty girl but I'll clean her up :)
most of these flanges I did myself with some help from the machinist,
I burned these out on our CNC Plasma
Image
Image
Image
Image

here's a good one I keep storing all my parts in a pile in the living room. :ddog:
Image

Innovate Wide Band with LC-1 Apexi AFC NEO for now, Apexi AVC-R
stage 4 comp clutch, wiring specialties drop in harness ( I didn't think it would be worth the headache to even attempt to wire everything up plus this is all brand new wires no soldered joints etc. thanks Yury!)

Twist3d
Posts: 23
Joined: Sun May 19, 2013 7:27 am
Car: s13 1jz Coupe

Post

got the motor stripped down eventually what a pain in the a** those twins are!
Image

Image

this thing was an :mrmeph:
I decided on doing a twin scroll into a t3 flange WHAT A JOKE no wonder people charge thousands for manifolds there a pain in the a**!
Image

my TIG
Image

some mock up
Image
Image
Image
Image
Image
picked up a tial MVR 44mm I will run the tubes for this on the manifold when it's in the car so i know were to put it.
Image

Out with the KA! yanked the b**** in one hour flat. :D
Image
Image

machined a new shift knob for next season for an old knife
Image

AN Fittings for oil catch can setup.
Image

welded the waste gate holes in the holset
Image

got the motor naked for seals clean up timing belt upgraded 2jz oem water pump etc.
Image
Image
Image

Image

Twist3d
Posts: 23
Joined: Sun May 19, 2013 7:27 am
Car: s13 1jz Coupe

Post

2jz OEM water pump installed. Just waiting on front main seal before I put the rest of the front together.
Image

Here's a side view I need to weld the two coolant outlets on the upper water neck shut, and then cut it so it comes out straight to work with my KA rad.
Image

next will be the alt bracket setup
Okay modded the upper water neck and welded the side tubes off it shut since they won't be needed. Only reason I did this is to work with my current radiator.

Image
Image

traction control and drifting? :picardfp: Sawed off the first butter fly in the intake since I was using the vertical band saw for the water neck Didn't get a before pic but you'll see it in the pics below.

Image
Image

tomorrow I will mess around with the valve covers and get my AN fittings welded in place

Twist3d
Posts: 23
Joined: Sun May 19, 2013 7:27 am
Car: s13 1jz Coupe

Post

small updates.

first I welded my AN fittings to my valve covers for my catch can lines.
there's a little bit of tech here to explain why I did this setup.
Ali SC3 from the Club Lexus forum explained it the best.


If you want the best setup, vent both sides to a can and remove the pcv valve entirely.
If you vent both sides, the pcv is not needed because there will be no chance or pressurizing the crank case. This will allow for the most pressure to escape equally out both sides, which may decrease or prevent blow by entirely.

If you are running good boost on a single turbo with the stock pcv in place, it shuts under boost entirely, which means when you need to evacuate the most you have shut off one side of the crank case entirely, so all the pressure must escape off the passenger side, and when too much pressure builds up, it will take alot of oil along with it.

The pcv only helps you a little bit in vacuum at the expense of constantly oiling the insides of your intake, and hurting evacuation under boost. If you think about it, Oil blow-by is a consequence of too much pressure; and if you eliminate the pressure build up, you may find your catch can hardly gets any oil at all, which means if you open up the valve cover vents and remove the pcv, you have effectively doubled your ability to vent and you may not even need a catch can anymore

Read more: 1JZ/2JZ Oil Catch Can Questions - Club Lexus Forums


This was my first time welding to valve cover aluminum... what s*** pot metal this stuff is...
Image

remove the baffles from the inside to keep them clean, I recommend putting down some FIPG from Toyota to keep it factory when your all done.
Image

Image

what a pain in the a**...
Image

Image

waiting on the upper set of gaskets and cam seals but I cleaned the head up while I had it apart.
Image

This stuff is the bomb stocking up getting ready to do the lower pans and front and rear mains plus checking the bearings out.
Image

Image

Image

Image

Image

and here she sits for the FIPG to cure over the weekend, the rest of gaskets and seals will be here next week and I can finish getting everything taken care of get some paint on it and start the work on the shell. :s101:
Image

Twist3d
Posts: 23
Joined: Sun May 19, 2013 7:27 am
Car: s13 1jz Coupe

Post

sorry for the blurry pic just snapped this real quick and had to go.
Image
order from drift motion came in just some small things.
Heat shielding gasket, AN fuel rail adapter with crush washer, Cam seals, exhaust studs flange nuts, valve cover gaskets and grommets, and a braided line for my oil pressure/temp gauge.

the heat shielding gasket is probably one of the better things you can do for your jz.

also my BoV is ordered and soon I should be fabbing my intercooler and oil cooler, waiting for the cores to show up
broke the plastic retainer on the tensioner. It was still in great condition aswell as the pulley so I just machined a new retainer.
Image

Phantom Gauges. clean simple effective.
Image

thought you guys would wanna see my blades of death I have been putting together at work.
Image
Image
they are for a bait chopper for crab boats.
some random action shots. herd u liek angle?

Image
Image

Twist3d
Posts: 23
Joined: Sun May 19, 2013 7:27 am
Car: s13 1jz Coupe

Post

Here is some small updates while I wait on trying to figure out my stupid transmission problems :picardfp:

more s*** cell phone pics lol

cam seals
Image

machined an adapter for 1/8NPT oil pressure gauge and will t off to also do my oil temp.
Image

and The motor is finally to the point were I felt it comfortable enough to throw on some paint. mocked everything up after to see how it will look.
Image
I have not done a damn thing latley except small stuff new plugs more paint the little stuff... Waiting on my transmission situation then I can finally start mocking this turd into the car and get things rollin. Also my lack of a garage and having to drive 20 miles to work on my car is halting my progress. But this will soon be solved :D

parts keep rollin in the door got some injectors more an lines and fittings my intercooler core showed up should be fabbing that shortly. But again not much more to do other than get it in the car for mock up.

Image

made this chain guard cover for a NOAA boat. thought it turned out cool its about 8 ft tall and the other fabrication company that works on the boat hate me for it :D but at least the crew like it.

Image
Okay! I finally did something! got some 440cc injectors put those in.
Image

also got some 2j cams I'll see about running and a modded 1jz ecu to move the fuel cut above 14psi

then started the chassis work!
Image
Image

The face of constipation :D
Image

Image
Image

getting back at it tonight should have some updates tomorrow

Twist3d
Posts: 23
Joined: Sun May 19, 2013 7:27 am
Car: s13 1jz Coupe

Post

I'm moving the steering rack an inch getting tube front arms and getting the knuckles modded for new pickup angle and other things. Definitely notice the feel in traction at full lock could be better! Thanks for the advice man.

here is some more stuff. I'll try to get a proper camera I swear :bigok:

Image

Image

Image

Image
quick update
this is 1.5" .120 T316 Stainless tube

Image

and a sneak peak of the test fit :)

Image
merp more s*** cell phone pics :D

Image
Image
Image
Image
Image
Image
Image
Image

and now that were fitting the motor mounts i'm starting to tweak everything to get the fit i want.

so were i left off for the night
milled these out of some bar stock for some spacers on the sway bar.
soon i'll have the full stainless tig welded motor mounts done.
Image
okay guess i'll keep this build rollin...
more pics :wan:

wire tuck that b****.
Image

Image
Image

Image
Image
Image
Image
Image
Image

Twist3d
Posts: 23
Joined: Sun May 19, 2013 7:27 am
Car: s13 1jz Coupe

Post

mounted up the rad today also I got some aerocatch hood pins gunna finish mounting the fenders etc and transmission mount do a drive shaft then pull everything out and prep for paint this weekend

Image
Image
Image

and a bunch more goodies are on the way stay tuned
not much of an update

just kinda rolling through parts and pieces and trying to get everything perfect.
These are suppose to be great power for the money
Image

there's a little modifying to get this kit to work good but definitely worth it
Image

Image

front timing over and misc parts put back on and motor timed it's on the ground going have to mod the transmission mount a little more :/ forgot how low it was. Also can't wait to drive this beast... wire tuck coming soon and aem ems v2 etc.

Image

Twist3d
Posts: 23
Joined: Sun May 19, 2013 7:27 am
Car: s13 1jz Coupe

Post

some parts rolling in r1 stuff from Marlin. I love these guys always had the best customer service with these guys.

Image

Clutch a Seat and some power steering lines on the way. I still need to fab the catch can and PS reservoir.

I'll just leave this here.

Image
Image
Image
Image

thanks Tim :D looking forward to see what your new setup is gunna be!

updates of some sorts
Got the car moved into the new shop were it will remain till its running.
Image
Image

before moving all the tools, My Girlfriend acquired a coupe that she plans to build into a stunter. So we got her car tore apart and we'll be building it after I get my car together.
Cancer Patient
Image

My seat finally arrived!
Image
went a little bit fan boy on it
Image

Then got to work. I wrote up a checklist of all the different things needing to be finished, and started plugging away at it.

Image

Day 1 Progress motor out, suspension pulled, bay getting stripped down for paint, more dry ice in the interior... Thankful my Girlfriend puts up with it and helps me out.
We got about a month and a half to see if we can get it going by then. ( <--- lol in my dreams )
Image
In the process of making this adapter plate for the master that comes with the clutch kit. there is gonna be some issues getting this to work, but I'll figure it out.
Image

So onto the good stuff, got the bay stripped even more and the interior as well, tomorrow will be sanding and masking. But we've seen those pics a million times. How about some fun stuff.

Image

Was so excited about this part!
a few pieces of bread and she popped right now

Image
Image
Image

Image
Image
Image
Image

getting the transmission prepped for Marlin parts.
picked up this r154 from a shop up here...
nothing says quality like three bolts of different lengths holding the bell housing on. Oh and the sand still in the casting of the bell... :picardfp:
Image
Image

Twist3d
Posts: 23
Joined: Sun May 19, 2013 7:27 am
Car: s13 1jz Coupe

Post

Image 
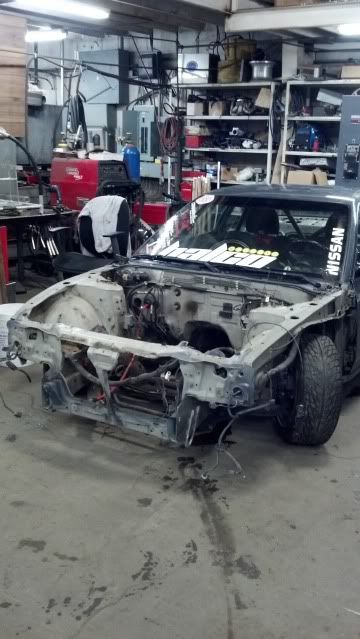
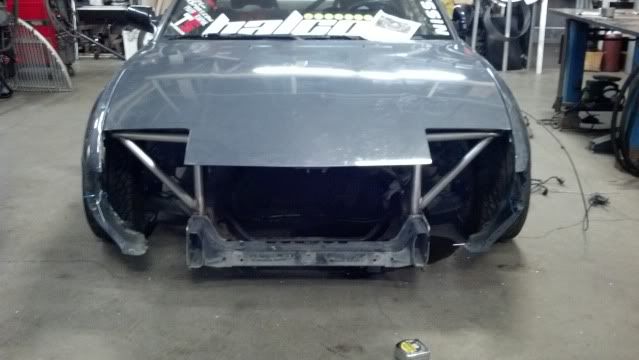
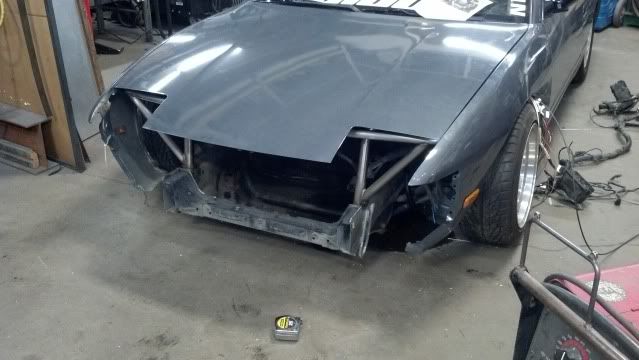
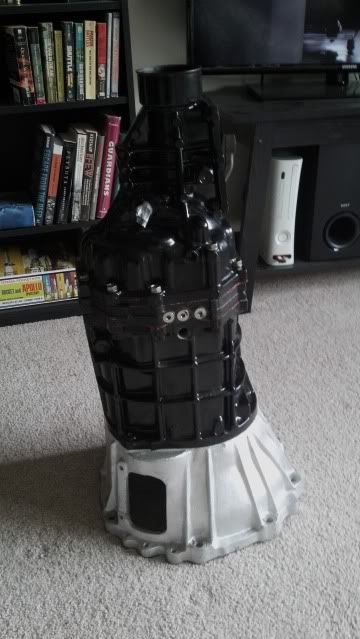
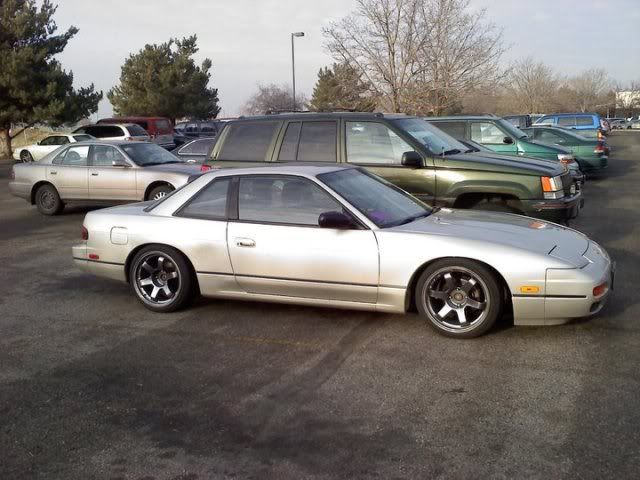
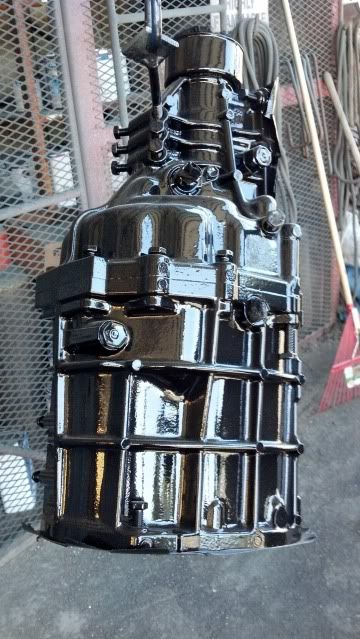
quick paint job to clean it up
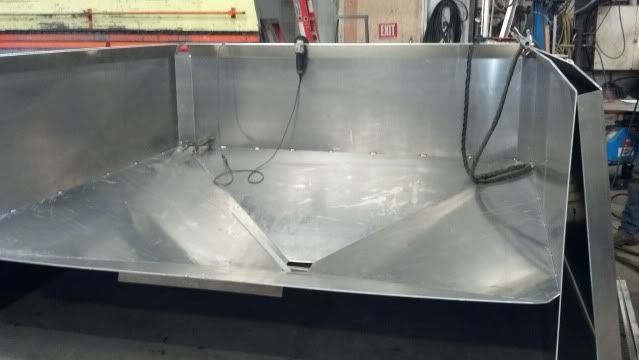
whooo update.

first off building this shrimp hopper at work thought I'd show it off was pretty happy about how the funnel turned out
Image

onto the good stuff
transmission getting ready for full marlin kit
Image

This showed up from John Reed at PSI AEM PNP V2 fixed for JZ and my harness was repinned for the AEM will be using it as the boost controller aswell and have the AEM 3.5 bar MAP sensor
Image

also I was in the process of making these bitchen stainless seat mounts then I remembered that they needed to be FIA approved for ProAM.... So if anyone is interested in some custom seat mounts I'll finish these up PM me for details.
Image

I just had a general interested in vehicles and eventually my passion grew and grew and I took more interest to how things were built. Eventually it ended me up here.

I use a few machines Dynasty 350 Synchrowave 300 a Lincoln Precision Tig 275 are a few

Image
Image
Image

Twist3d
Posts: 23
Joined: Sun May 19, 2013 7:27 am
Car: s13 1jz Coupe

Post

well I haven't posted in a while, I don't feel like writing some story so I'll just keep this short and post a ton of pics. I been incredibly busy working on other peoples projects its been hard to keep motivated to finish mine.

Image
Image
Image
Image
Image

started the exhuast parts, <3 v-band flanges
Image
Image

abercrombie knuckles extended and boxed lcas modded sub frame custom tie rods and spacers. Love the powder coating.
Image

seat in f*** tight squeeze...
Image

as you can see not a whole lot done kinda fell into a slump I'll get back at it though I promise.

people wanted some tig pics so I'll show off some work pics.
Also the other projects I've had going on.

Built this handrail in a 5 Star hotel spa.
Image
The manager didn't like my butt weld... have to go out and polish completely out..
Image

tig radar mount for a boat.
Image
Image

Shrimp hopper with my sexy GF
Image

Coast Guard certified Aluminum Hatch Doors Stainless framed... these were a nightmare lol It was a test to see if I could design and build the whole thing myself. Interesting with only 2 years experience vs my boss' 40...
Wish I had a picture of them with the Dogs in.
Imagev

Prototyped this 350z 6 Speed to JZ adapter Kit for a local shop SVPerformance The guy running this setup took 3rd place at his first pro am a week ago.
Lexus has a big a**...
Image
Image
Image

69' Camaro SS hood taking the Garnishes out
600hp Monster
Image
Image
Image
Image


that is all or now. Sorry I'll try to pick up the pace on my car.

Twist3d
Posts: 23
Joined: Sun May 19, 2013 7:27 am
Car: s13 1jz Coupe

Post

Feels nice seeing the transmission done its all put back together i just need to get the fingers aligned correctly to put the rear case on.
Image Image
Image
Image
Image
Image
Fabbed this aem ecu stay out of stainless put jrr on it for john reed racing ill make these for anyone that wants em custom logos even lmk

Full portable tig/stick setup can run 110 or 220v :)
Image

User avatar
pepesilvia
Posts: 584
Joined: Tue Feb 21, 2012 8:15 pm
Car: 96 S14
Location: New Jersey :(

Post

awesome build dude! cant wait to see more of this! and your fabrication skillz are ridiculous! do you plan on doing any bodywork or major suspension upgrades after you drop the motor in?

Twist3d
Posts: 23
Joined: Sun May 19, 2013 7:27 am
Car: s13 1jz Coupe

Post

The aero I want is stupid expensive :( it will come though. Trying to get a 5 lug setup put together my suspension right now is Megan track series coils modified sub frame boxed and extended LCA's custom tie rods knuckles were modded a second time for new angle of the bojangle should be getting 66-67* steering angle lock to lock the photos above are at 52*. I would like more tube arms for the rear to make things for adjustable but I need to drive to see what I want.

thank you by the way it was nice re-posting this and seeing how far I've come along

Twist3d
Posts: 23
Joined: Sun May 19, 2013 7:27 am
Car: s13 1jz Coupe

Post

This made me smile :) It's put together rear case isnt sealed yet becuase the next step is to finally set the motor in the car and get measurements for shifter extension and then finish that and put it back in.
Image

didn't like the bead blasted look of the ecu stay.
brushed it
Image

User avatar
Hijacker
Posts: 14373
Joined: Wed Aug 13, 2003 4:57 am
Car: '92 240sx Convertible
'94 F-150
Location: Fredericksburg, VA

Post

Your thread title was very misleading :D

This is an awesome build so far. I'm really impressed with your tig beads. The sheet metal plant I worked at a few years ago didn't have any weldors who could weld that nice and they had been at it for a long time.

Twist3d
Posts: 23
Joined: Sun May 19, 2013 7:27 am
Car: s13 1jz Coupe

Post

Hehehe, Thank you. I couldn't think of anything else! :facepalm:

As far as my welding goes, I still think I've got a ways to go to catch up to the level my boss is at.
Then again welding is not even half the game :squint:

mechanicalmoron
Posts: 790
Joined: Fri Apr 29, 2011 1:04 am

Post

Holy crap, you're a welding beast.

In fact, it feels like this thread is mostly about your metal skills, and your car is a distant afterthought.

User avatar
pepesilvia
Posts: 584
Joined: Tue Feb 21, 2012 8:15 pm
Car: 96 S14
Location: New Jersey :(

Post

Twist3d wrote: Was so excited about this part!
a few pieces of bread and she popped right now

Image
Image
Image
can you explain this part to me? why there is bread on yur engine? lmao

Twist3d
Posts: 23
Joined: Sun May 19, 2013 7:27 am
Car: s13 1jz Coupe

Post

f*** toast power!
Lol I did leave that pretty vague.
I didnt have anything to get the pilot bearing and grease is annoying so i kept pounding bread in there and it popped out :)

User avatar
Razi
Posts: 28373
Joined: Sun Dec 31, 2006 9:52 am
Car: Moo

Post

Did that with our friend's KA.
Works like a charm. :D

It's actually better than grease because it doesn't leave any greasy residue behind.

Twist3d
Posts: 23
Joined: Sun May 19, 2013 7:27 am
Car: s13 1jz Coupe

Post

Yes exactly! Just scoop the bread out and viola it's perfect :)

CJH
Posts: 251
Joined: Sun Mar 21, 2010 7:37 am
Car: S13
Location: Sheboygan WI

Post

Wow! There is a lot of nice work in this thread. Really, really amazing. Nice fabricating! Car is looking great! Love the track pictures. Looks like you're getting some good seat time.

Twist3d
Posts: 23
Joined: Sun May 19, 2013 7:27 am
Car: s13 1jz Coupe

Post

Guess it's time for some progress lol
Image

Moved the car to my friends hoist to finish everything up.
The new angle kit from abercrombie motorsports should be getting 66* :) Image

Staring off into space -_-
Image

The engine set is pushed back as far as possible with my mounts and the excessive transmission mount.
Image

Also I picked up the measurements to fab the drive shaft and my shifter relocation
So after these are done its going for the final time.
Image

Twist3d
Posts: 23
Joined: Sun May 19, 2013 7:27 am
Car: s13 1jz Coupe

Post

Got an idea on all the lines and how i wanna organize the bay. Also coolant lines etc. Stay tuned.

Oil cooler is not mounted there

Image

Cluster f*ck
Image

User avatar
420sxWETDREAMS
Posts: 514
Joined: Sun Feb 24, 2008 3:37 am
Car: 1991 240sx Hatchback
Location: @ your moms house

Post

Holy mind f*** batman. Great build man! No no no.........really great work, well done!

Twist3d
Posts: 23
Joined: Sun May 19, 2013 7:27 am
Car: s13 1jz Coupe

Post

In the process of doing a bunch of wiring, really enjoying this part of the build doing all the little odds and ends just trying to move along taking my time to not make any mistakes and get things exactly like I want.

Only pic I could get as my hands were tied, more tomorrow.
Image


Finished up the shifter housing extension.
Image

Makes me smile every time :D
Image
Image

User avatar
Pento240sx
Posts: 1562
Joined: Sat Jul 29, 2006 4:08 pm
Car: 1995 Nissan 240SX SE, 1981 Datsun 210 Deluxe, 1981 Datsun 810 Maxima Deluxe and 1999 Infiniti Q45t.
Location: Central, CA

Post

Very nice, are you planing on putting a fuel cell in it?


Return to “240sx General Discussion”