http://www.carkitcompany.com/nissan-mur ... remote-htm
and in the comment section put that this is for a G37.
Now on to the install. This is for a MANUAL transmission. The automatic transmission will be very similar. The only difference will be removing the shifter housing. The manual is SO much easier. ALso this only took me 20 mins and that's with taking these pictures.
NOTE: Be sure to put your keys away and that there is no chance to turn on the car because you will be disconnecting the passenger airbag off light. You will have to reset it if you turn on the car with this disconnected.
Step 1: Remove the shifter housing by prying up on the end away from the engine as so:

Step 2: Disconnect the Cig lighter:
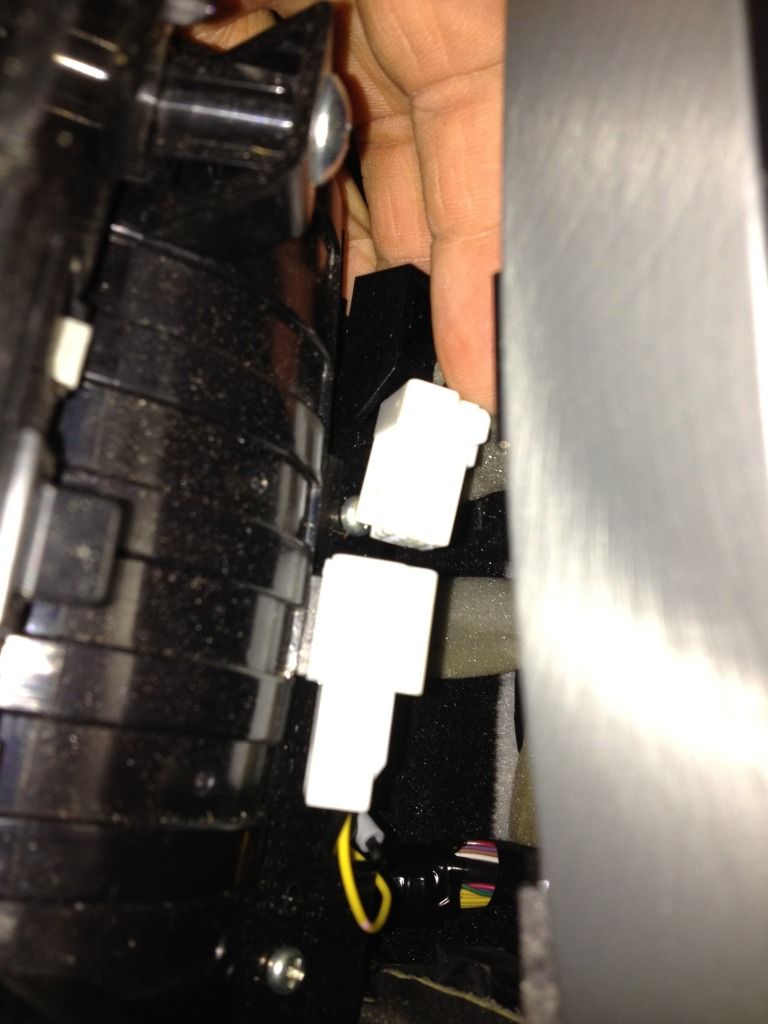
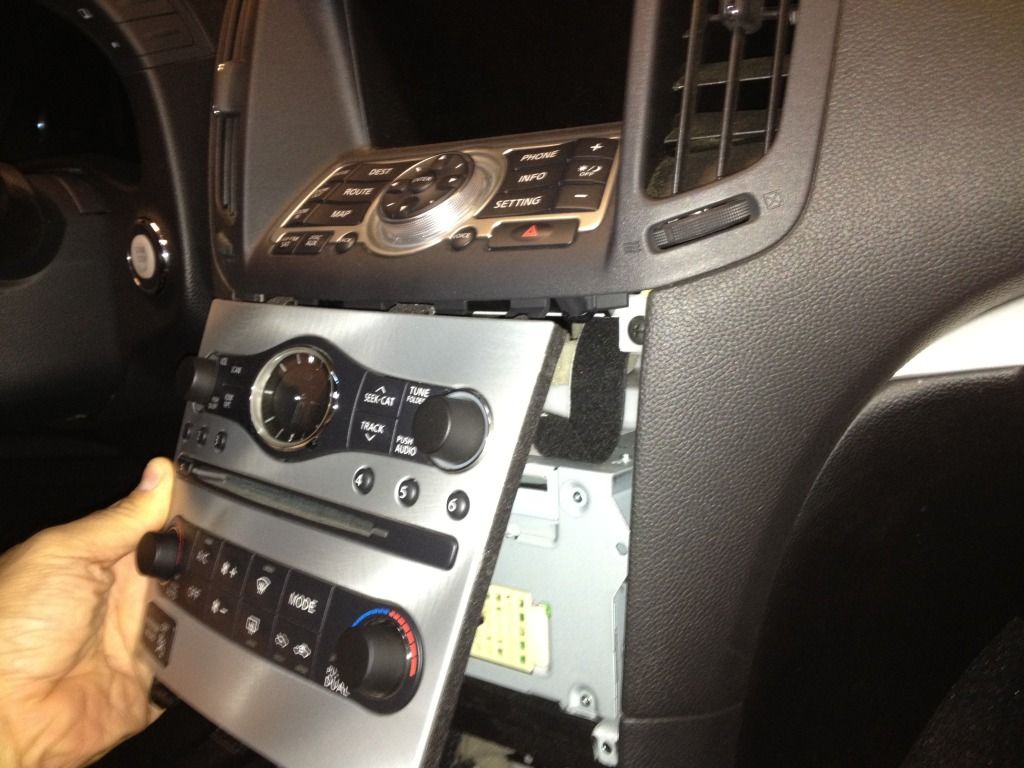
NOTE: If you want to remove the shifter console then you will need to remove the shift nob. I just left it in place and twisted it. I also placed towels around it to protect it and keep from scratching the rest of the console. Worked for me.
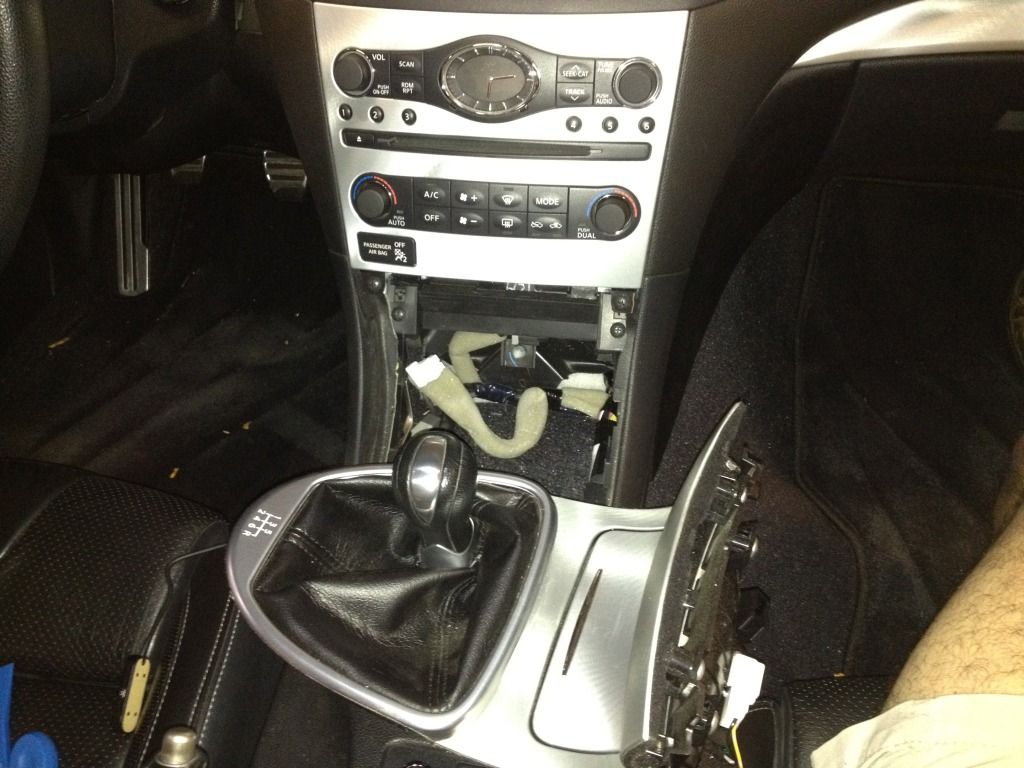
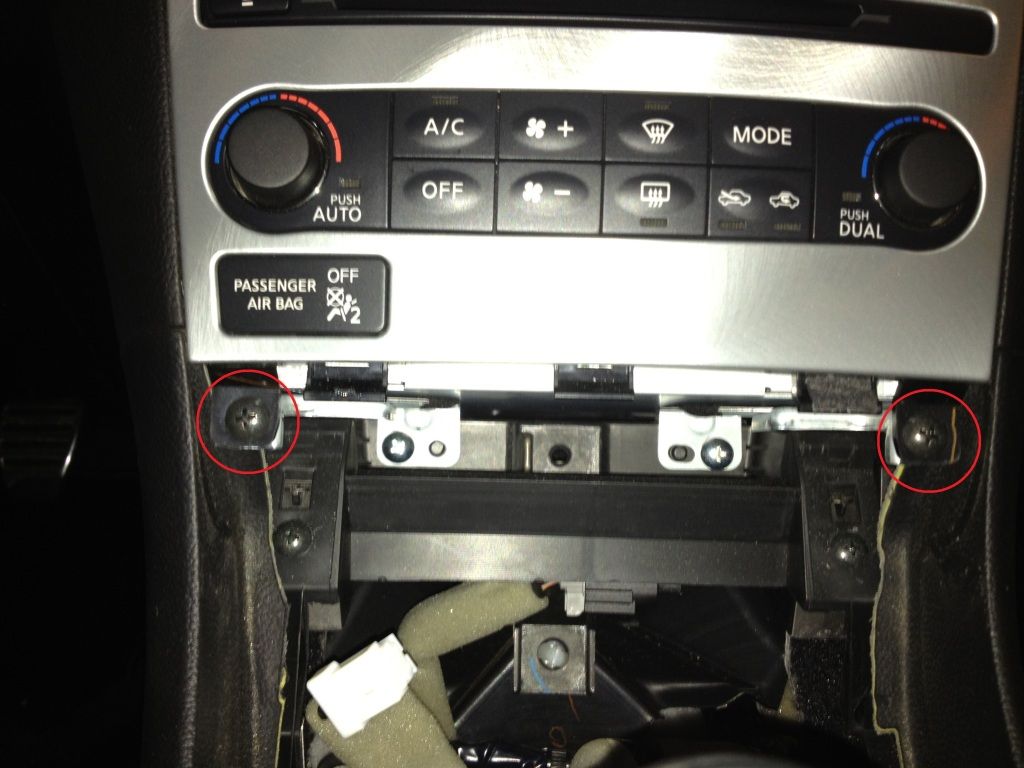
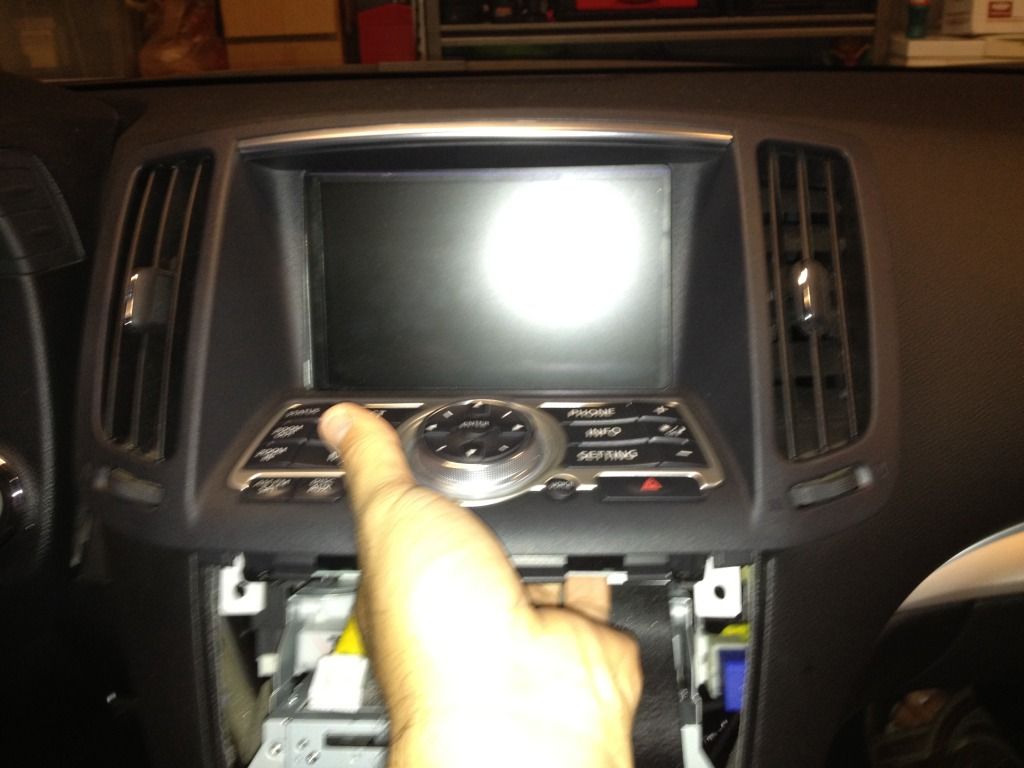
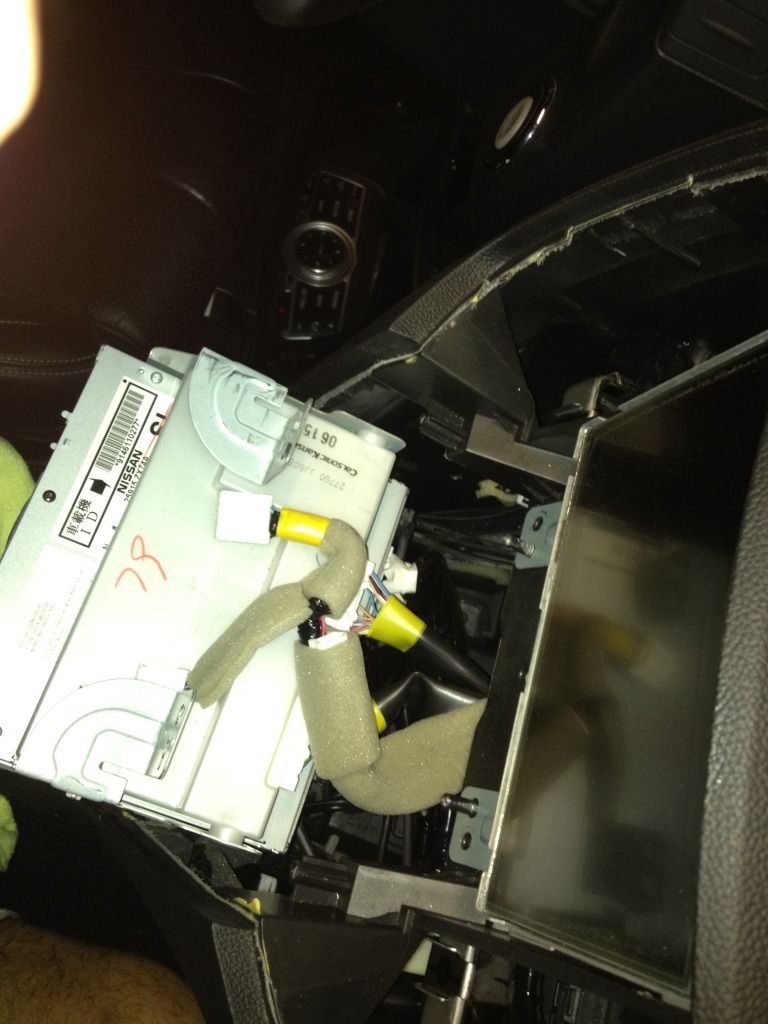
Step 3: Now its time to remove the A/C, DVD, Clock fascia by first removing these two screws underneath it.
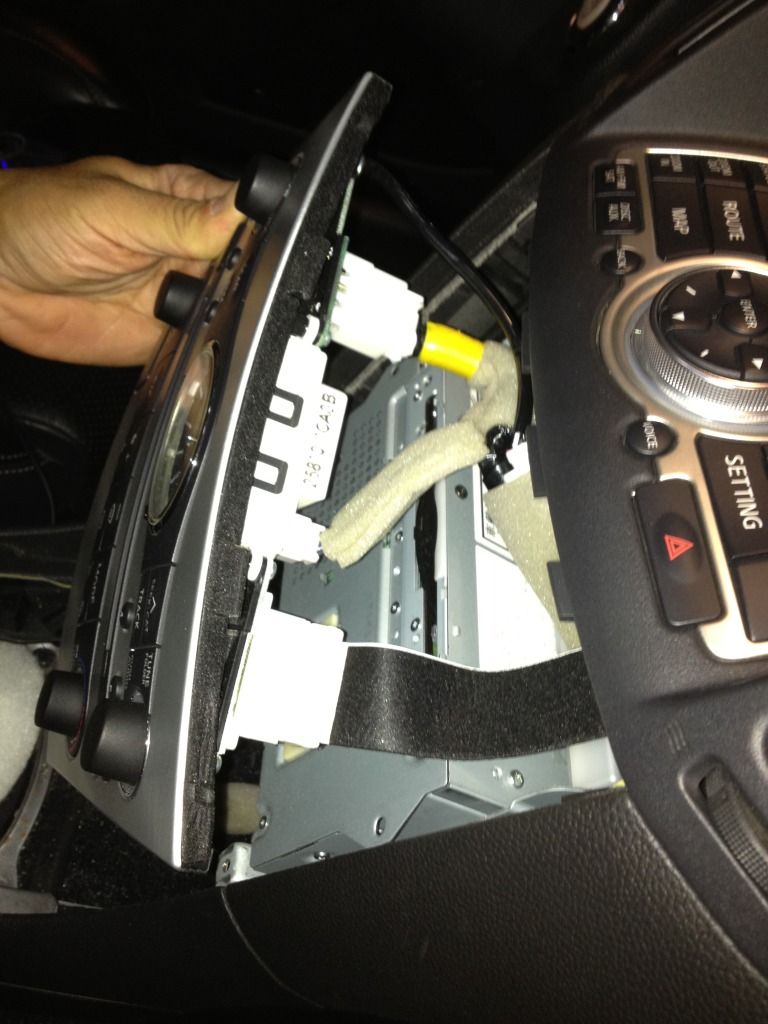
Step 4: Now that it will pop down and out and will have 4 wires to disconnect. (Warning: one is the ABS light here) Set this aside so as not to damage it.
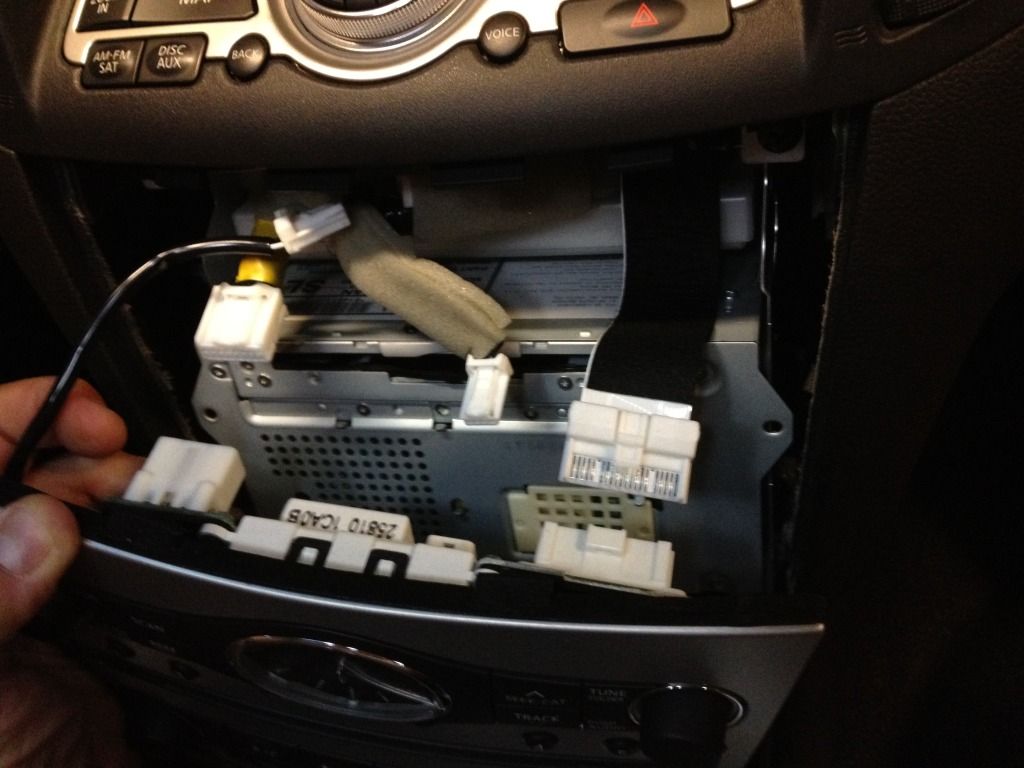
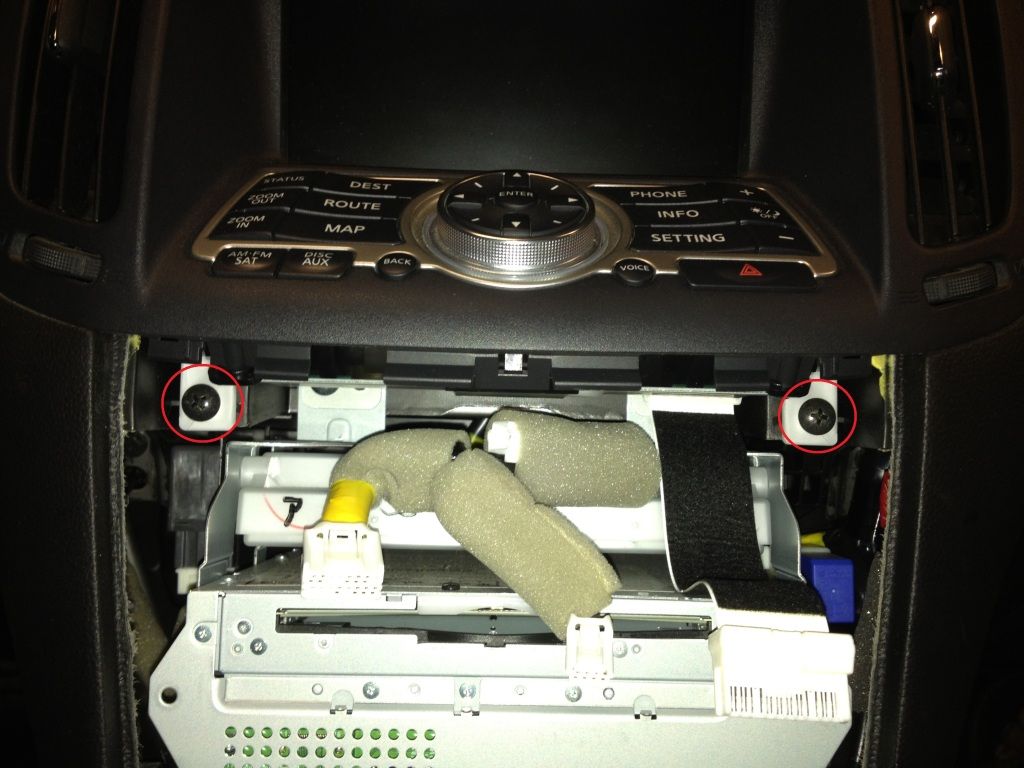
Step 5: Now its time to remove the dash around the screen. This is held in by 2 screws as seen below and pops right out straight back
Step6:The a/v unit is held in by 4 screws. The bottom two are shown below
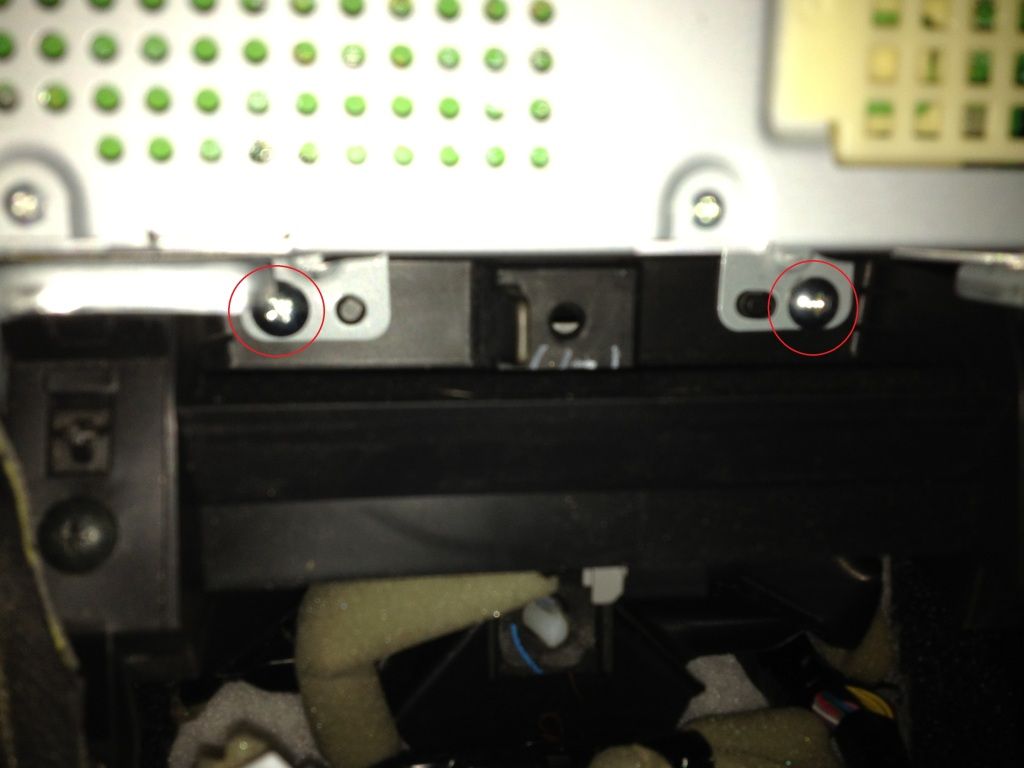
Step7: The top screws hold the a/v unit and the LCD screen.
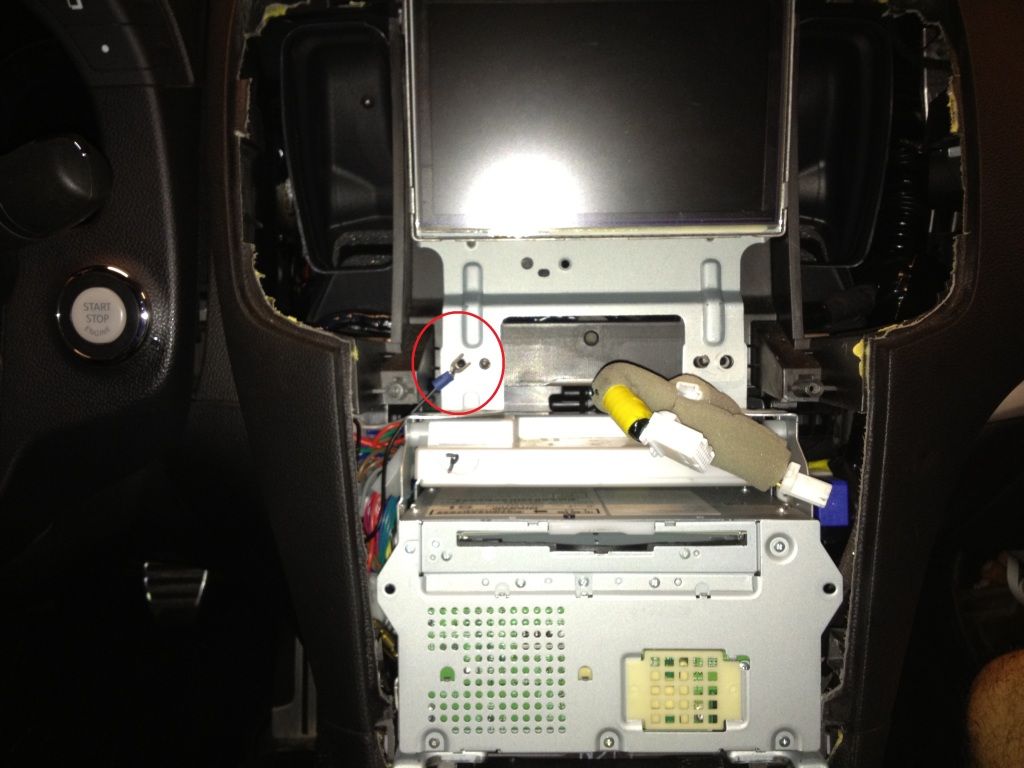
Step8: The LCD bracket is above the a/v bracket so you will need to work the lcd off first then place it back on the guide pins (the pins are next to the screw holes) Now pull the a/v unit out a bit and rest it on a towel. You will now have access to the rear of the a/v unit.
Step9:You will want to disconnect this 32 pin connector from the A/V unit
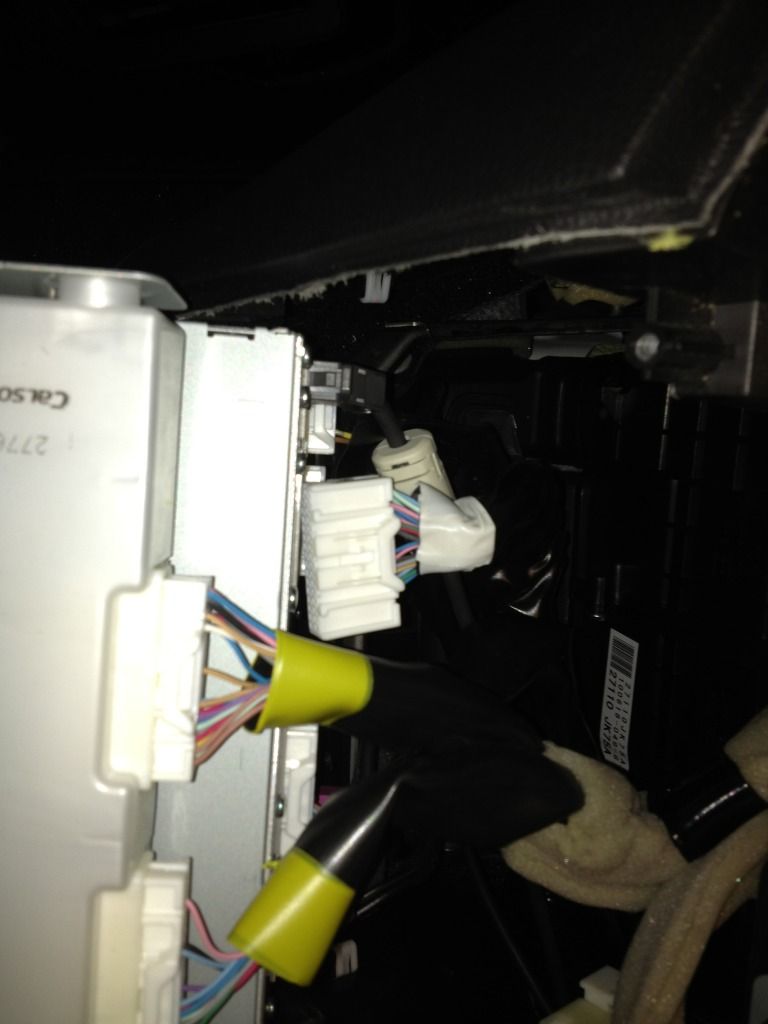
Step10:Now connect the kit's wiring harness as such leaving the small connector open ready for the kit.
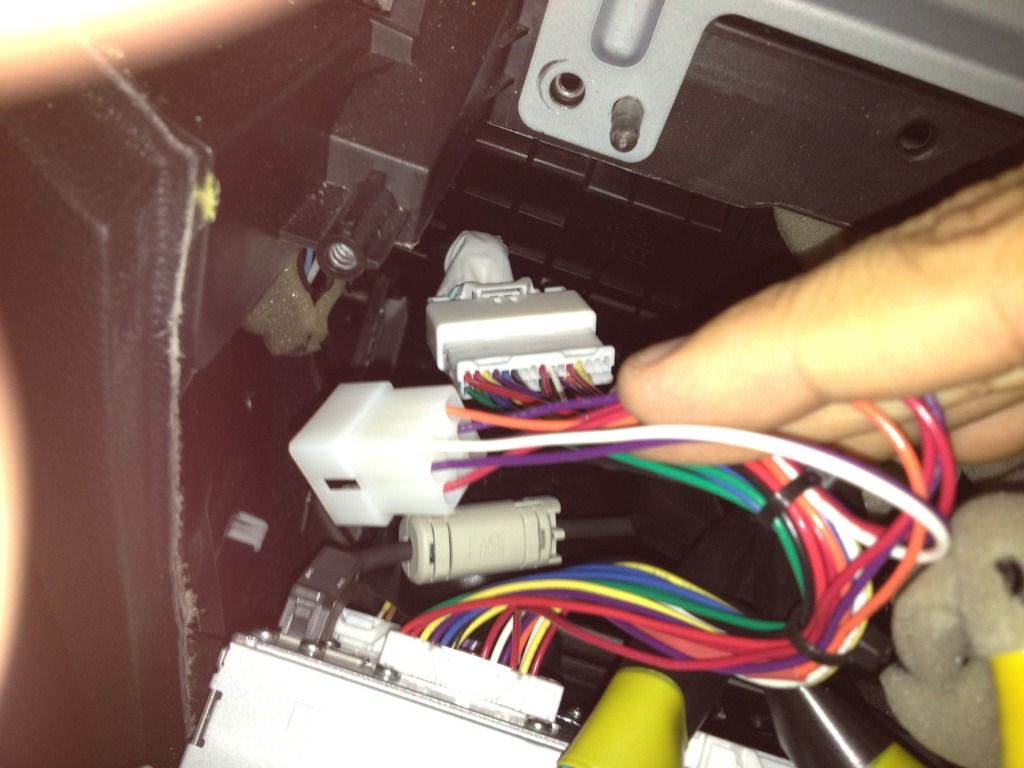
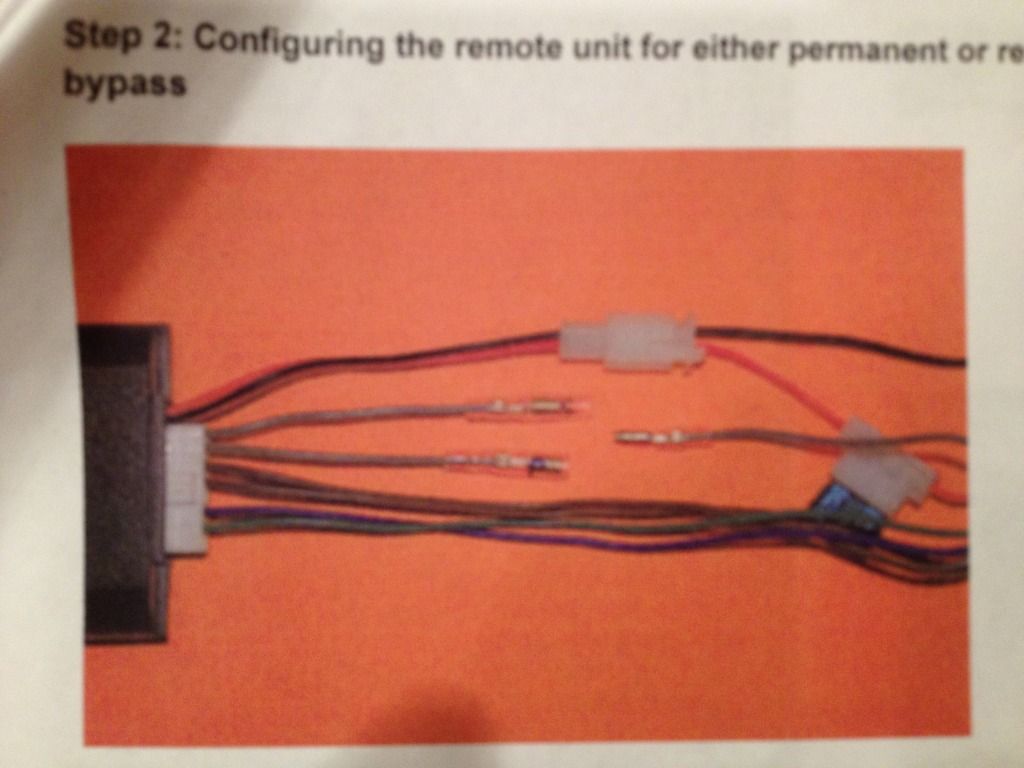
Step11:This step is to set if you want to permanently fix the parking brake sensor or have it where you have to switch it off. If you want it permanent then connect to the connector marked P or if you want to switch it then the S. (So what this means is that if you want to not have to worry about turning the parking brake sensor off (you willnot get a brake light on) everytime you want to turn on the kit then plug into the P) Photo courtesy of car kit company
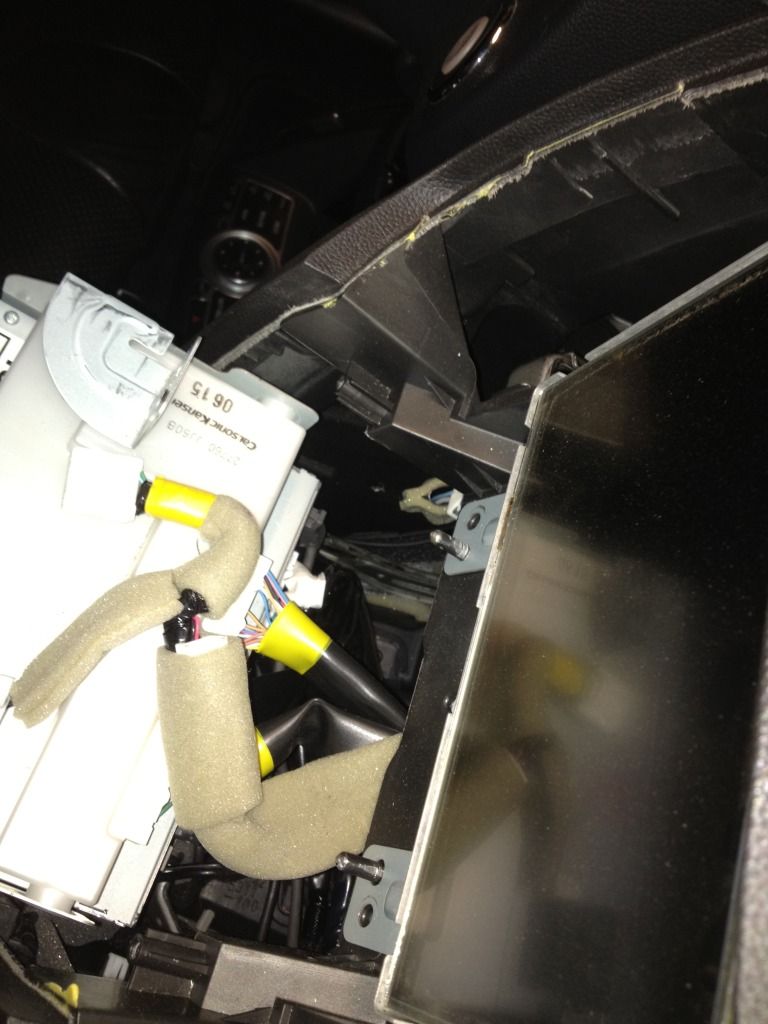
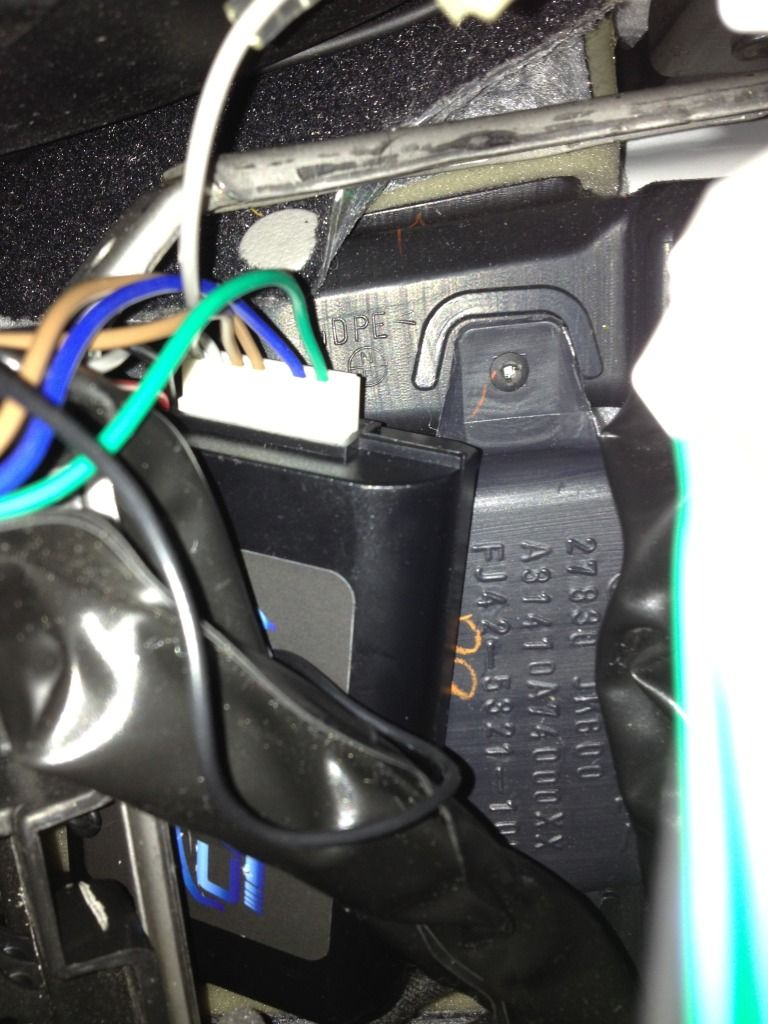
Step12: Now the fun part. Where to put this box at. Its not exactly a small box. The only place i was able to get it to fit was below where the a/v, a/c unit would go. Best picture I could get of it. This is apic from the LCD screen looking down
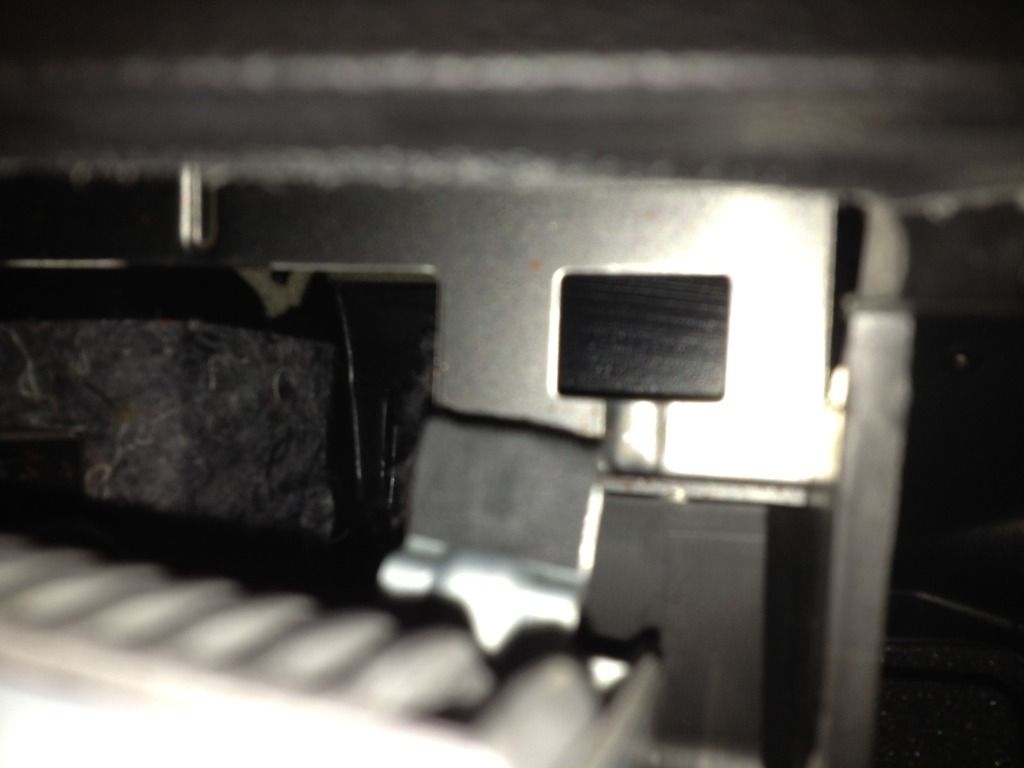
Reassemble in reverse order. I put the extra wires to the drivers side of the a/v unit. Also be sure to put the two tabs of the lcd in the slots in the back. One is pictured below. If you dont the lcd dash will not go on flush.
Here it is working. I used the remote to show you it working, but I have these linked to my homelink mirror 1, and 2. Works like a charm and is instant.
http://youtu.be/pEAv0-DTCr8